

finch6013
-
Posts
2,401 -
Joined
-
Last visited
-
Days Won
3
Content Type
Profiles
Forums
Events
Store
Posts posted by finch6013
-
-
I will be using BRS dosing pumps and BRS two part. I plan to use a CA reactor someday but I have been using two part for several years now so I understand it and have been successful with it.
-
I'm still working on the engine. I will post pics when it looks cleaner. Right now its a mess! I wish I could get pics to show the scape better because the pics don't show it at all.
-
Nice lookin hood! Were you going to put any fans in there or just leave the top open?
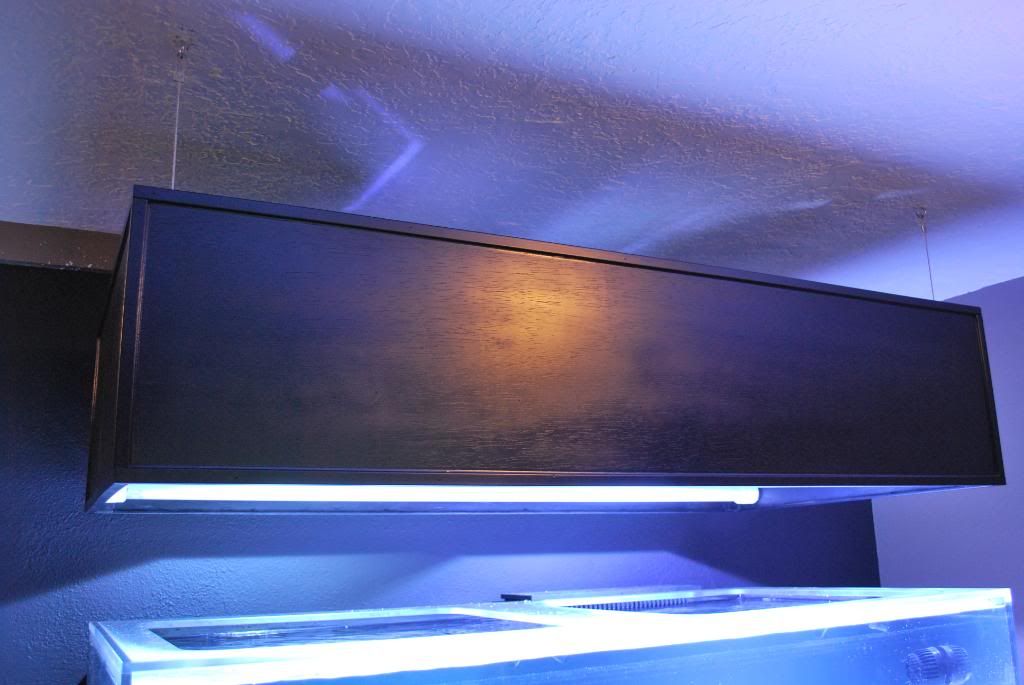
For now I will leave the top open and see how it does for heat. If I have to add fans I will most likely do something in the wall behind the tank so it looks clean. The hanging lighting canopy was partly due to heat, as well the fact that I hate climbing into a full tank hood. It's just to much of a hassle to work in and I really like the modern look the tank has overall. It ties in well with the rest of my basement.
-
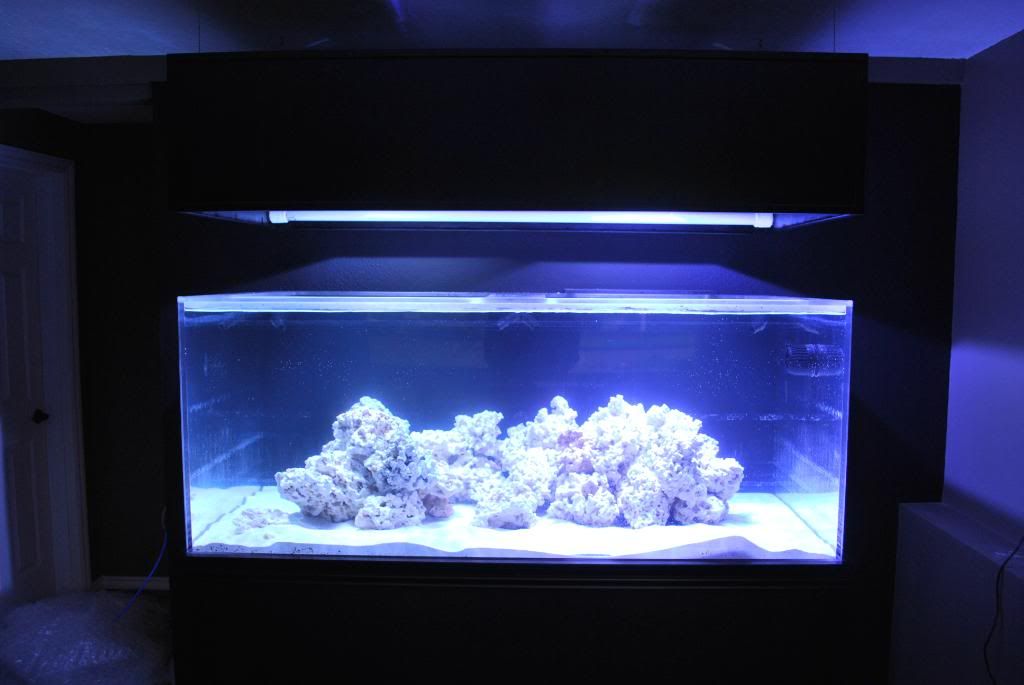
Basically I suck at taking pics. The color is WAY off and looks very dark in the pics. Go figure, my wife is a part time photographer and I can't even take a decent pic with her camera.
FTS:
Left side:
Front left:
Front Center:
Front right:
Right side:
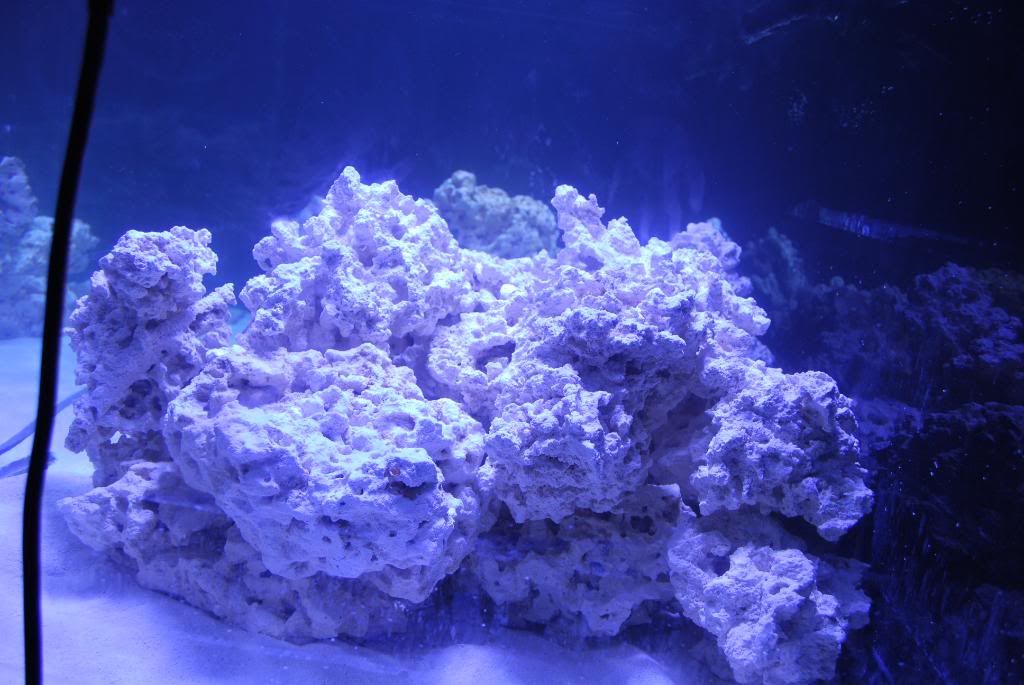
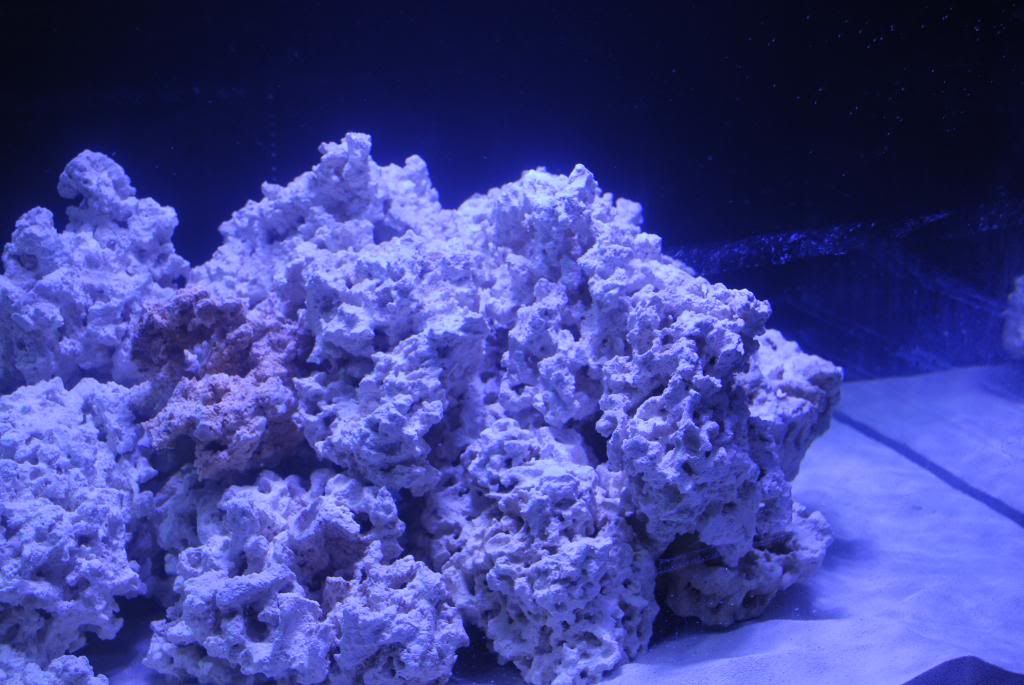
FTS:
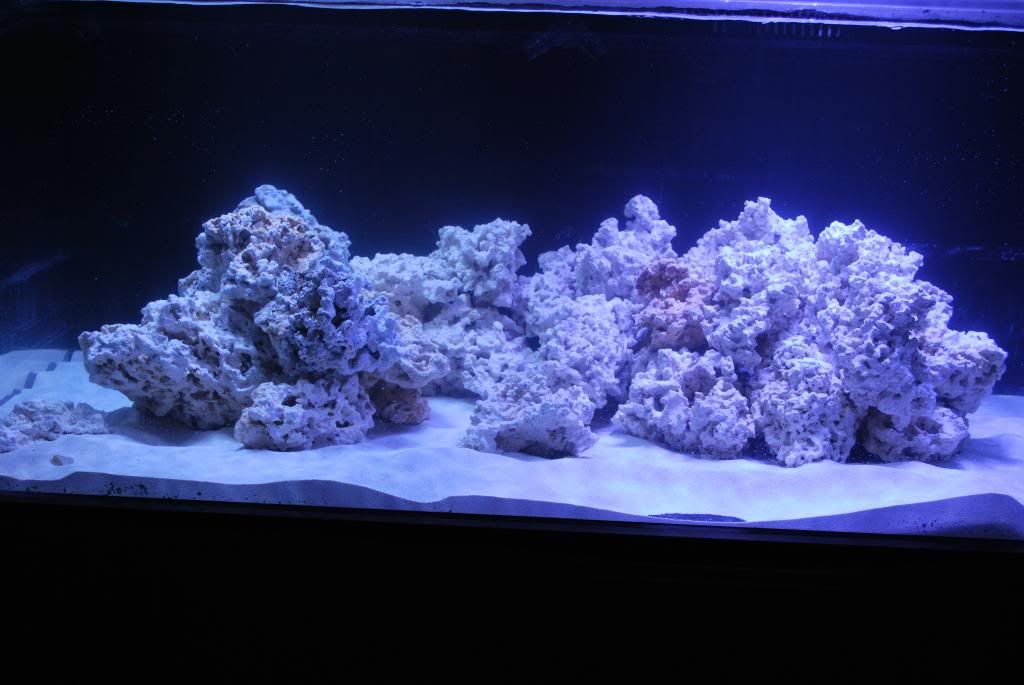
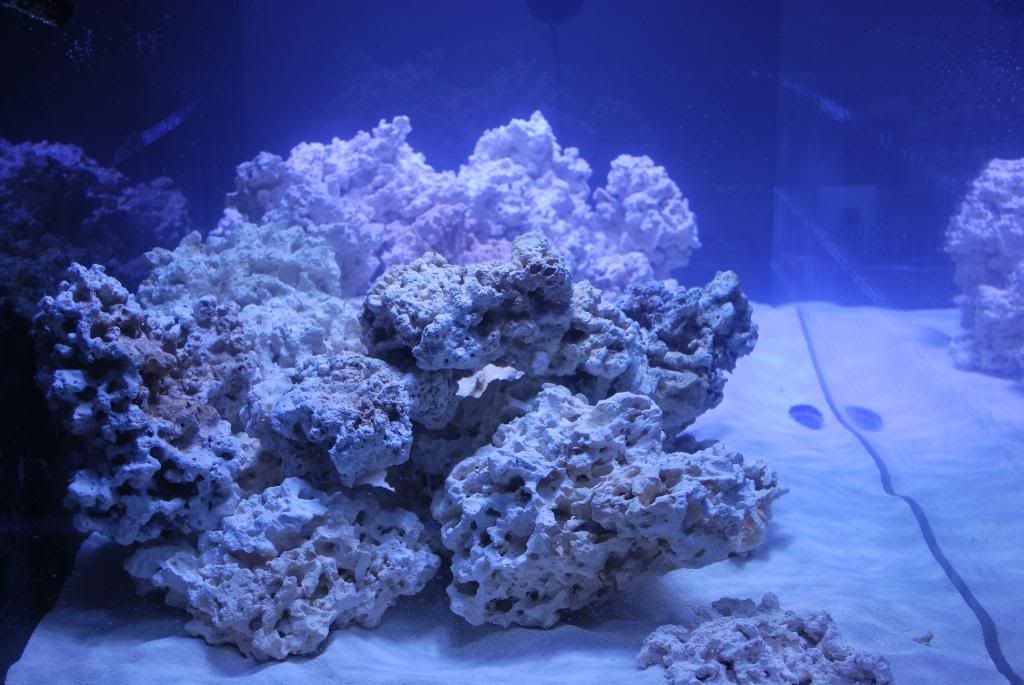
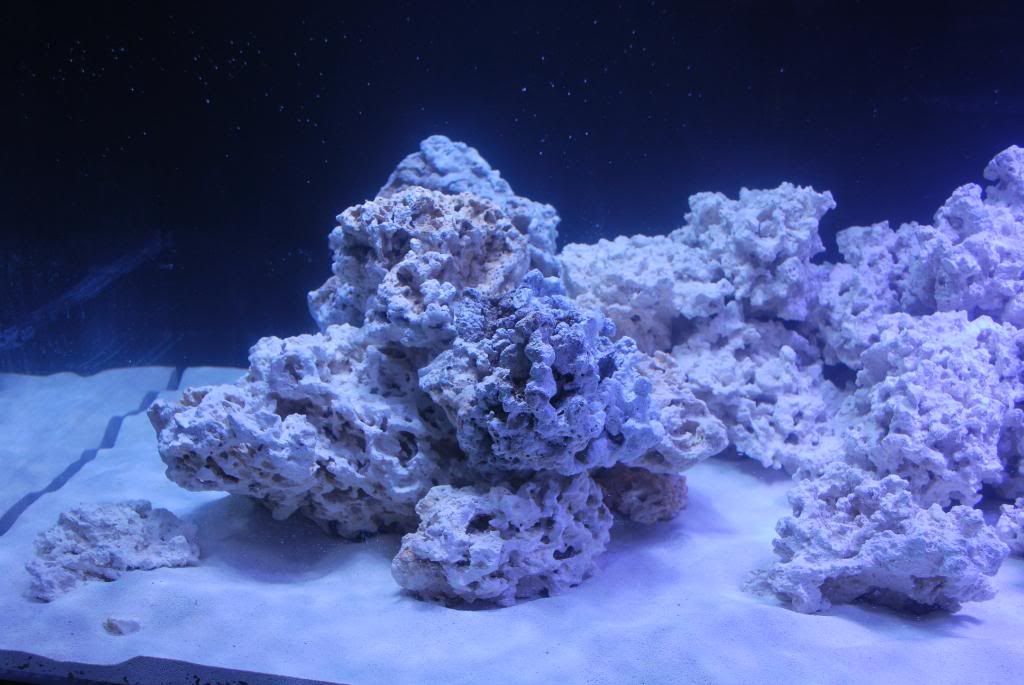
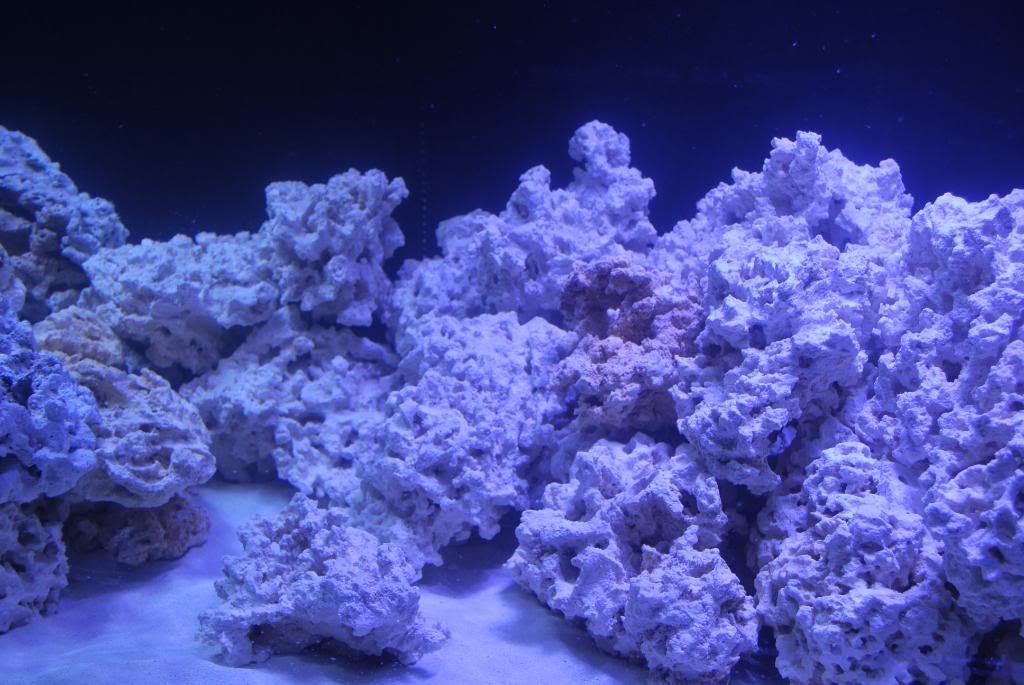
My pics don't do it justice and they really don't show the depth in the aquascape. From each angle you can see different shape and caves ect that you cant from another angle. I think I like it so far and I kept in mind the coral I wanted to keep while doing it.
-
Very soon. Like in a few minutes soon.
-
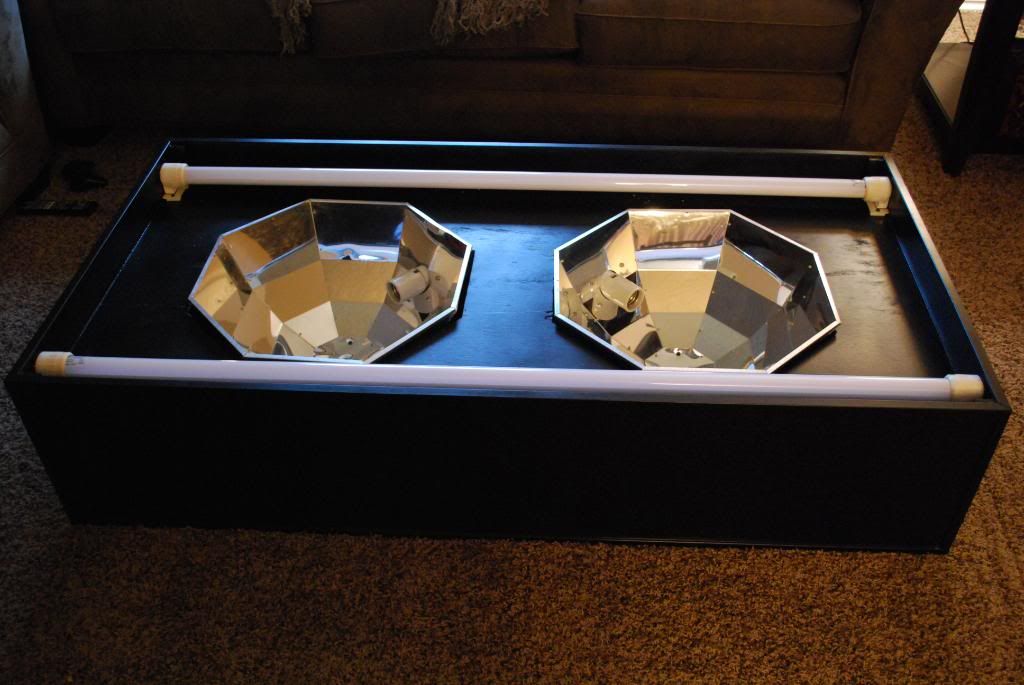
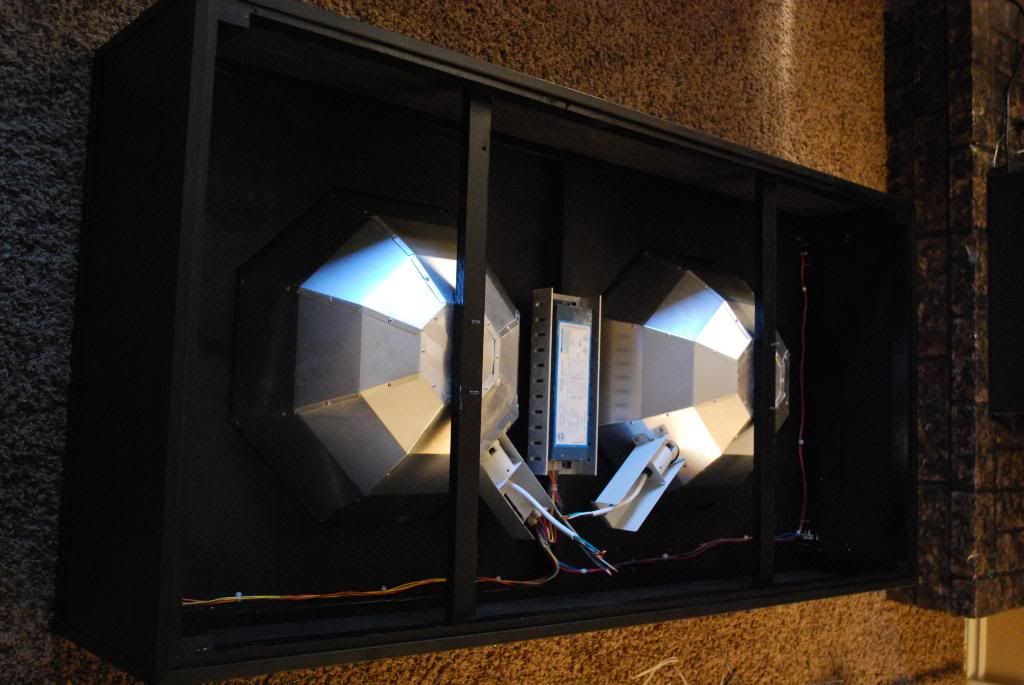
Here is the start of the lighting hood
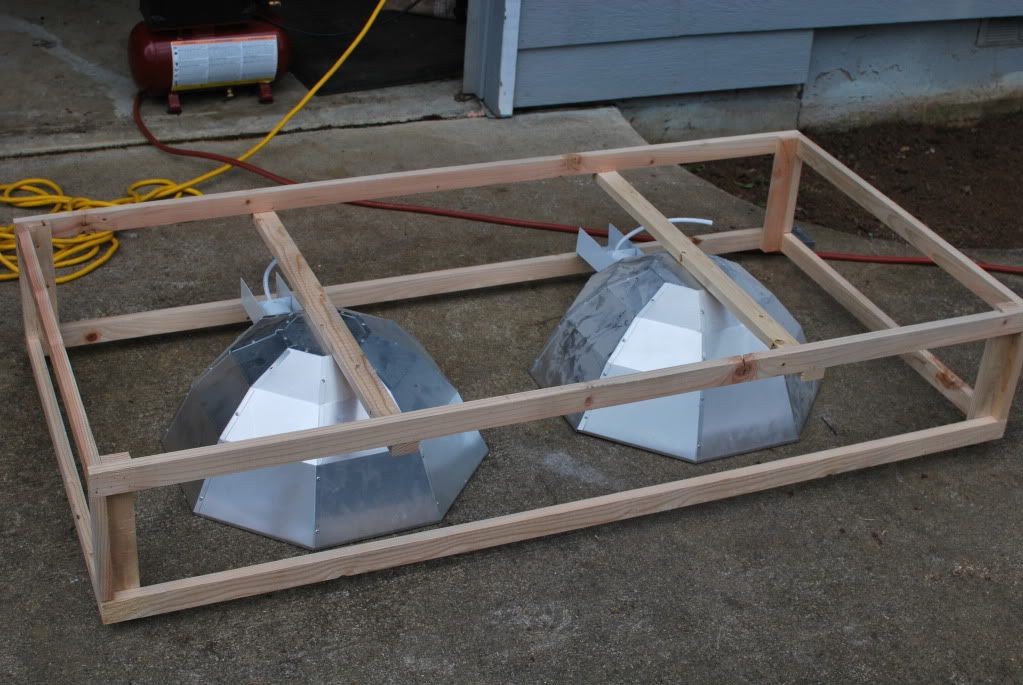
whamo! next step it was done. I forgot to take pics for a while.
I set it up with two VHO's that I had but I think as soon as I have the money I will change to T5.
Hood hanging over the tank by cables that I made. If I want to raise it up to get into the tank better all I have to do is take the cabe loop at the bottom and pull it up to the eye hook in the ceiling. I will get a pic of that if anyone is interested in what I did.
The tank has had water in it for a few days now. Also I got all the aquascaping done via marco rocks. I love their rock, it's the second time I have used it.
-
Ya I already have everything.
-
Its not the wall I am concerned about. That is easily fixed if need be. Its the tank I just had built that was the fun part. My lighting will be 2 400w metal halide in lumenbright lg reflectors, and probably 2 VHO or T5.
-
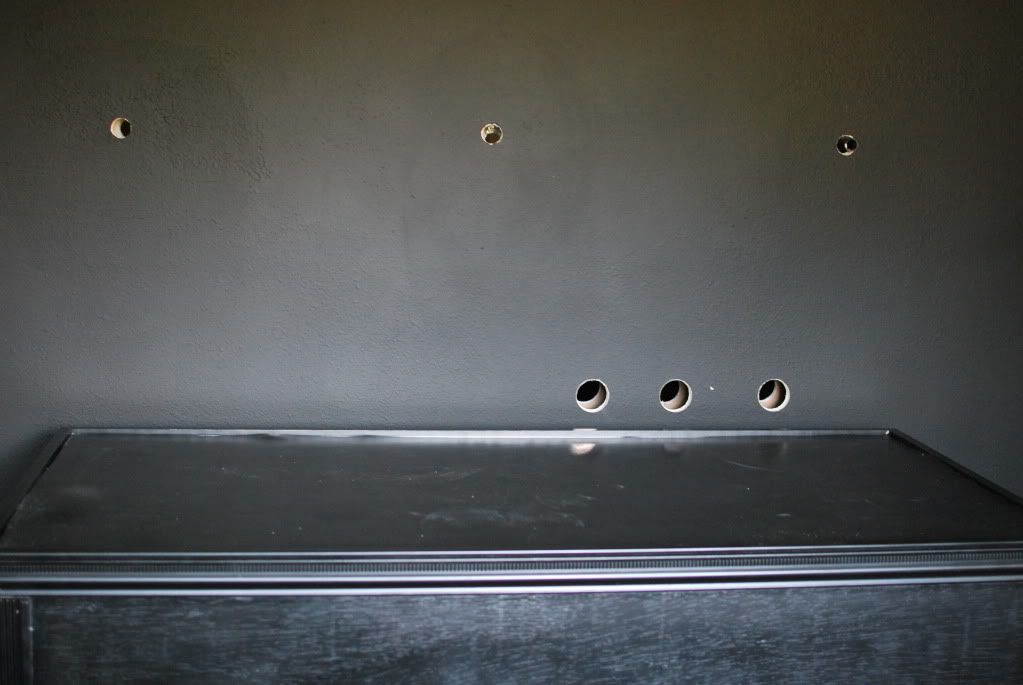
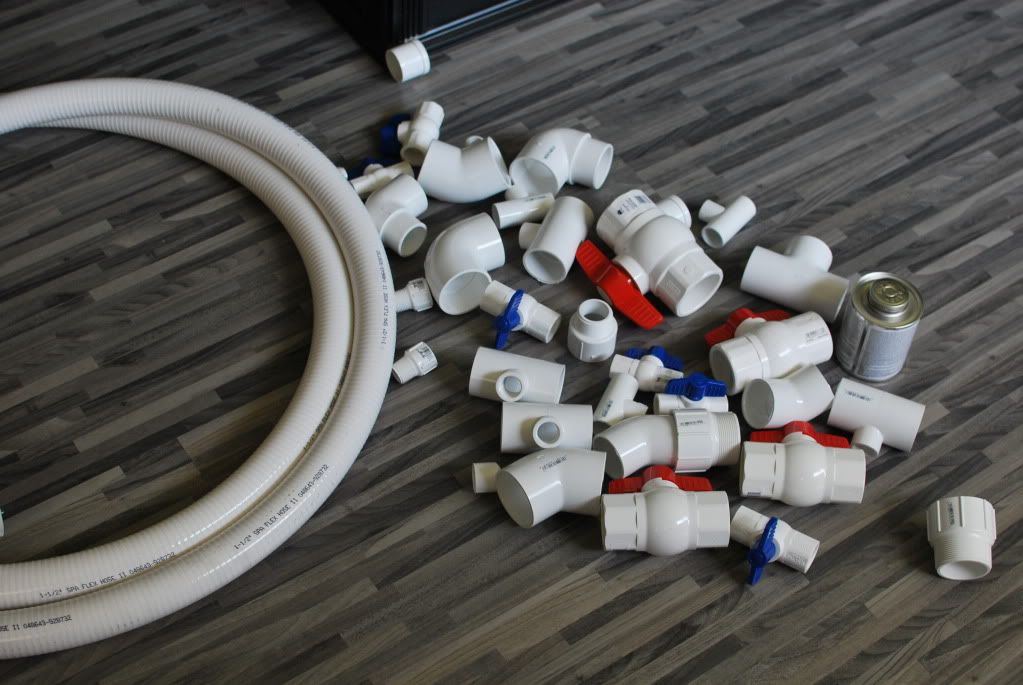
I got the holes drilled through the wall for all the plumbing Friday. Also drilled three holes in the back wall of the tank for three 3/4'' return lines. It was a little scary drilling three holes in the back of my new tank, but it came out great. Saturday I picked up a pile of pluming parts and plumbed the tank. I managed to fill it up with the hose for a freshwater test late in the evening and no major leaks! Just one tiny drip from a threaded fitting that needed tightened down more.
-
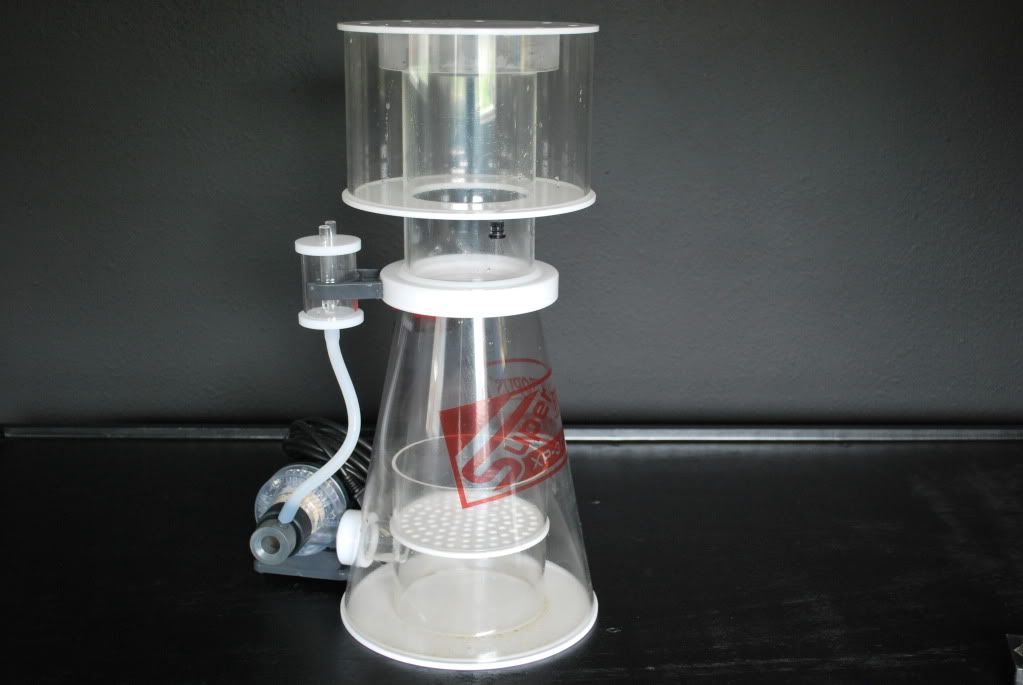
The skimmer I will be using. It's a Super Reef Octopus XP 3000. Foot Print: 14.875" x 14" x 22.25" 10" body 5" neck, 8'' collection cup, powered by: Bubble Blaster HY3000
This skimmer is rated for 250g with heavy bio loads and 350g moderate so it should be enough for the approx 220g water volume that I will have. I ran this skimmer on a temp tank for a few days and after day one it had already filled the collection cup half way with nasty skimmer gunk. The Bubble blaster pump seems to be a beast and is much quieter than other octo skimmers I've had with Sicce pumps.
Mike at Reef Specialty helped me pic this skimmer and even gave me a large percentage off of my order. He was great to deal with!
And since we all like pics:
-
I ordered some black 3/4 flexible PVC and a manifold that splits 1.5 into 4 3/4 lines evenly. Three will go to the tank and one will be a manifold for a BRS and TLF reactor. I am planning on using my dart. By the time I power the reactors, and factor in head loss, I don't think it will be too much flow for the sump.
-
I was going to run my returns like you did in the bracing. But I think for the looks in my situation, going through the back wall will be best. I plan to use a threaded BH and then one of the Lockline threaded adapters to one or two segments of line and then a nozzle to keep it clean looking. I don't like the look of 6''+ of lockline sticking out in the DT.
-
30'' or more is the only way to go. I will NEVER own another tank that is less than 30'' wide unless it just wont fit through the house. I am a little nervous about drilling three holes in the back wall of the tank for my 3/4'' returns. I should have had James do it, he drilled the holes in the overflow but it would have cost more for holes in the back, so I figured I'd do it myself.
-
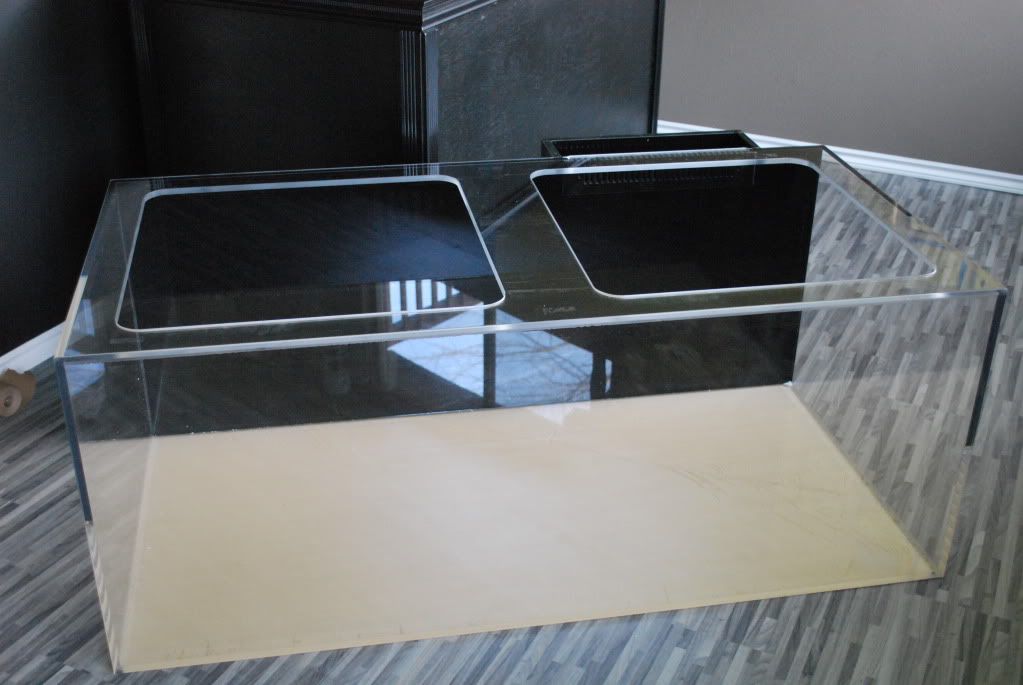
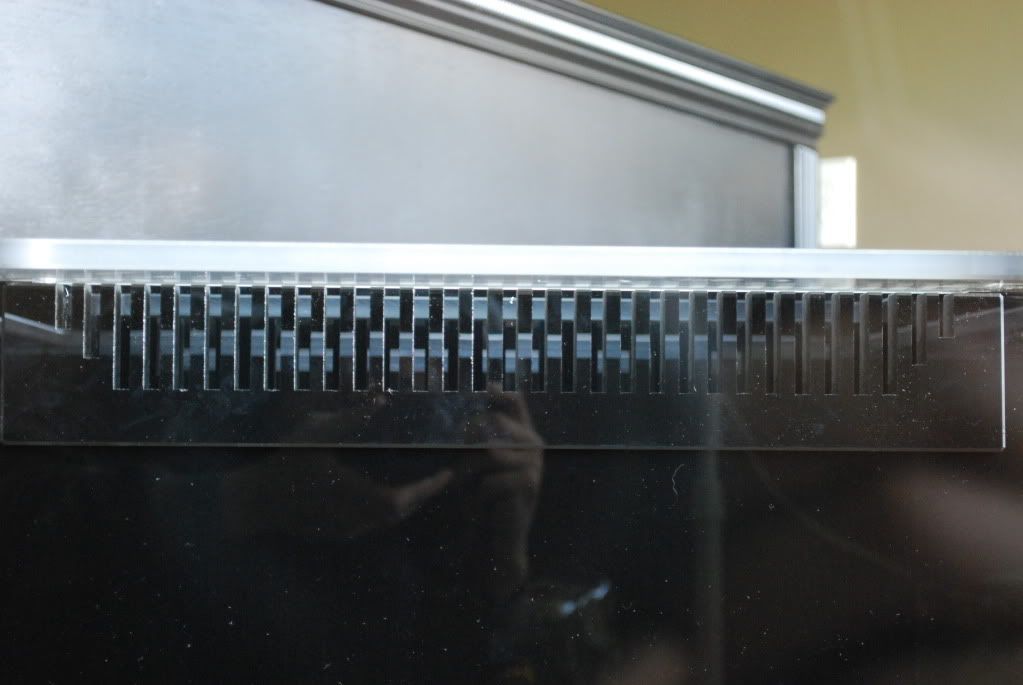
Here's some quick pics. Hard to get good pics when its on the floor in a small basement. Once its on the stand I will get some full tank and stand shots. But first I have to drill some bulkhead holes in the back.
External overflow has a removable grate, and the overflow is 18'' long, 6'' wide, 10'' tall, with 3 1.5'' overflow holes.
-
Unwrapping a new acrylic tank is better than christmas morning!!!
-
Thanks for the offer Jonas. I will let you know if I need anything.
-
I will try and get better pics. The room is small so its hard to get far enough away. I need to put a different lens on the camera (Its my wife's, who is a part time photographer and she doesn't like me messing with it).
Also James dropped the tank off today so I will try and post some pics of it later.
-
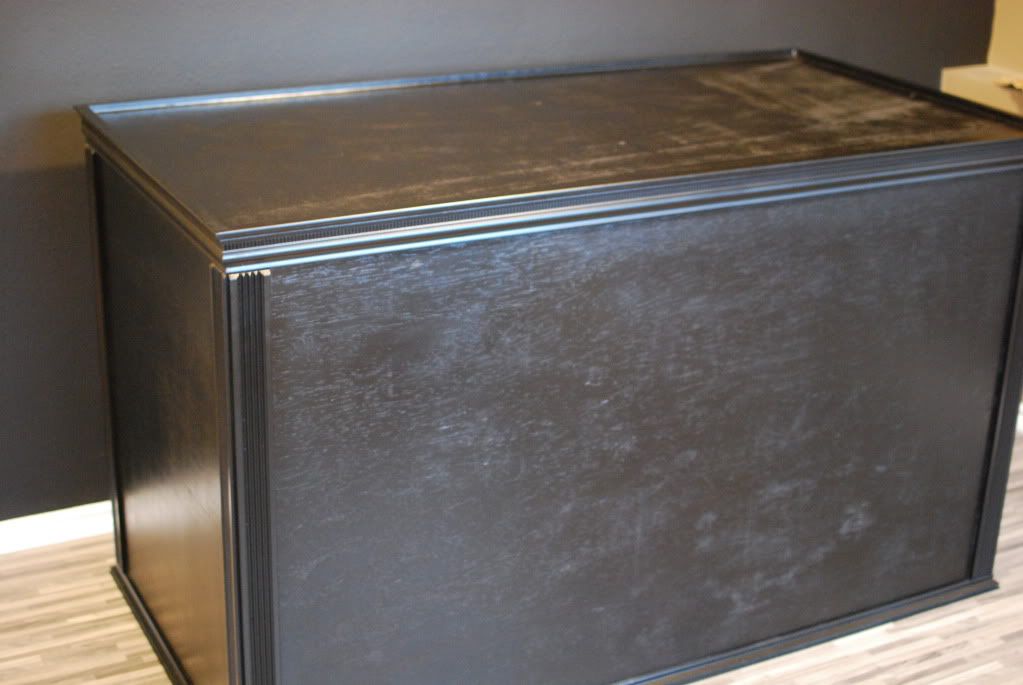
Here is a pic of the stand. The stand is 36'' tall, No doors since I wanted to keep it clean looking and all equipment will be in the laundry room behind the tank.
-
tank should arrive saturday! Also It looks like my stand will be done friday afternoon as well. Pics to come!
-
Congrats guys! I would love to get a copy somehow.
-
I love that scene of Zombie land in the pic.
Oh and the .50 beowolf AR.... Spent!(drooler)
-
I tought it was normal to own 25,000 rounds of ammo(plotting)-you never know when you may run out(scary)
+1(rock2)
They'll never take my gunz!!!
-
It's amazing that a single coral has lived that long!
-
That is a nice sump' date=' I've already talked to Ed about doing our next build for us, and the price he quoted me was just insanely low, I can't wait lol.[/quote']
Ed gave me a great price, and I would recommend him to anyone. Not to mention his turn around time for building was quicker than I needed.
And he gave me a ton of build pics along the way! It was really cool to see that.
FS: Tiny Might external pump
in Classified Threads
Posted
Bump $25 otherwise I might have to find some way to use it again.