

iroll253
-
Posts
95 -
Joined
-
Last visited
Content Type
Profiles
Forums
Events
Store
Posts posted by iroll253
-
-
Great setup, I have always been told acrylic tanks require full tops to the stand with no gaps just curious if you added one.
-
Those are 1/2 minimum thickness recommended and work great on large tanks!
-
Nice tangs as far as the price, I would pay 100$ for both if i were looking for them. At a good lfs store pb's are $60-120 and i paid 44.99 for my yellow tang. But i'd rather pay for the piece of mind getting them from an established member of a local forum, or a shop i feel i can trust.
-
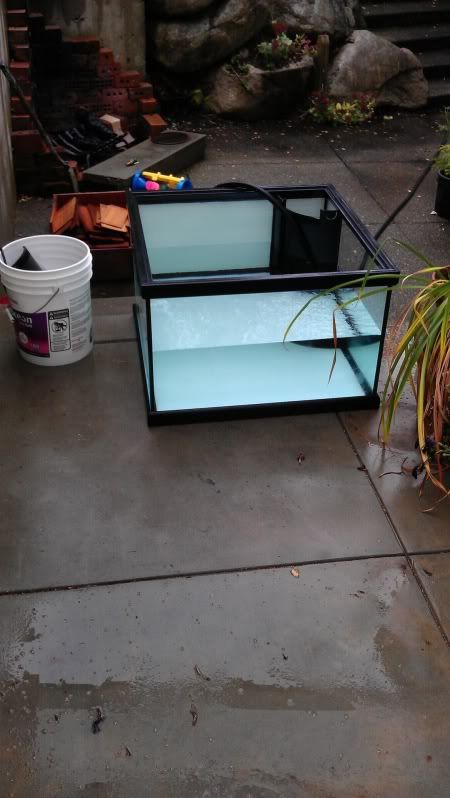
Sold all equipment associated with the 70 gallon cube. Current 29g Holding tank.
-
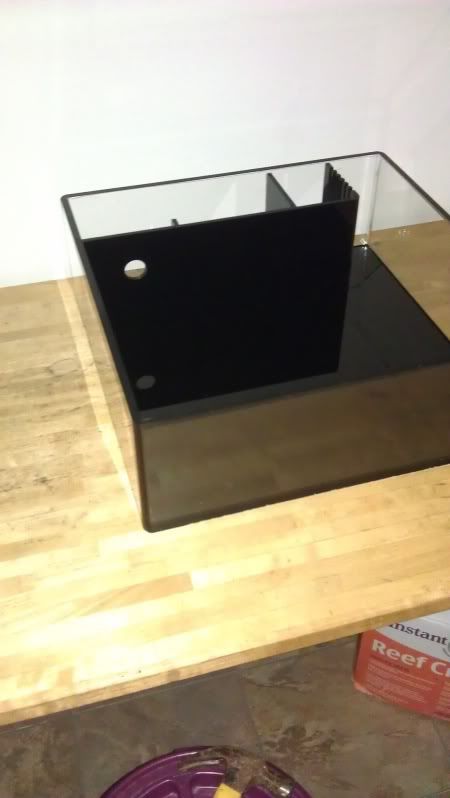
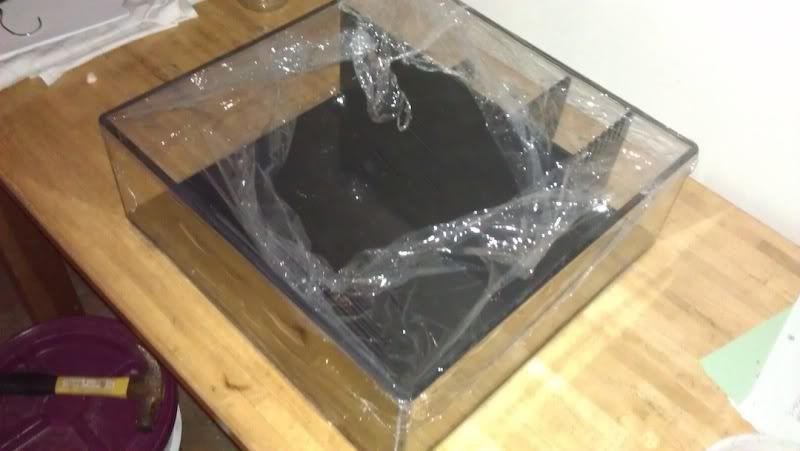
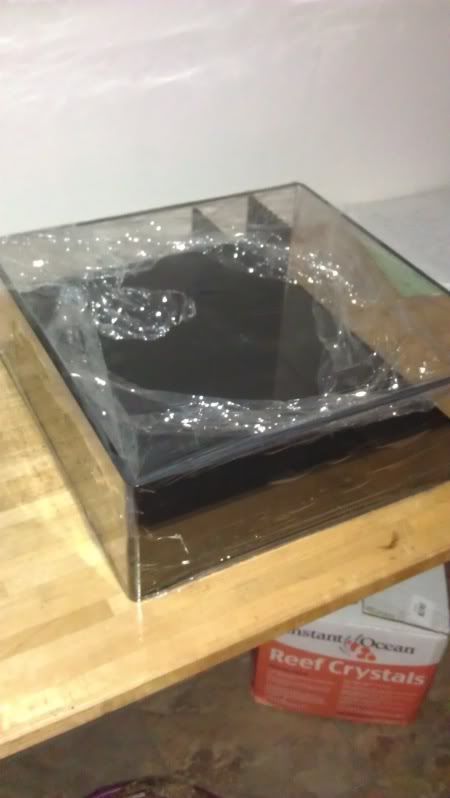
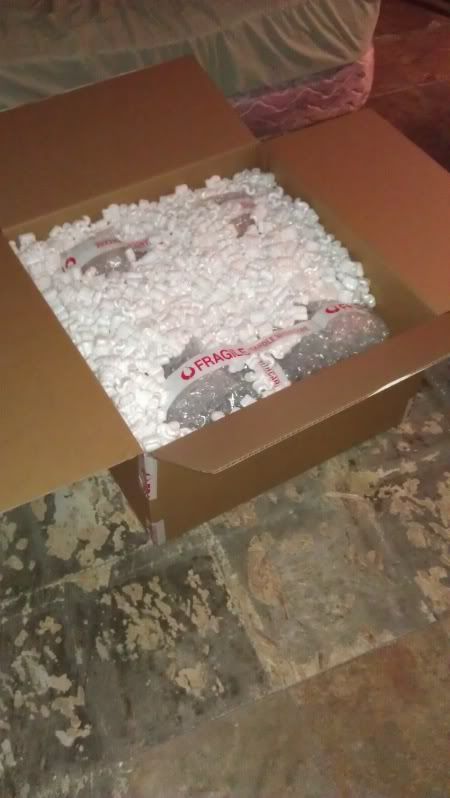
Will Ship the way it came!
18x18x6 x3/8"thick Advanced acrylics AIO frag tank. 125$ obo Shipped!
Will trade for :
Cree 10k White, Royal Blue, Uv or Aqua style Uv or Royal blue led's
or
Blue Box Mp10
Brand new in box.
-
all sold....
-
-
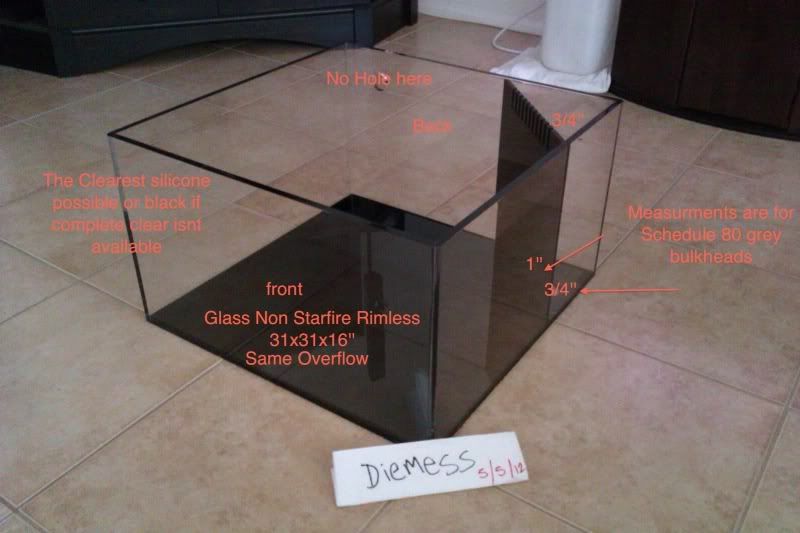
Looking for a rimless aquarium glass builder. Hoping for 31x31x16
-
Yeah I like it a lot but use a d700 now.. New price 500 Shipped!
-
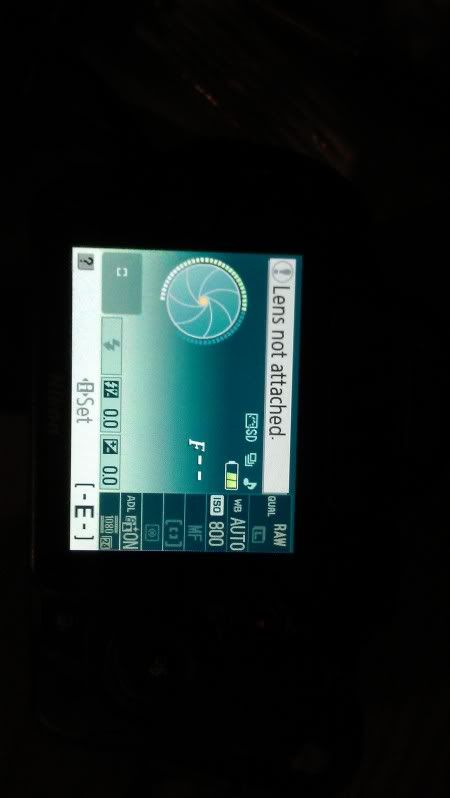
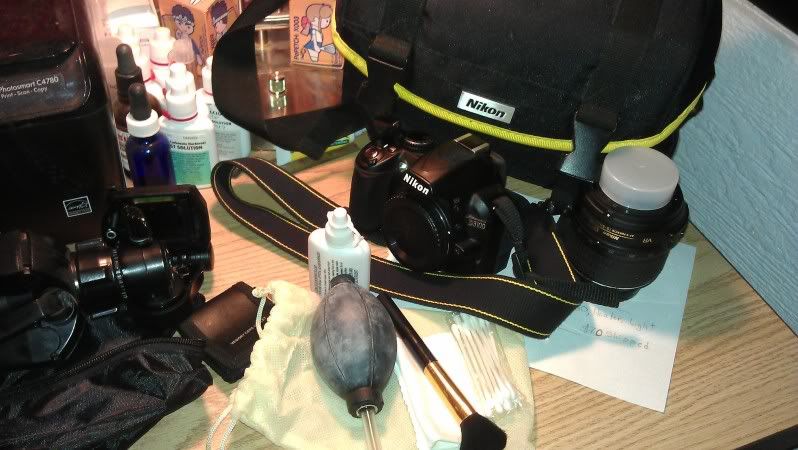
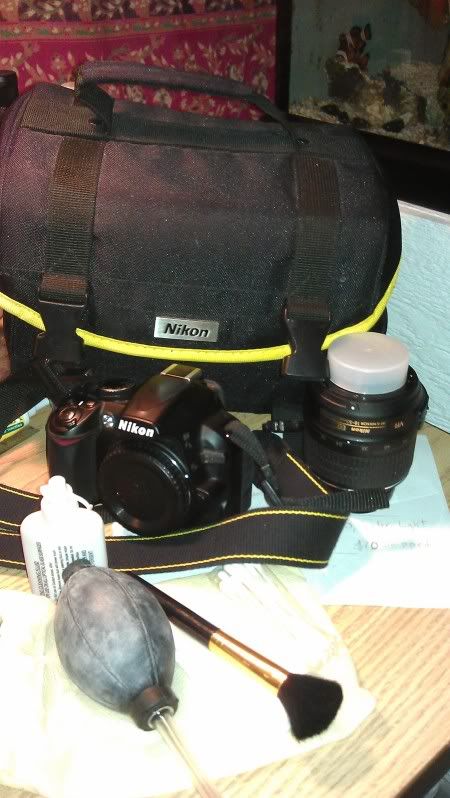
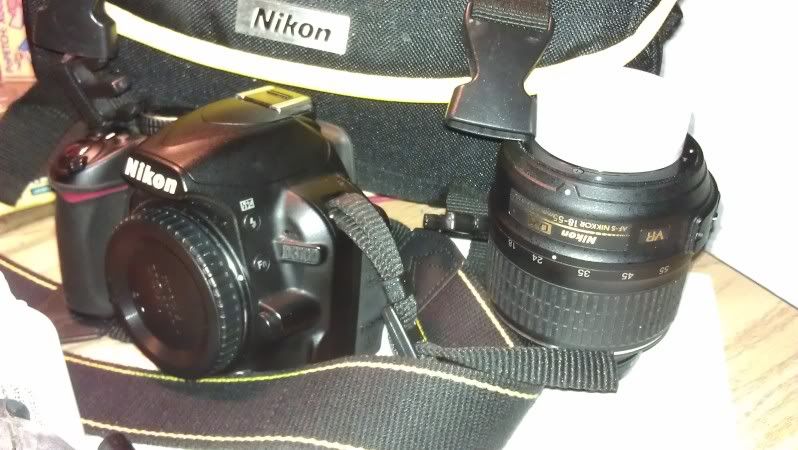
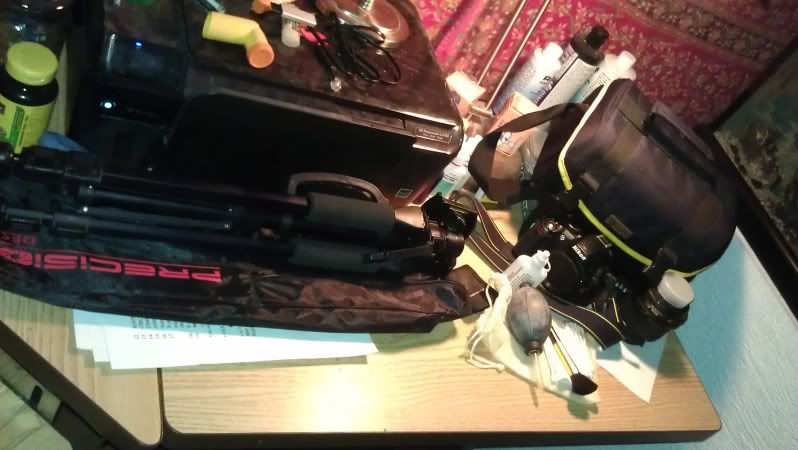
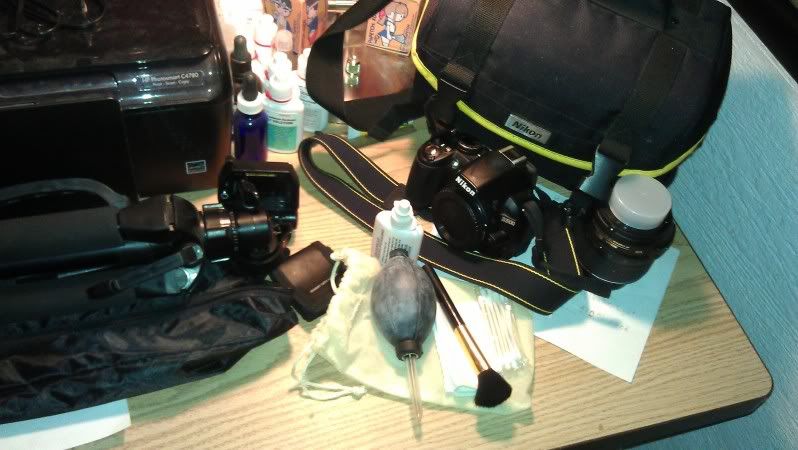
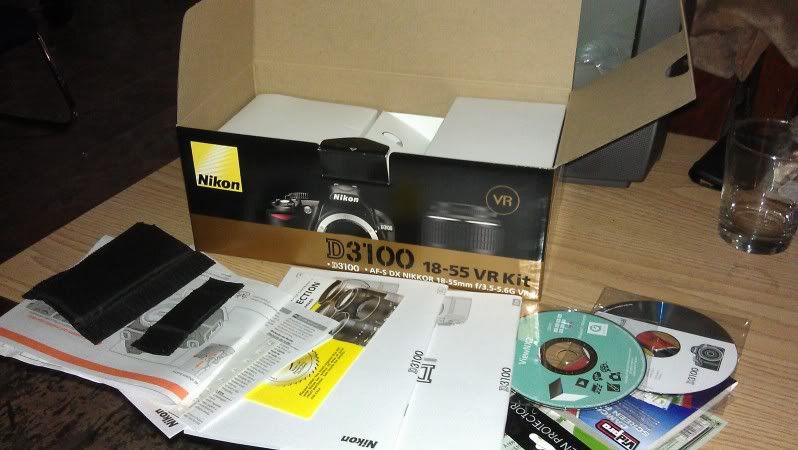
$550 Shipped obo
Nikon D3100 With 18-55 Stock lens. This camera is 6 months old. Comes with cleaning kit, Lens filter cover, Full tripod, bags, and original box with packaging.
-
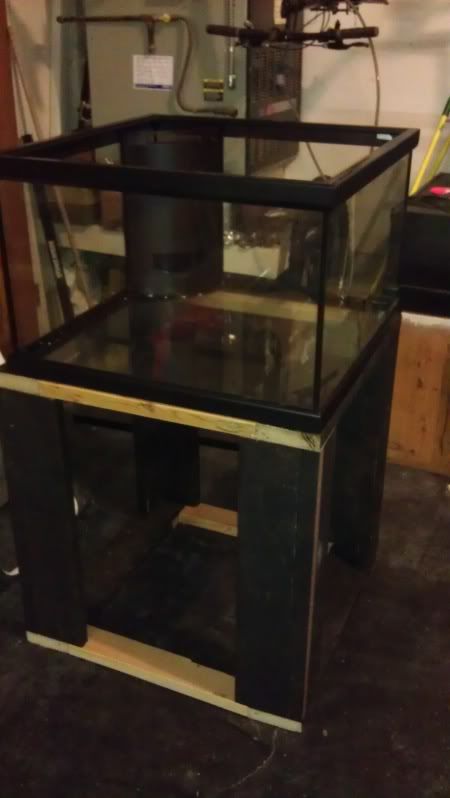
That stand and sump are awesome! Good work man.
-
Also depending on the skimmer you want around a 8-10 inch water level in that section.
-
You shouldn't need to drill for an ato.. Just have the hose run from the container to the sump. The sump looks fine you could probably shorten your return section as long as you can get the pump in and out easily. The shorter your return section the less salinity varies due to that being the section you want your float switch in for the ato.
-
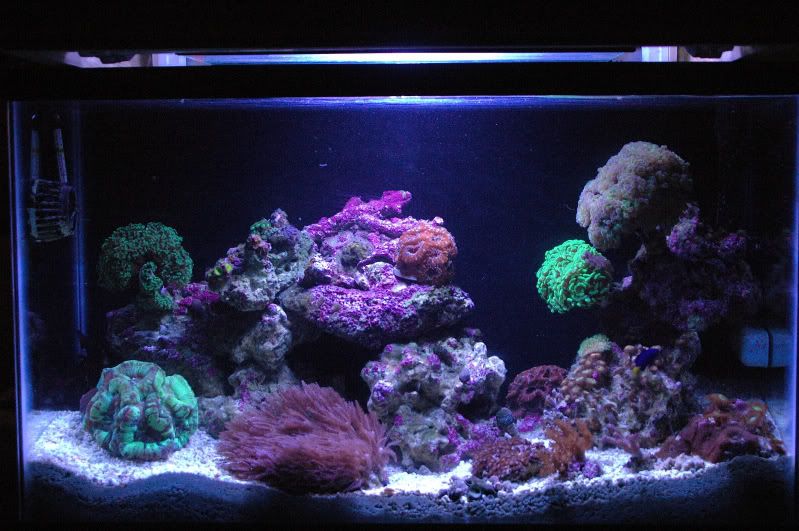
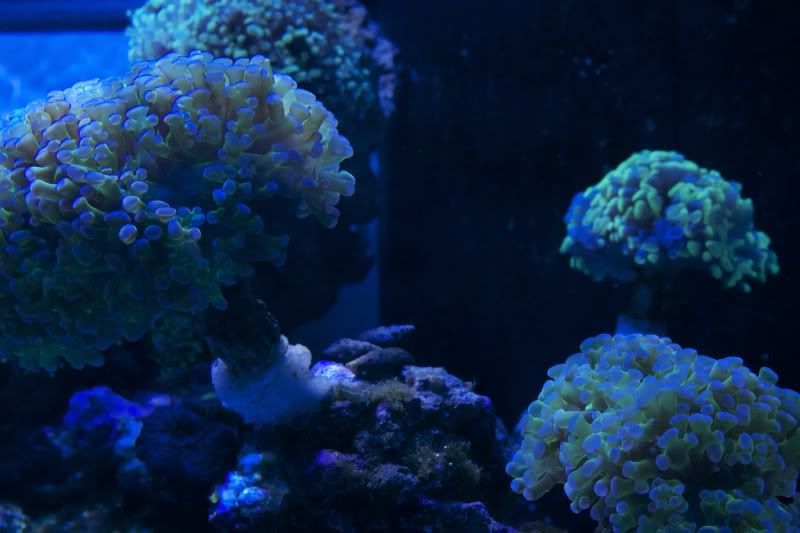
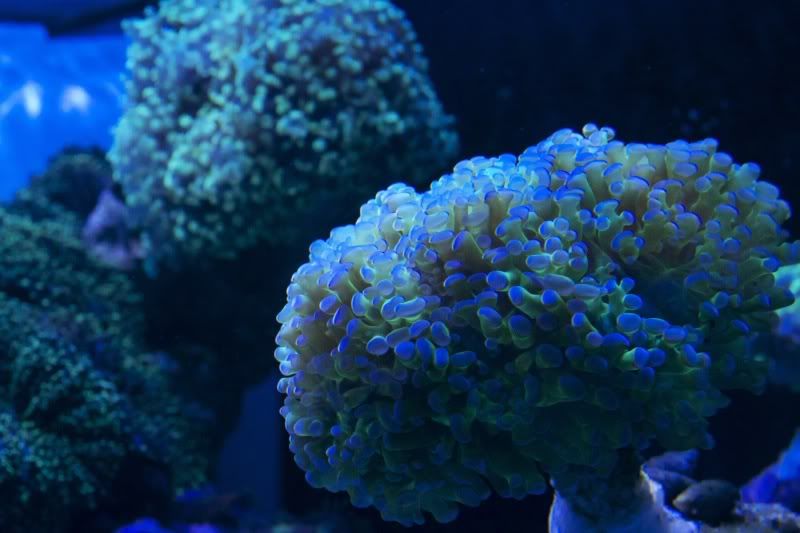
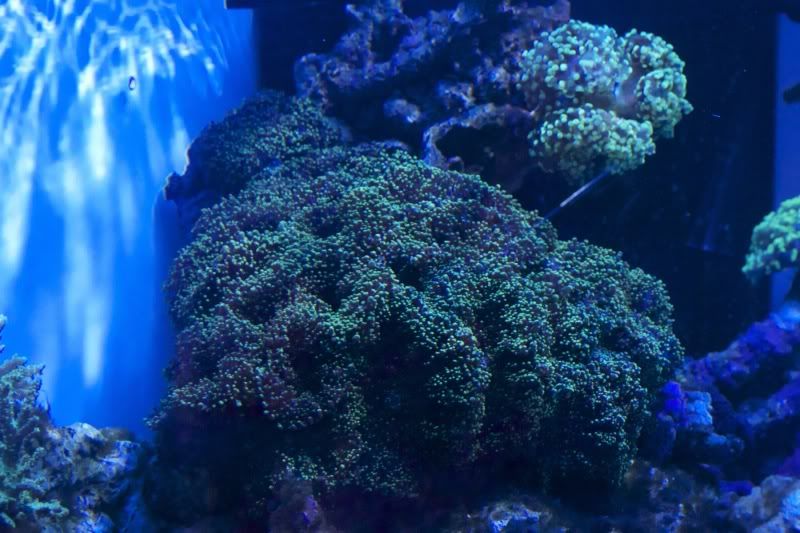
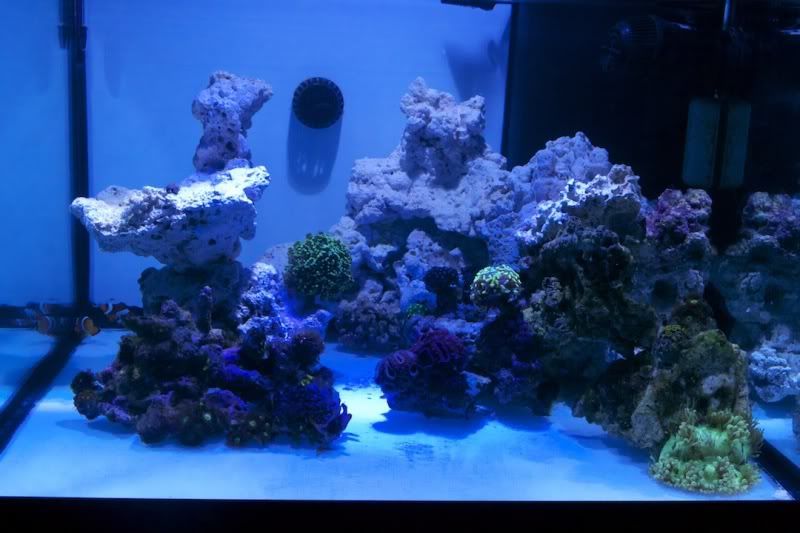
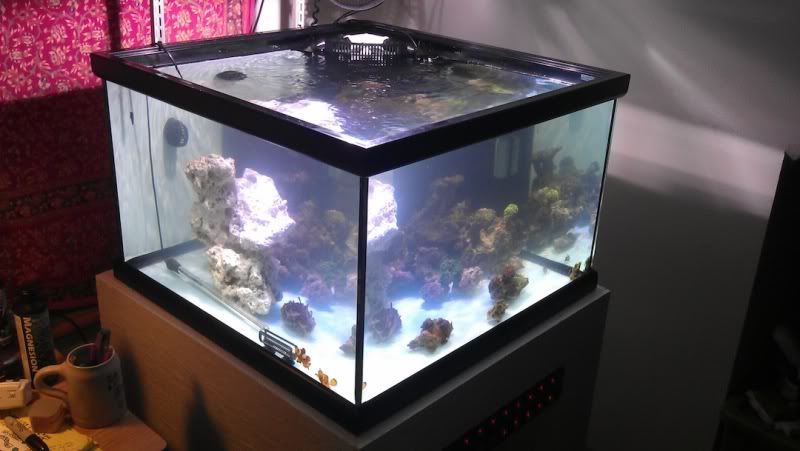
Amazing job, awesome corals!
-
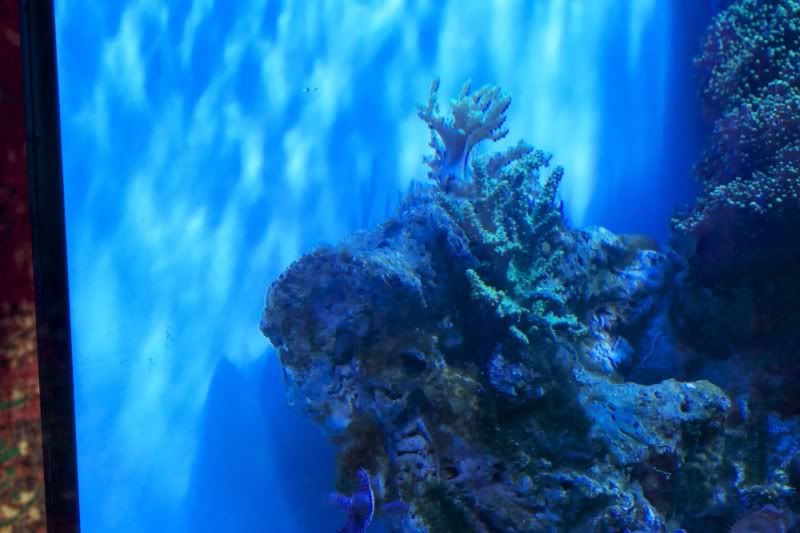
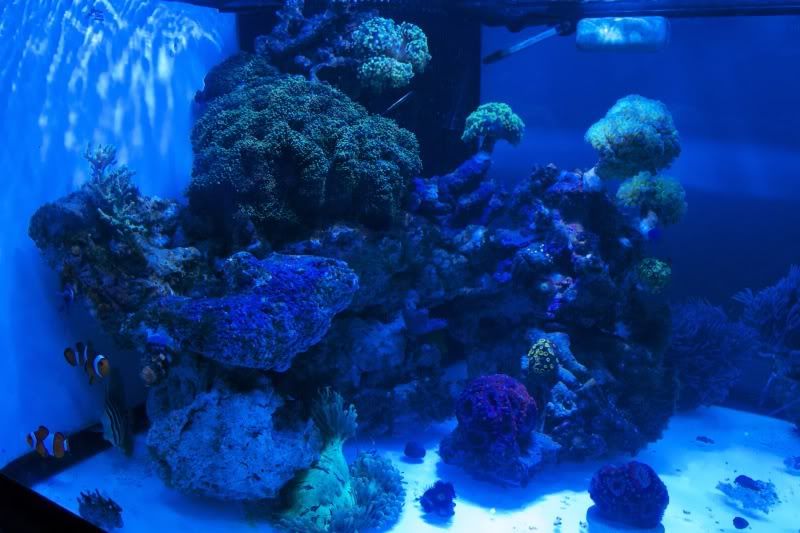
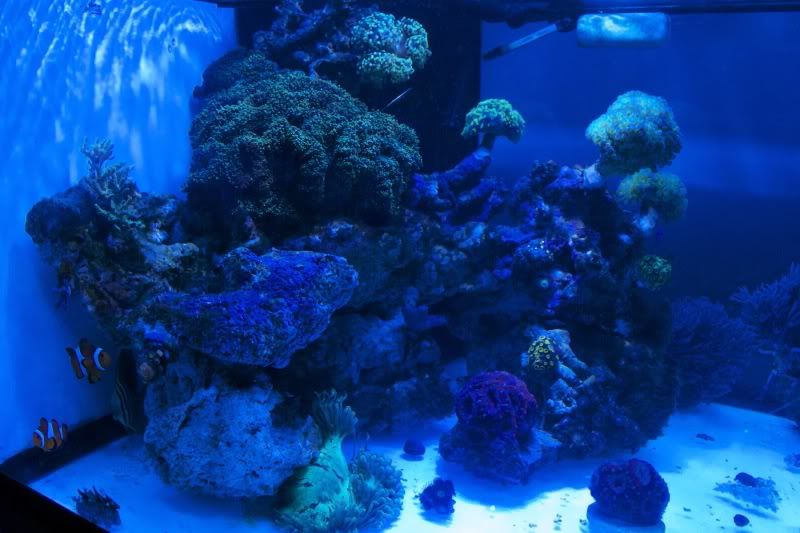
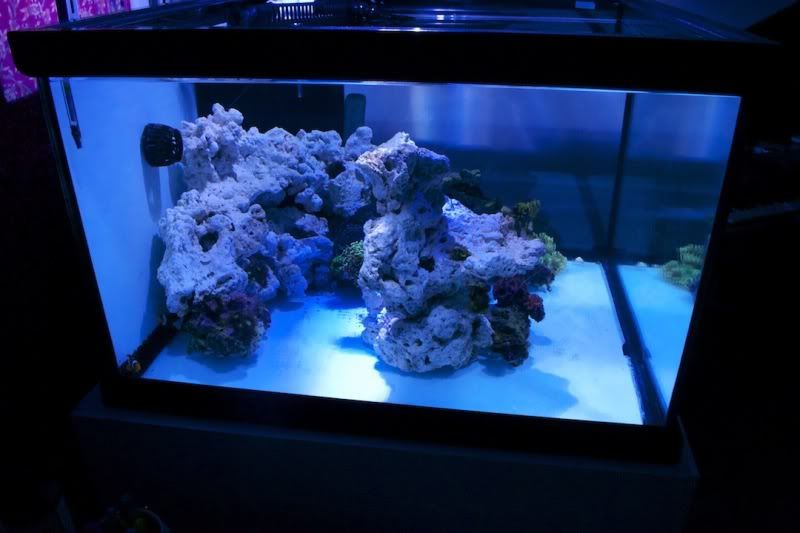
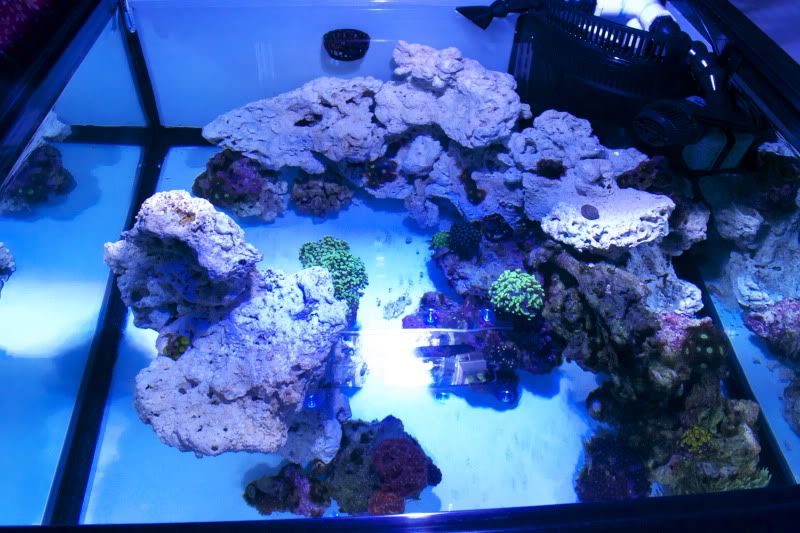
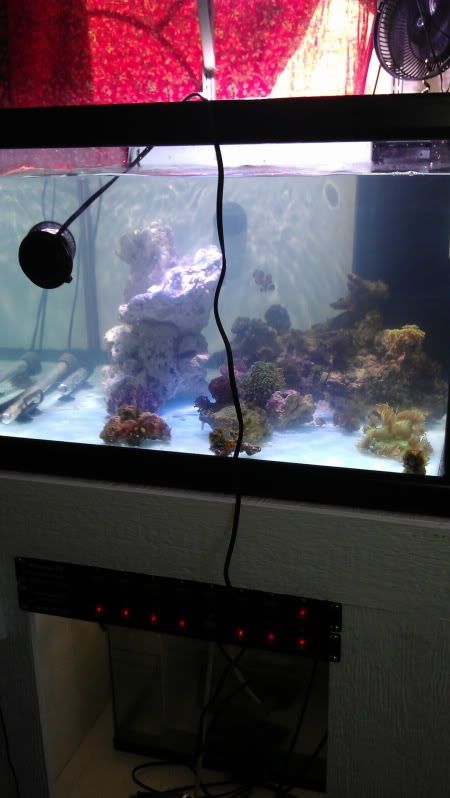
Thanks! I do miss the look of sand, as well as the extra support it provides for rock scapes. My rock probably fell 4 times before I got it to sit right lol. It is solid now though. I also am disappointed that I cant add goby's and certain wrasses as well as pistol shrimp and the blue spot jaw fish but the clean look of the white BB definitely appeals to me. A cool plus to the white BB is that corals are growing under the rock caves since the light is reflected off of it.
-
No problem hope it everything works as planned.
-
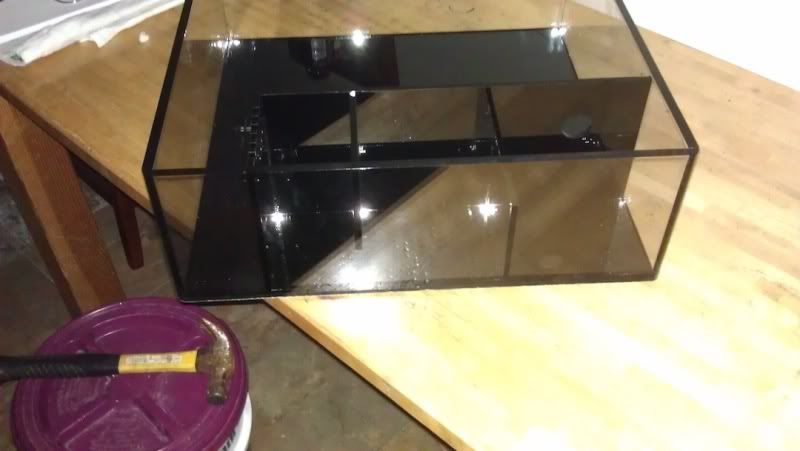
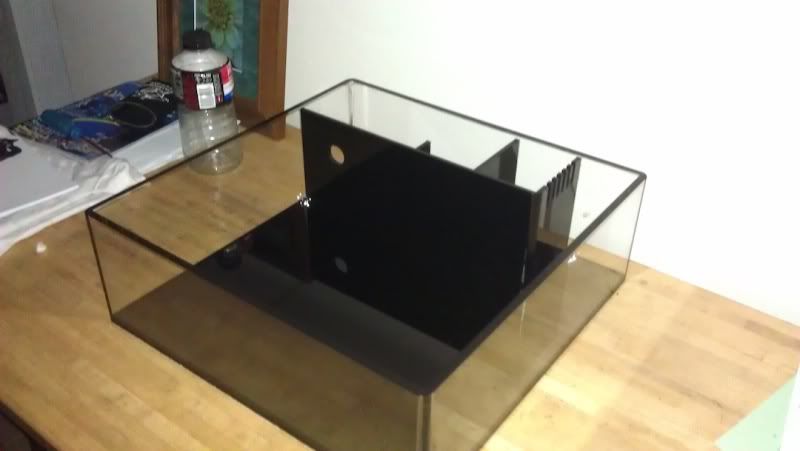
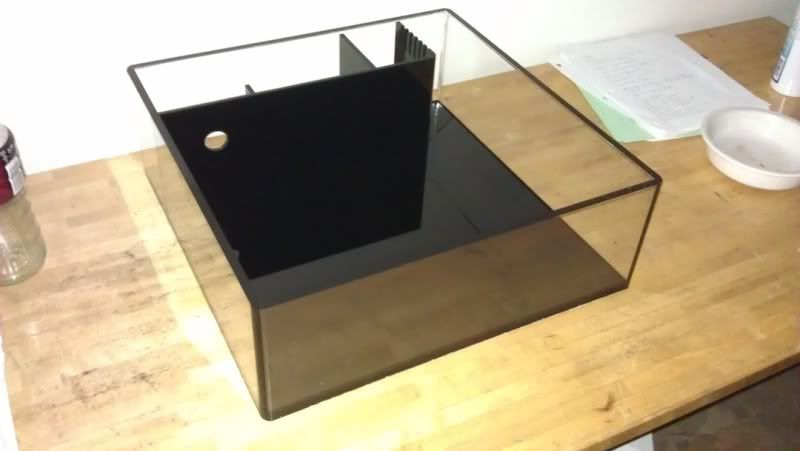
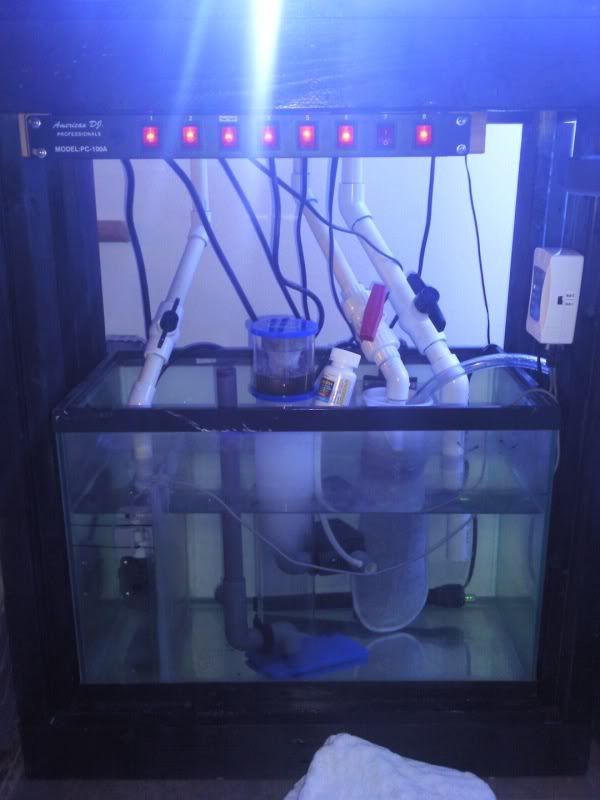
IMO use the 55 for the sump and run the pump internal. Get a clip on fan or two for the t5's. You shouldnt have a heat issue with your return pump. I run a 9.5 mag internal on my 70g with no heat at all. If you have two drops in your overflow I would run a herbie style drain (find this on google images). It is where the lower pipe is on a controlled siphon with a ball valve and the top drain is a safety drain. I've used this for a lot of tanks and IMO its the quietest. This is a pic of how i ran my old systems sump, its pretty simple. The bigger pipe is the safety and the smaller siphoned one is the main drop. I just kept it simple with a skimmer, ato, and switchboard. (of course with the 55 you'll have the option of running a refugium. If you choose to do so i would run it as (drop/skimmer chamber/fuge/return.) The second picture is how my tanks look inside of an overflow box.

-
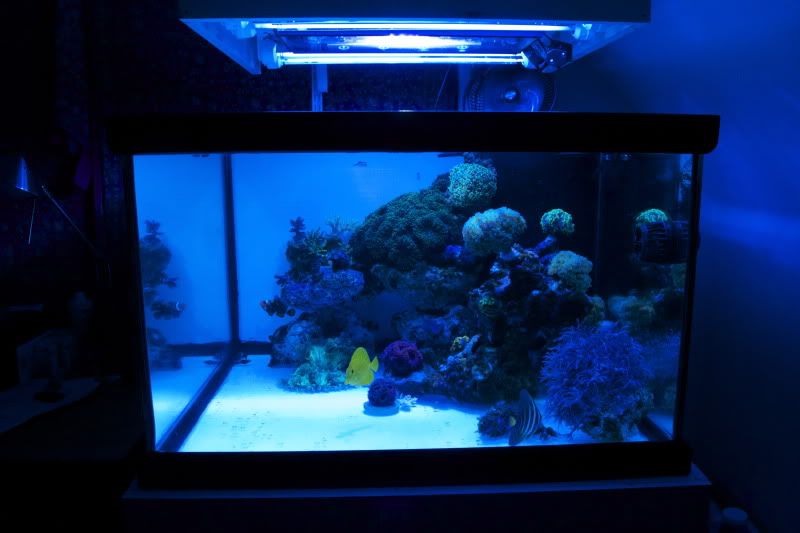
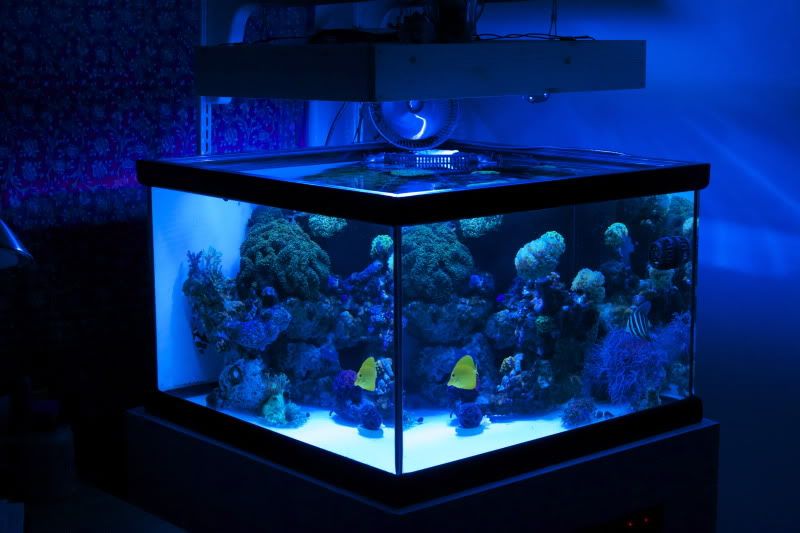
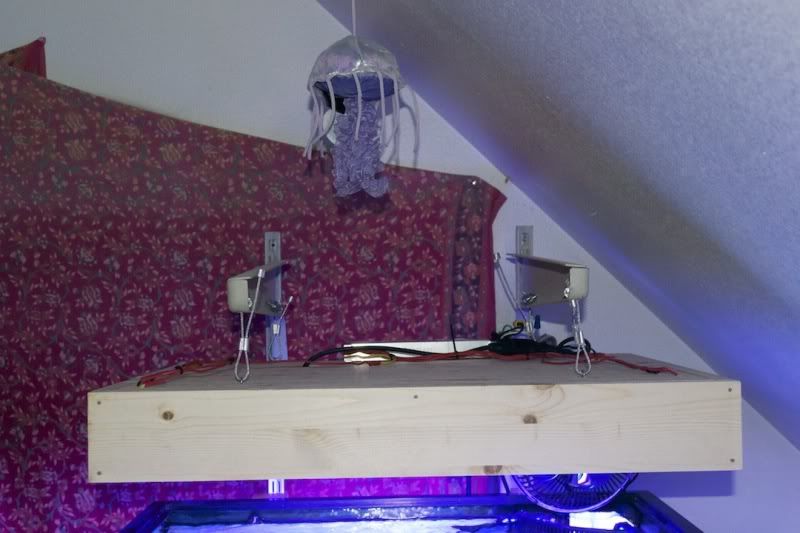
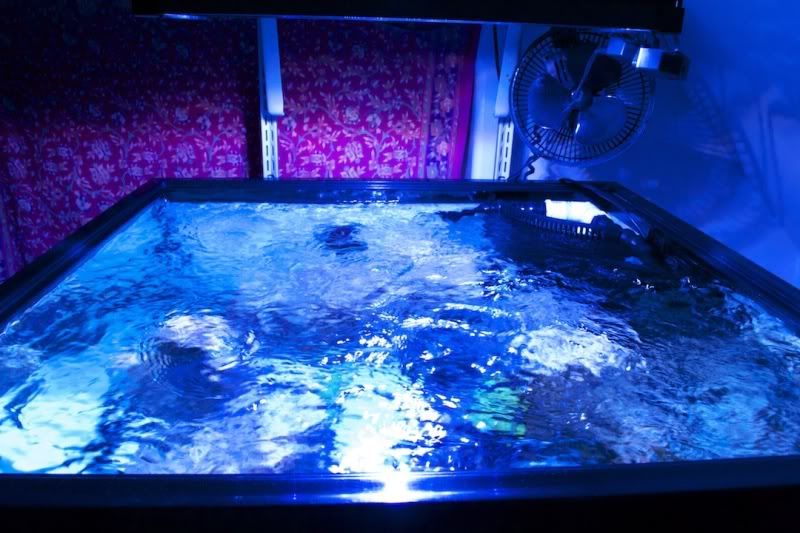
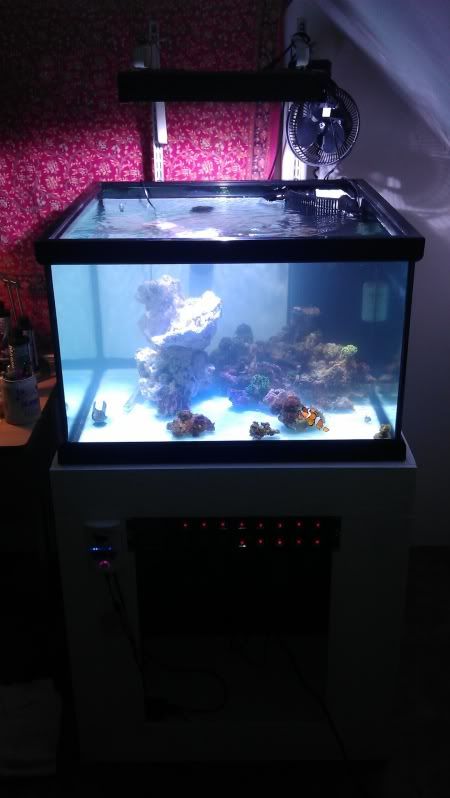
Thanks for the compliments guys! This is my largest tank so far but has been fairly easier to maintain than my previous tanks. As far as the manufacturer of the 70g, it is a Marineland tank. My old acrylic cube is made by advanced acrylics in California, although I'm not sure if they still make tanks. As for the jelly fish, it is a present from my girlfriend so naturally it had to go right above the tank. As time passes I am hoping to fill the BB with various lps and possibly making as sps island in the open corner. Looking forward to seeing some tanks on here.
-
duplicate post.
-
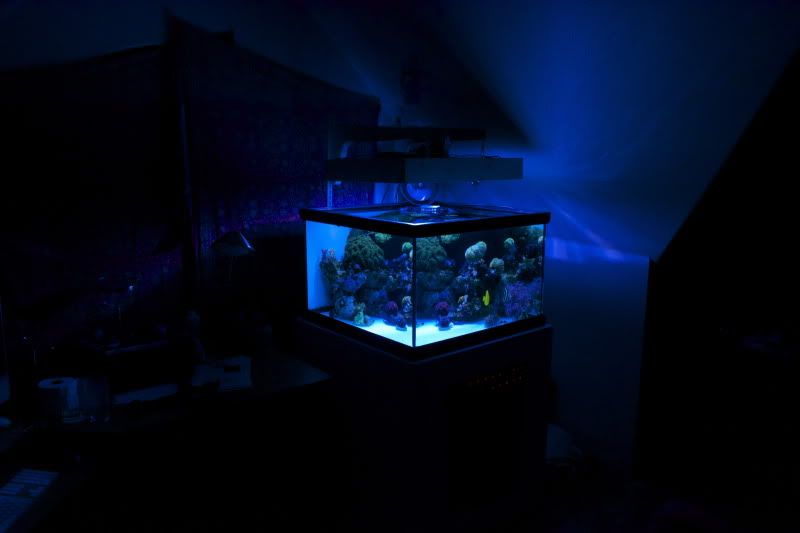
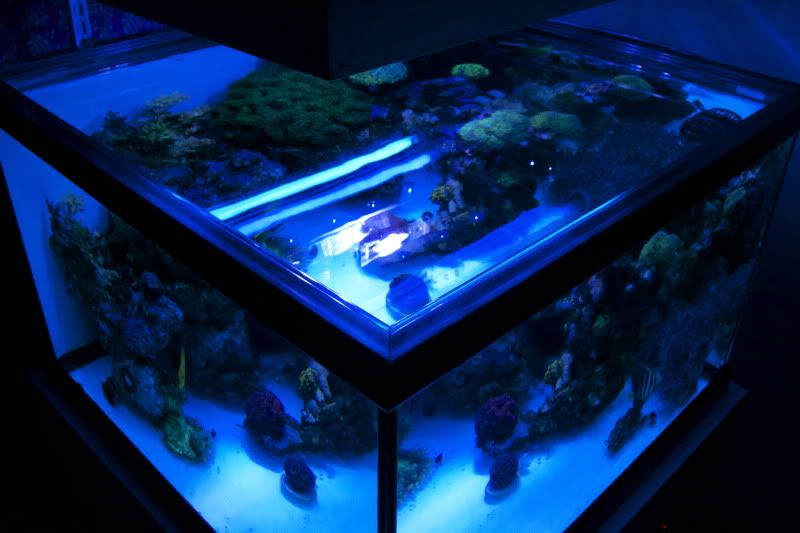
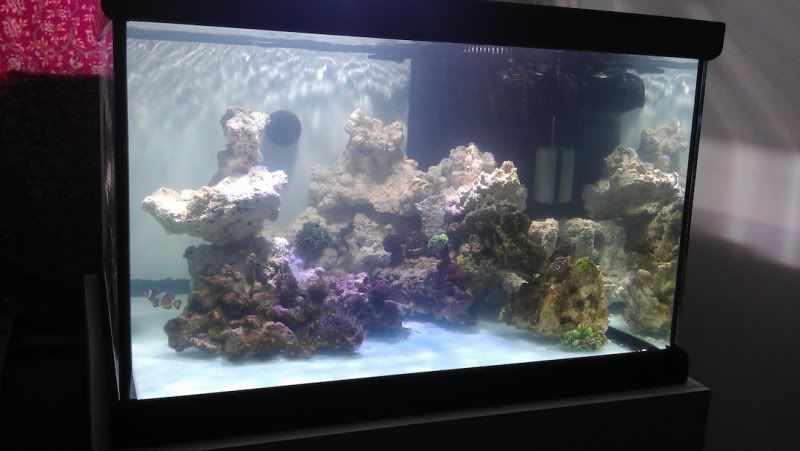
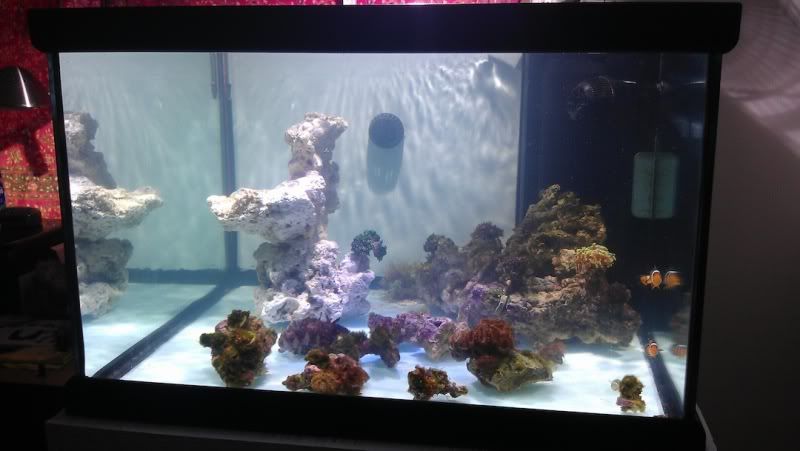
Previous Cube before break down.
-
-
-
-
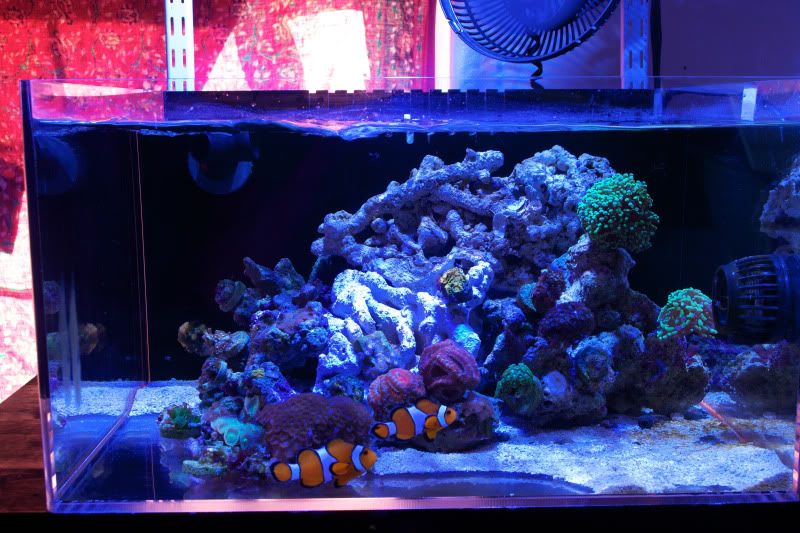
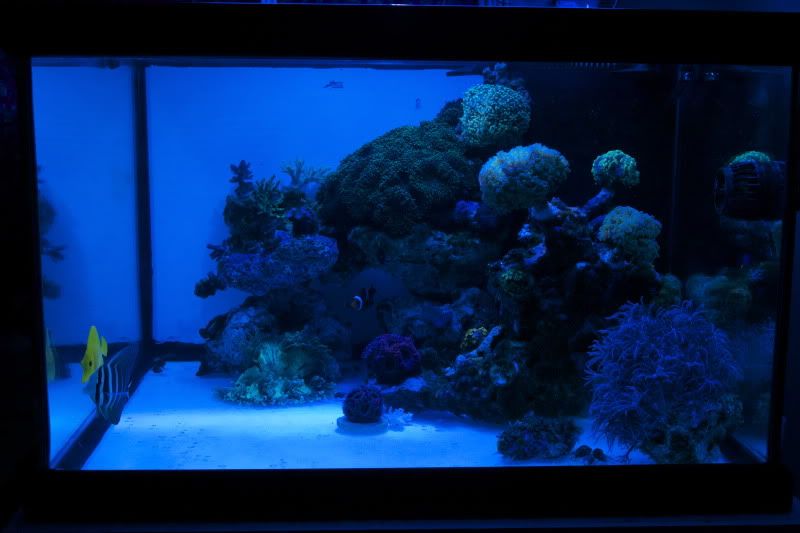
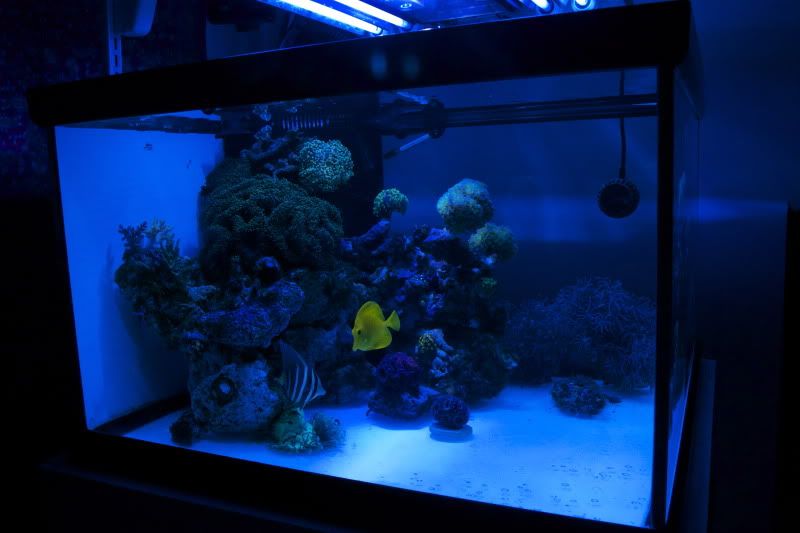
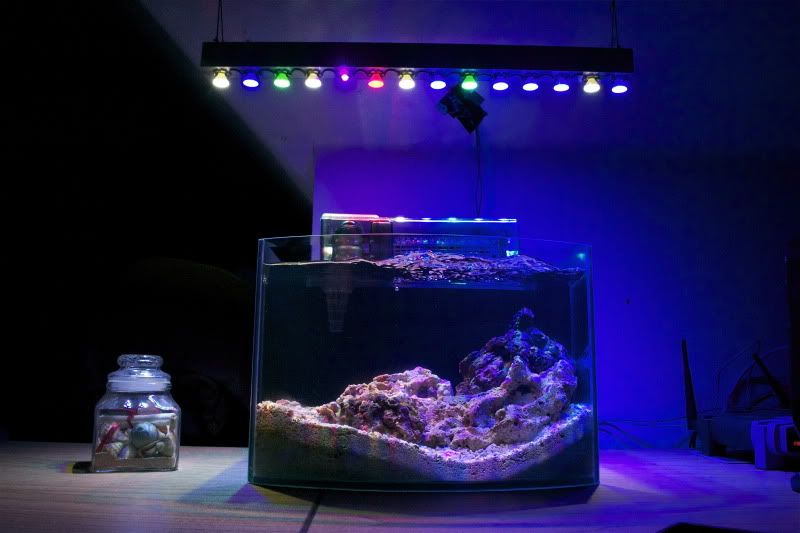
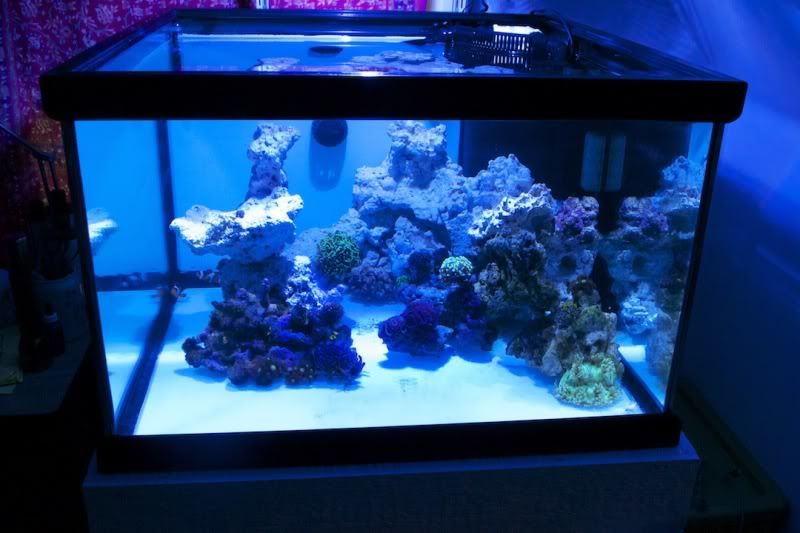
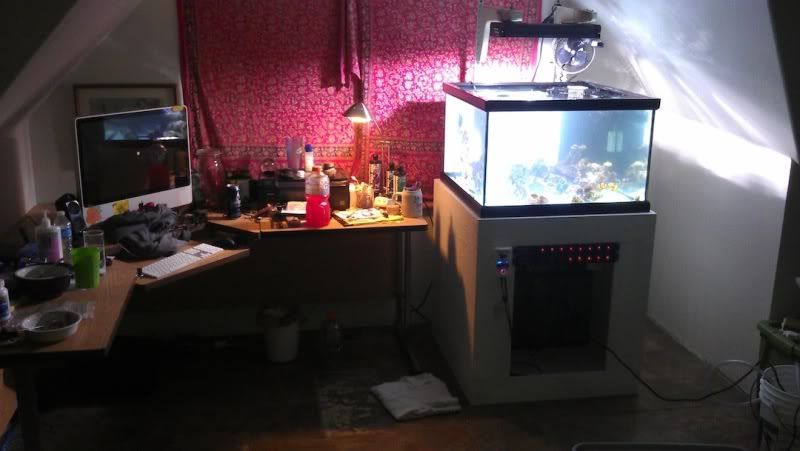
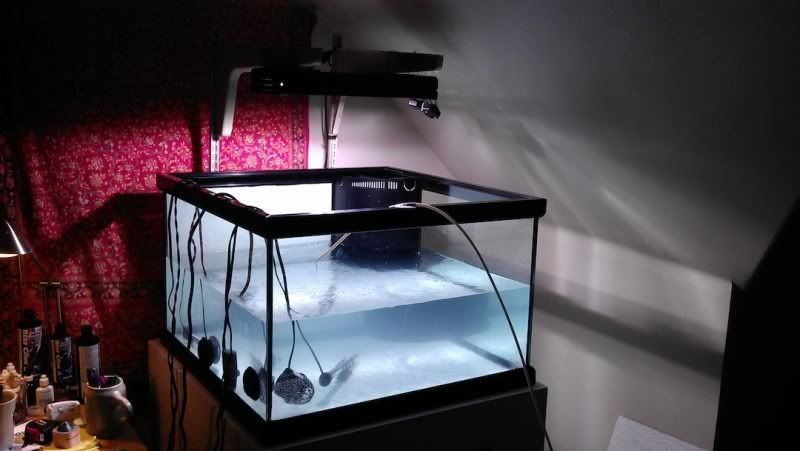
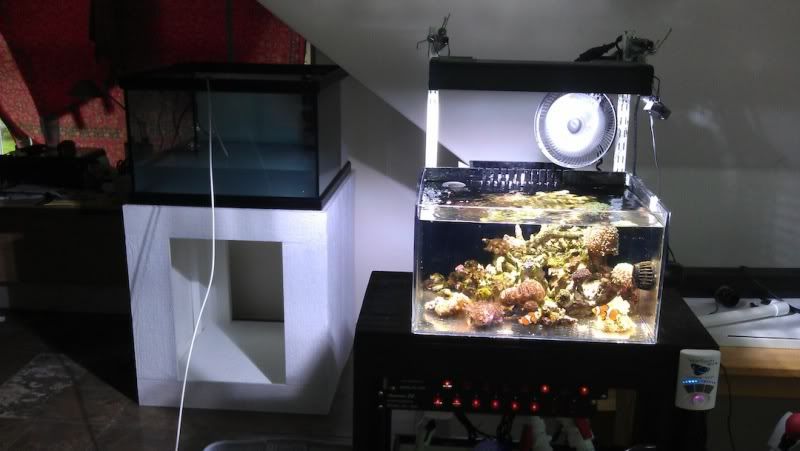
Hello I am fairly new to the pnwmas and would like to introduce myself. My name is Chase Ojala, I am a student of UW Tacoma and have been in the hobby for about 3 years now. This is my current build I have up and running. Feel free to give feedback and check out my old nano thread I have posted as well. Thanks.
Tank start up on November 1st 2011.
Equipment -
Lighting - 150w mh with 14k phoenix, x8 1w Current usa led's, 4x24'' T5's all ati blue plus.
Sump - Both drops going to individual filter socks, Jbj ATO, Eshopps psk 100 skimmer, mag 9.5 return, Aqua lifter for Kalkwasser, Brs dual media reactor for carbon and gfo.
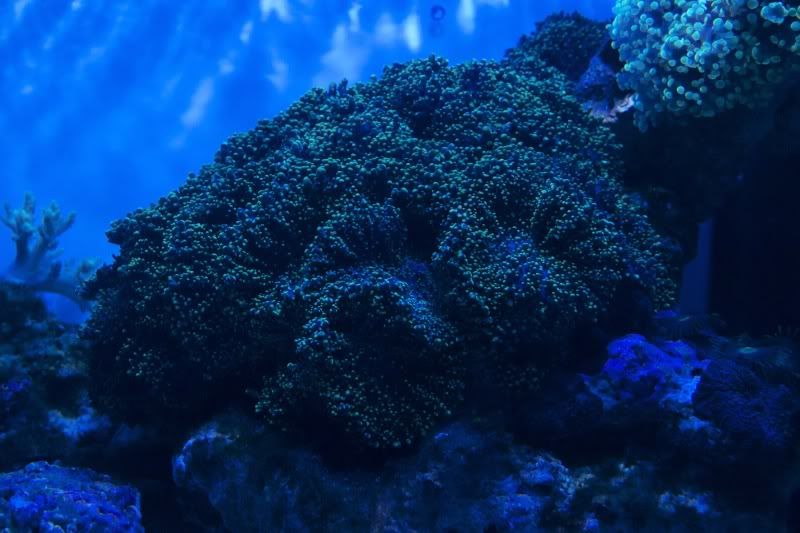
Display - Mp10es, 80lbs of rock, Lps and sofites.
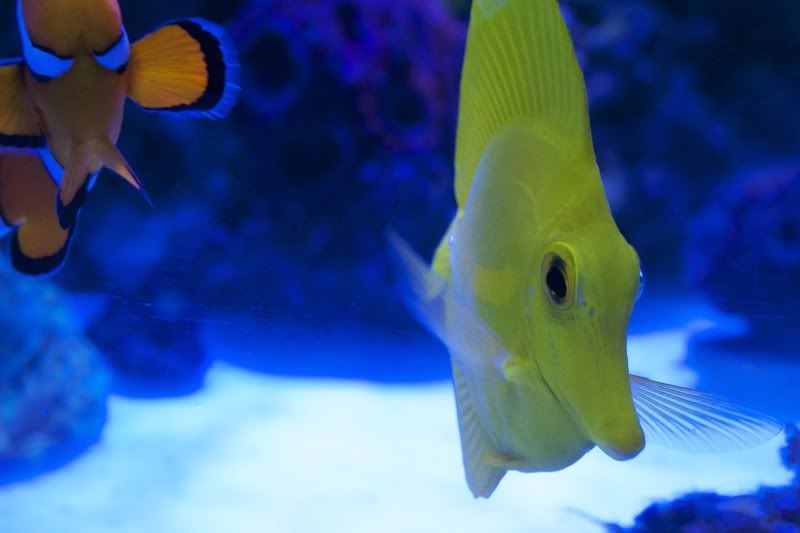
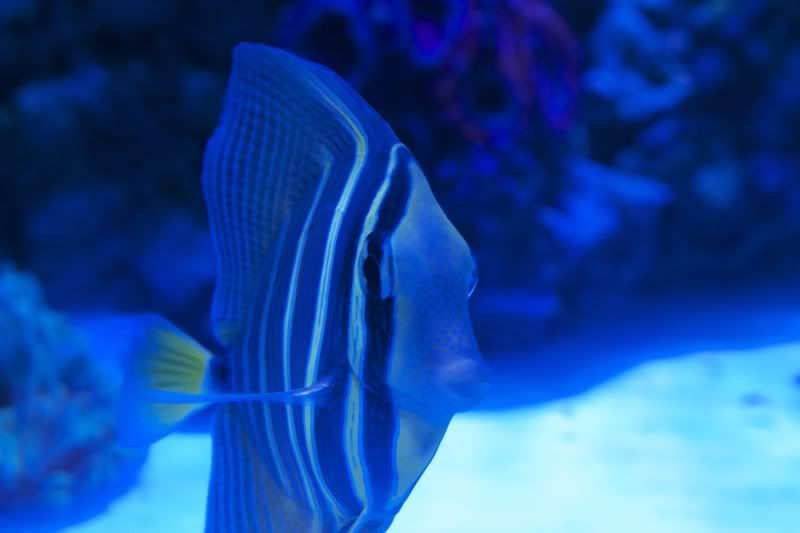
Fish - Small/Med Sailfin and yellow tang, Mature pair of clowns, tail spot blenny, six line wrasse, small yellow tail damsel


J-Dog's NEW 60x30x24 BUILD
in Tank Threads
Posted
Im talking about a full top to the stand. You will blow a seam in the bottom of acrylic unless the whole bottom is supported by an even sheet of plywood. Acrylic flexes and bows as it will do in the gaps in your stand, Im surprised it is holding anything if so. Just trying to potentially prevent a seam failure, jason builds some quality systems. The stand pictured would be fine for glass since a glass tanks edges are supported by a frame suspended above the stand.