

Ryan
-
Posts
539 -
Joined
-
Last visited
-
Days Won
2
Content Type
Profiles
Forums
Events
Store
Posts posted by Ryan
-
-
I'd love a piece of the Kiwi and the Greenbirdsnest. Will take the large ones if still available.
Shall we cal it $25 for both?
I'll be at the Meet and Greet tomorrow. Can ya bring them?
I would also like a large frag of each. Please let me know!
-
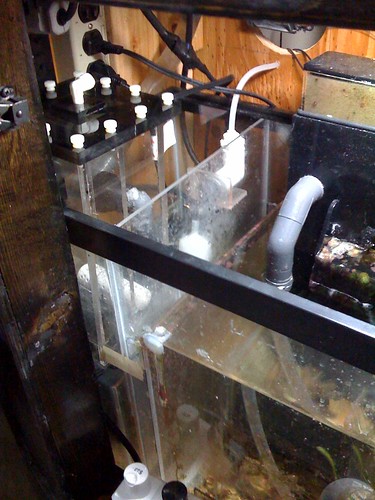
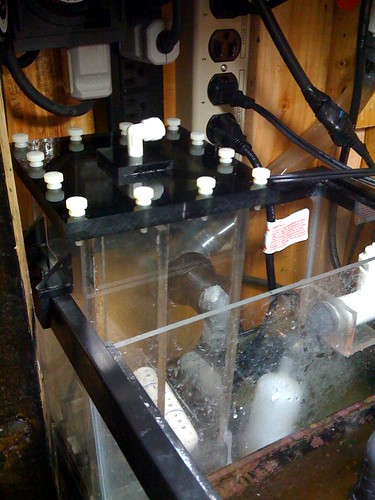
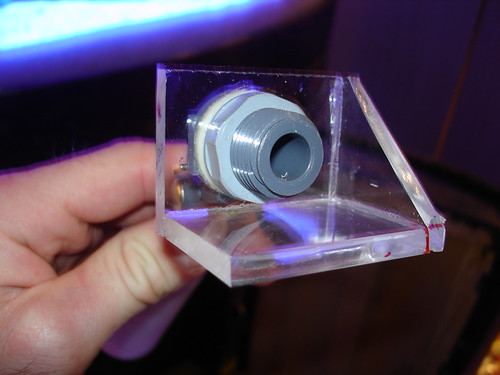
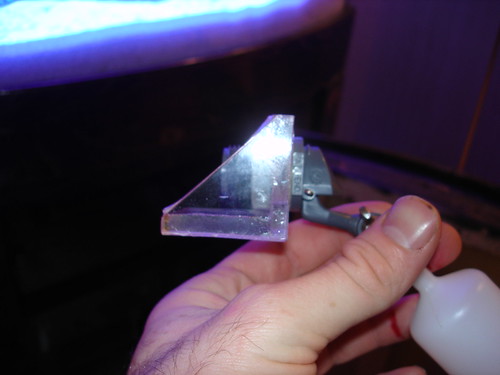
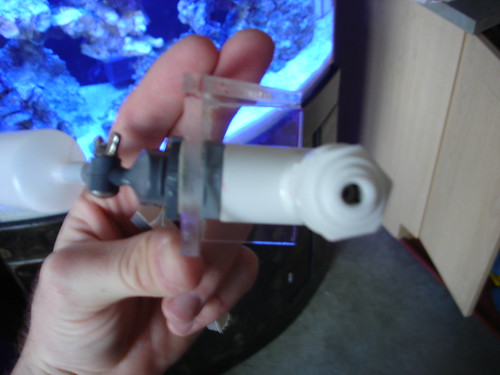
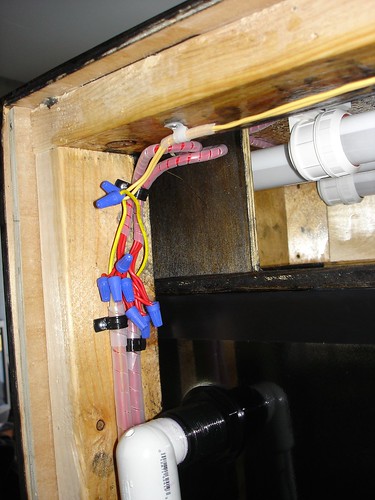
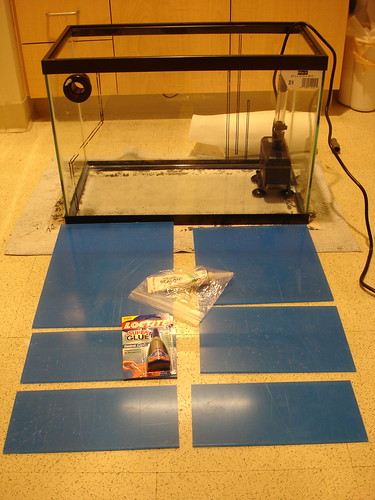
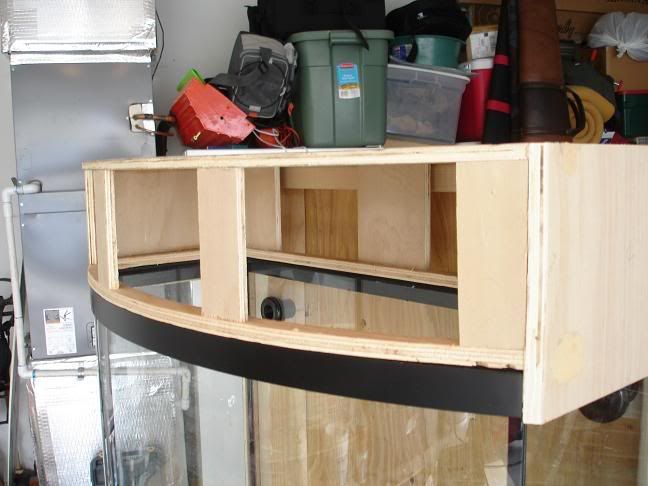
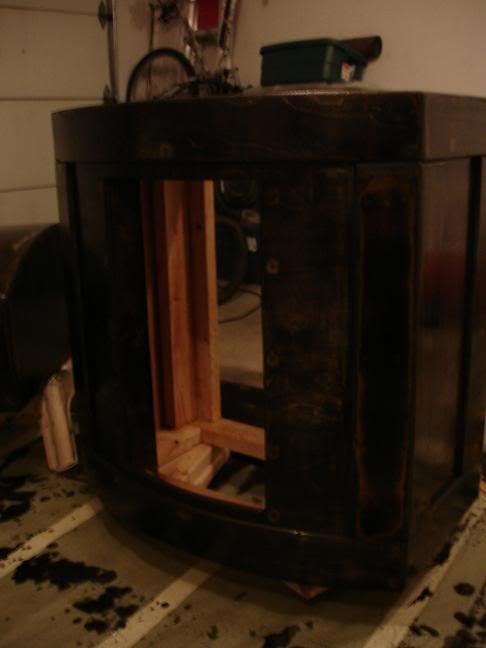
Some new pics of the reactor build:

(just emptied water out of it)
-
i dont know squat about Ca reactors, but it sure looks nice:) Another excellent DIY project from Ryan!
Sidenote: anyone have a link to a good DIY skimmer? Cheap and simple would be the key...it wouldn't need to be the most powerful/efficient, just "good". Something on the order of a 150-250g system...
Well, building a skimmer might be next on my list! You can build a skimmer for cheap if you aren't worried about using nice materials. For example, you can use PVC for the main body instead of acrylic (which for 6" cost $26 per foot at Tap).
-
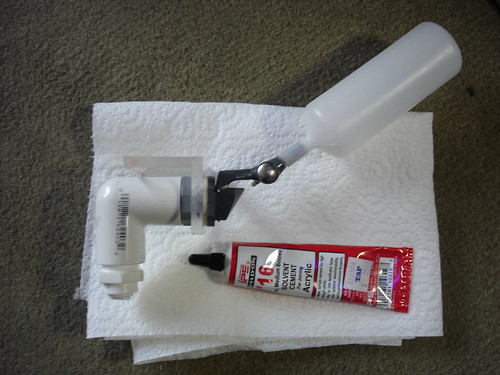
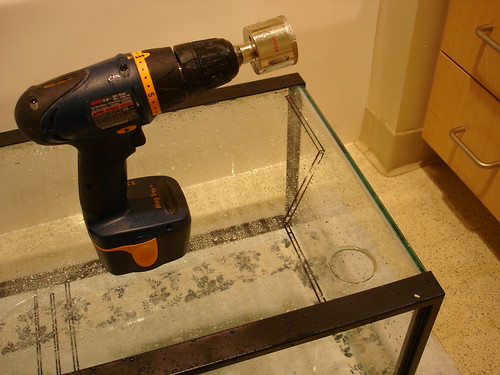
I started a new project yesterday for my tank! I really want a calcium reactor, but do not have the room under my stand so I decided to make one that will fit in the corner of my sump!
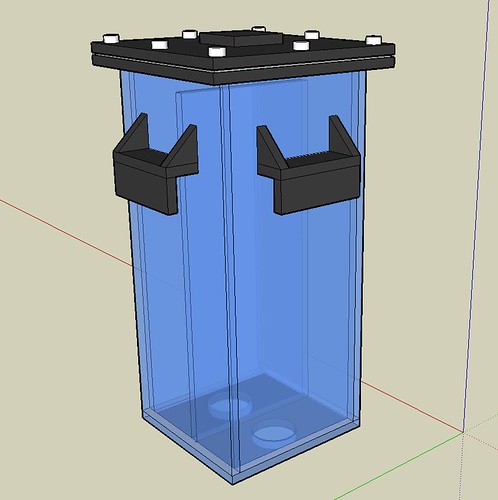
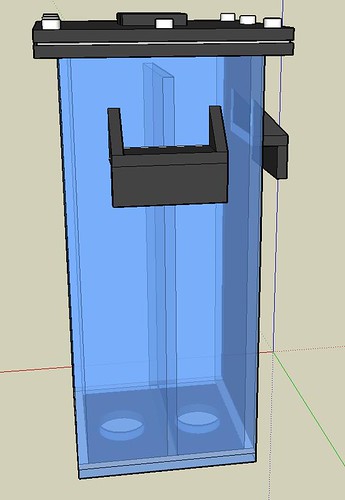
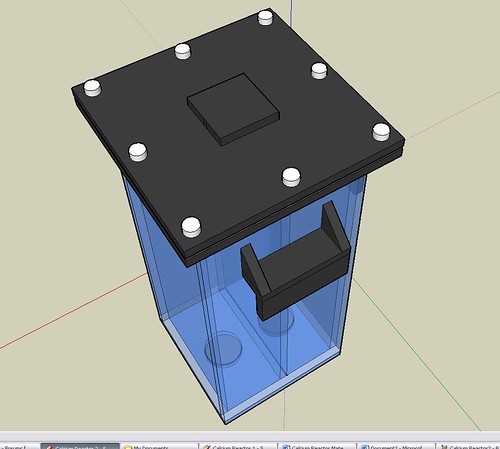
Its a scaled down version of the "DJ88" Reactor seen here: http://www.melevsreef.com/dj88.html
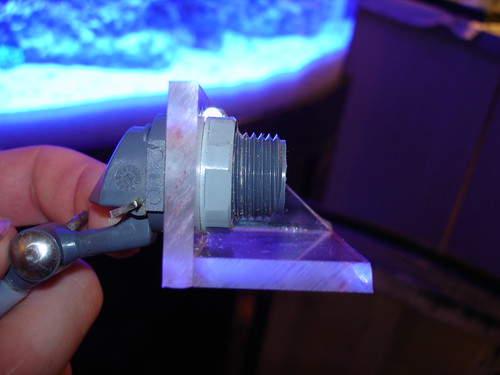
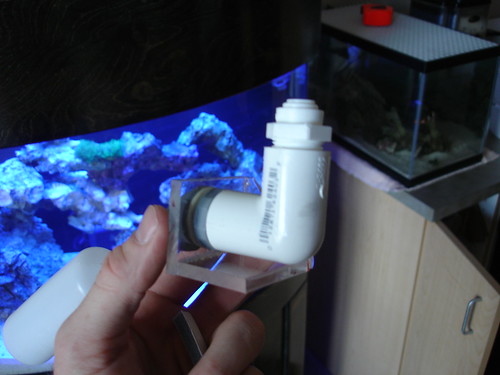
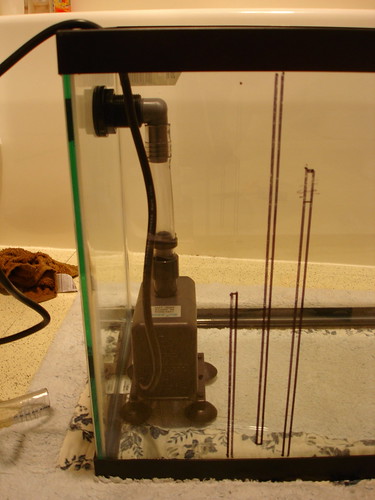
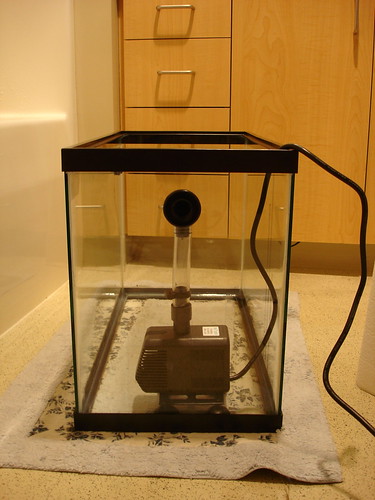
I also put the plumbing and circulation pump together yesterday! Im going to use a MJ1200 with very little plumbing since I do not have a lot of space.
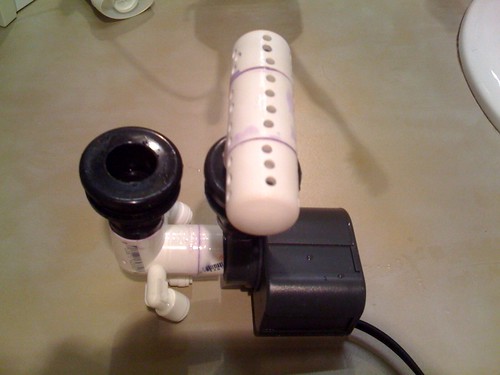
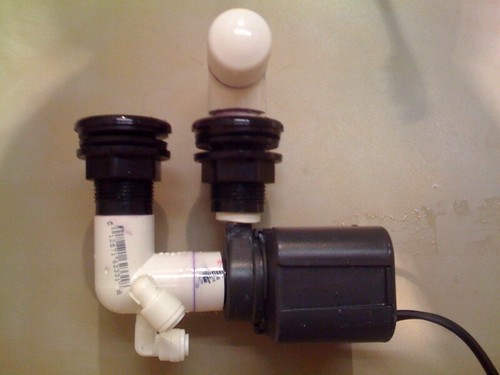
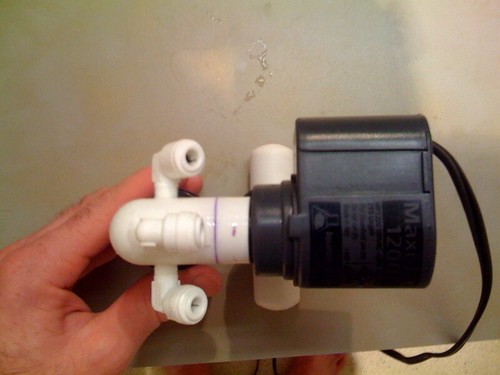
Water from the tank will be injected into the left side fitting, Co2 into the center, and the right side fitting will be used for the Co2 re-circulation loop.
The 2 bulk heads you see on the pump/plumbing will go into the bottom holes on the reactor. Effluent will exit the reactor on the lower left hand side of the smaller chamber of the reactor.
Tap Plastics will have all of the pieces cut on Monday. Its only $35 for all of the acrylic cut to size, holes drilled, & top flange cut!
-

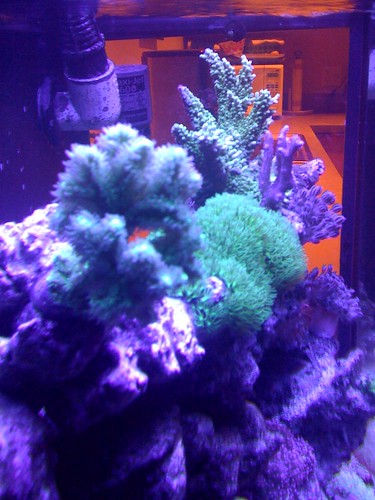
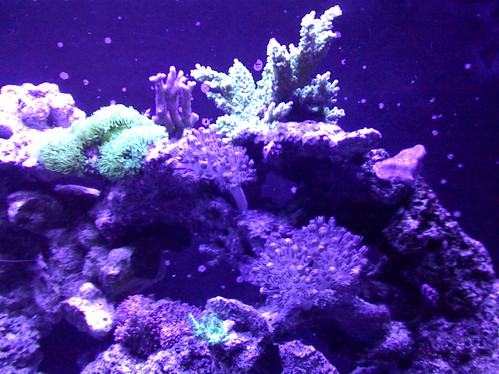
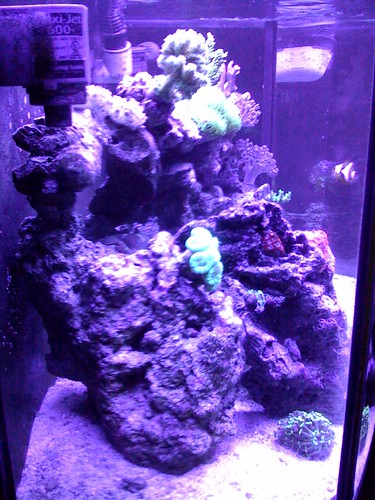
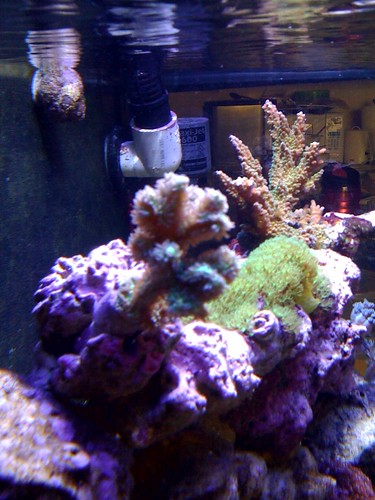
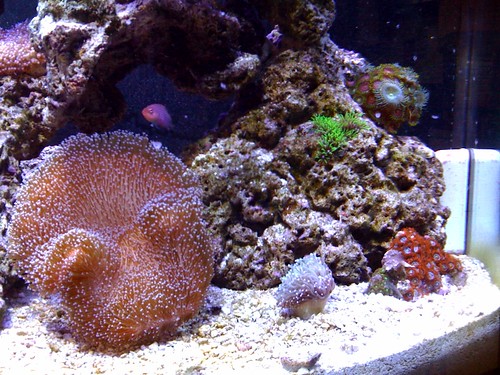
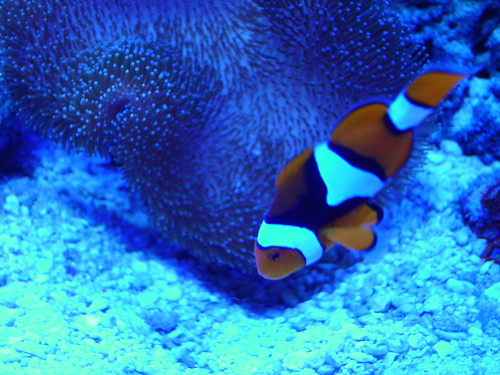
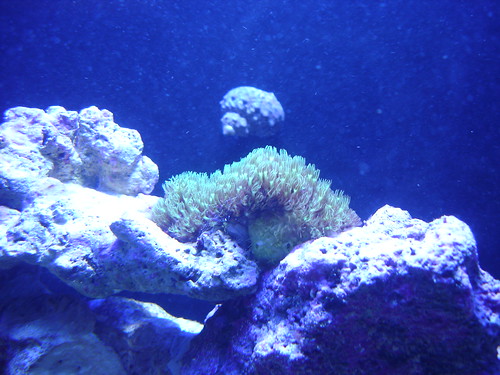
(corals are all pretty closed up, the lights were off for an hour when I took these pics)


This is only the 2nd time I have turned this light on. I have to admit, it almost looks as good as my MH/VHO light setup!
-
I currently use Reef Chili, and have got good results. I am thinking about trying Coral Frenzy and alternating it with Reef Chili to give my corals a bit of variety!
-
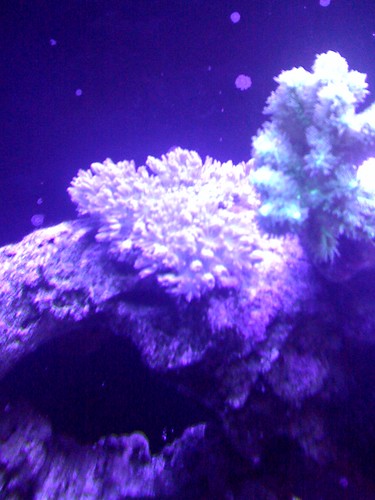
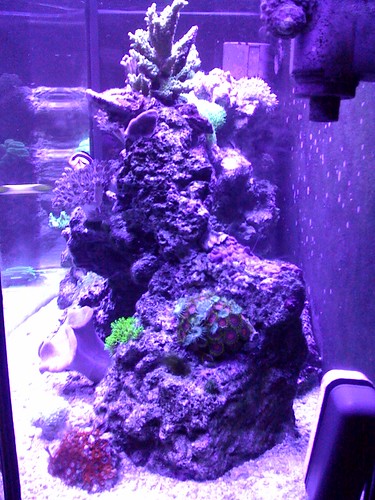
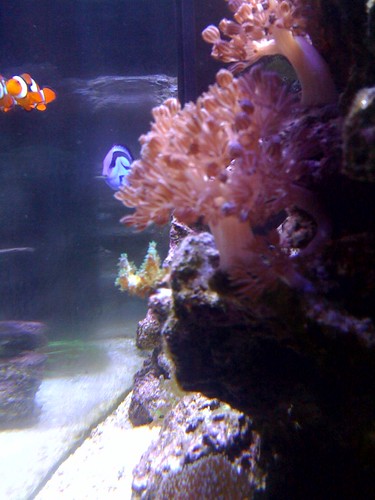
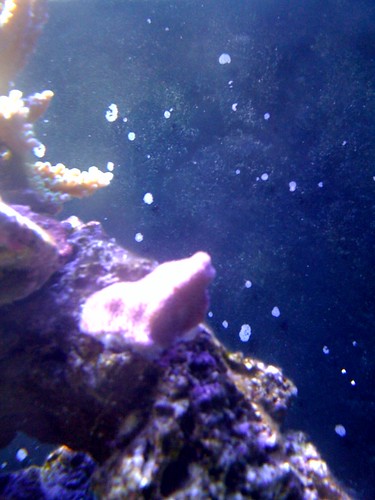
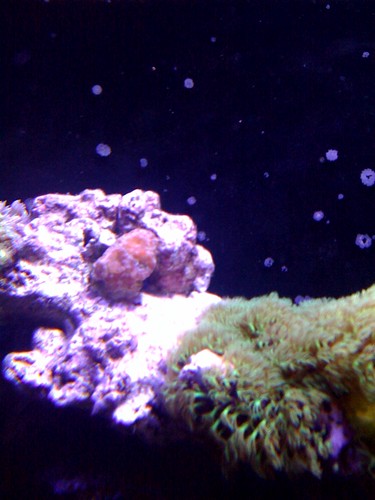
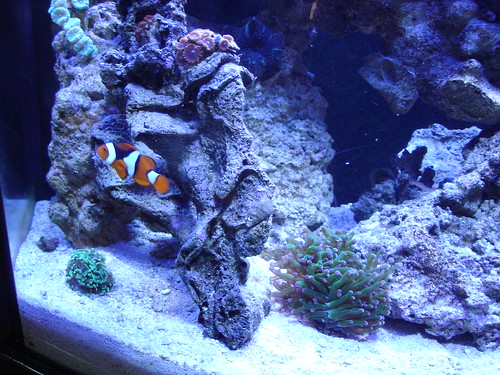
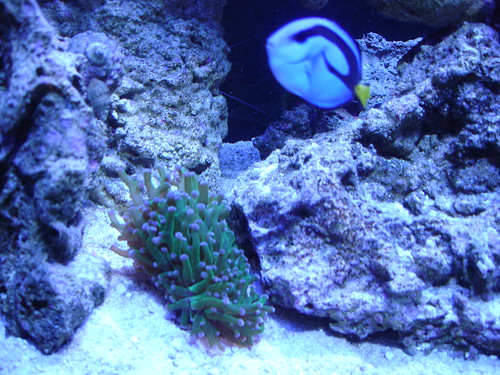
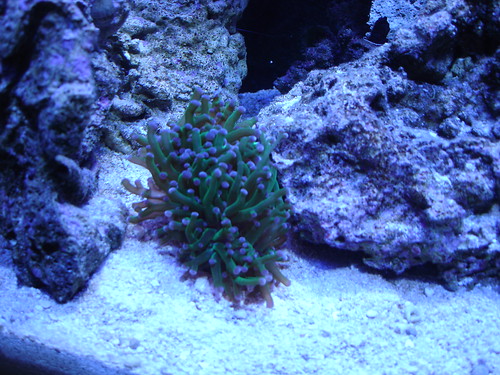
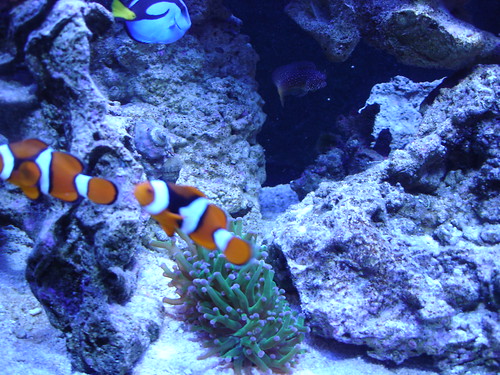
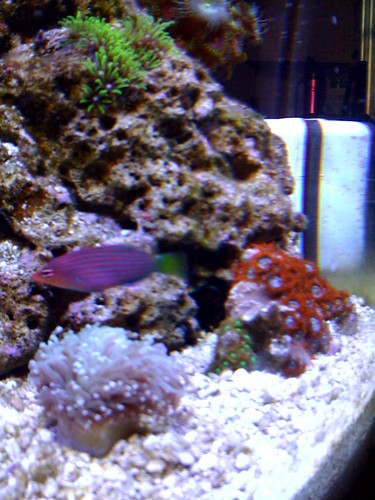
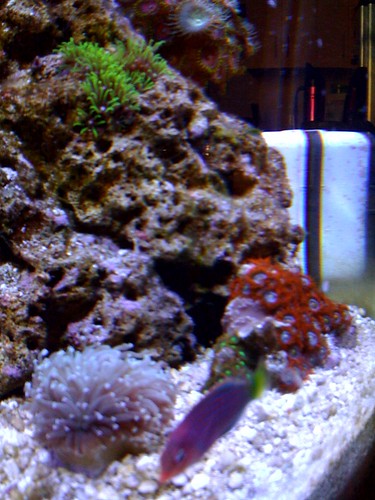
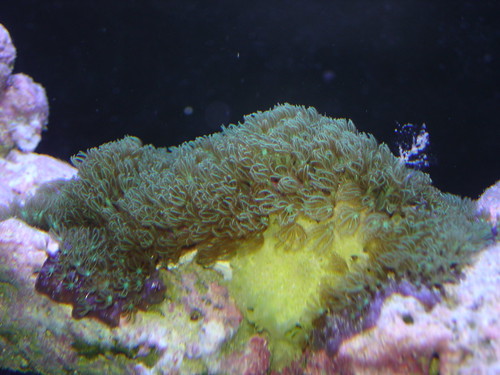
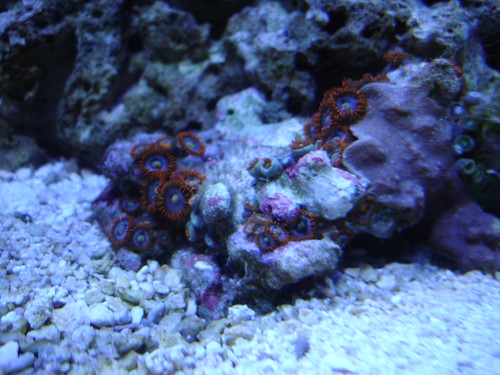
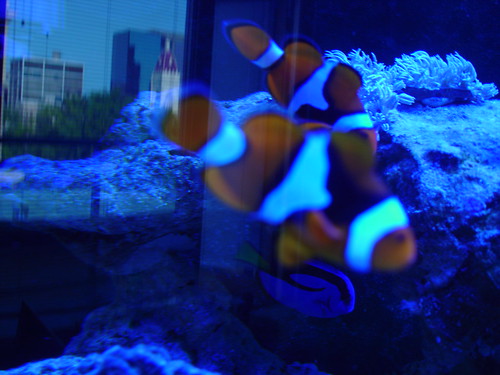
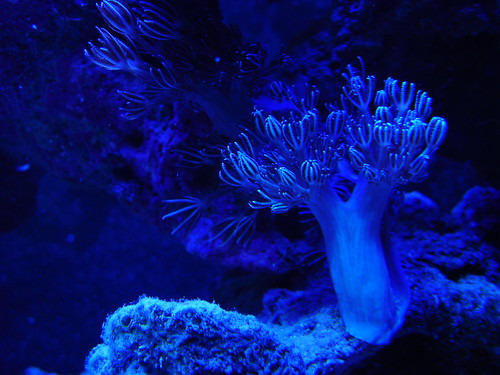
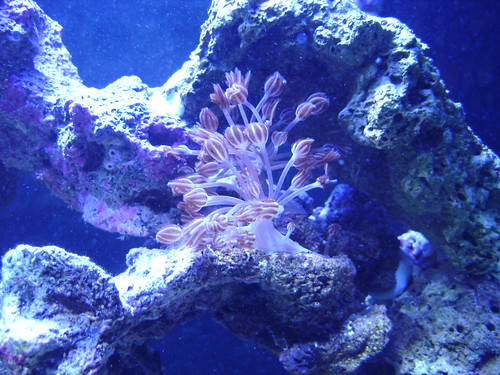
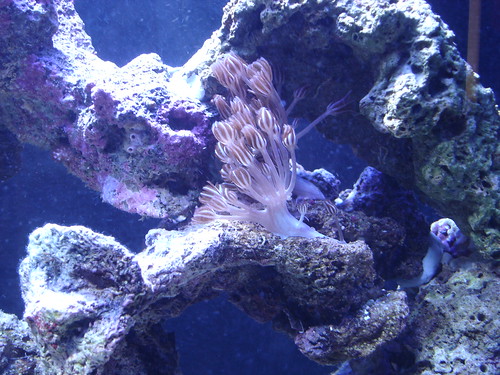
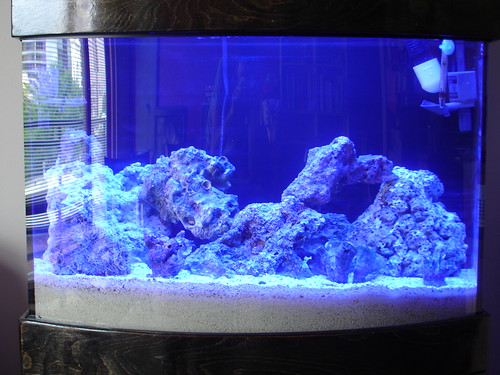
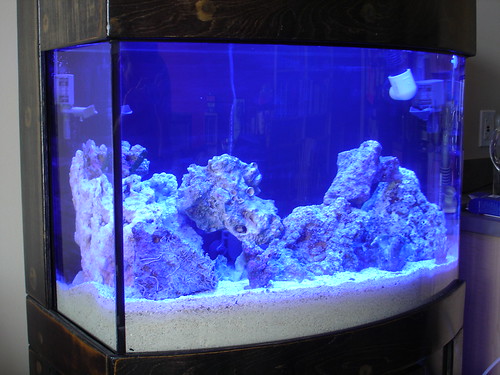
Heres some pics I took last night with just the actinics on. Everything looks pretty good except the toadstool was closing up.
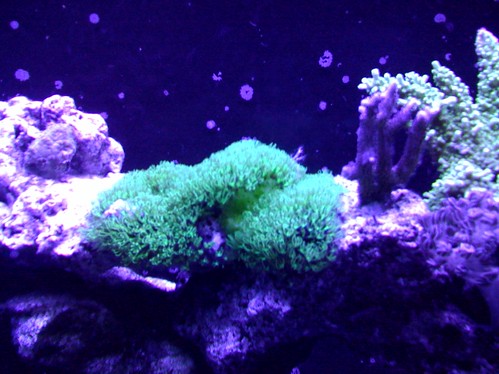
-
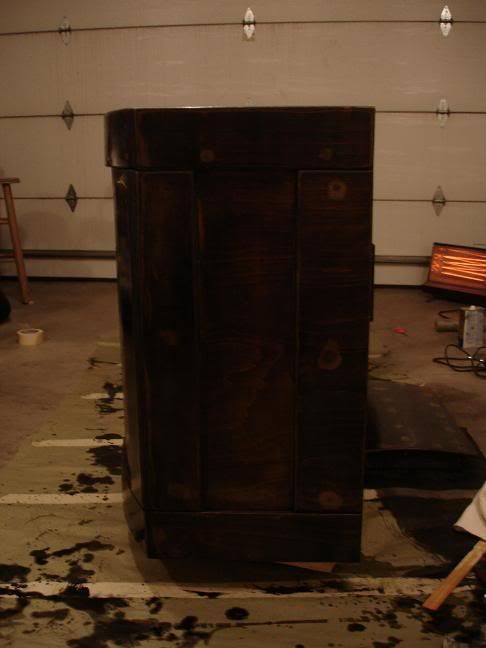
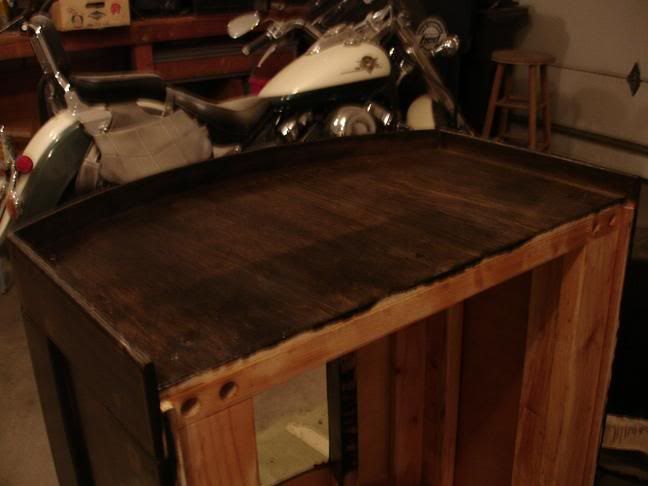
Downhill, Ill try to get some better pics of it today when my lights turn on....
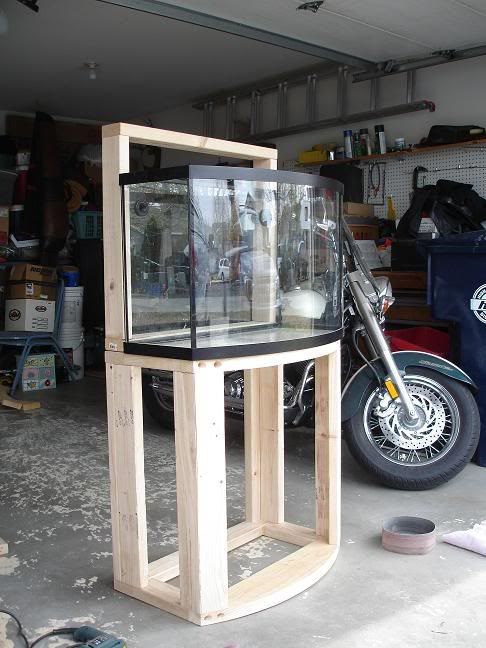
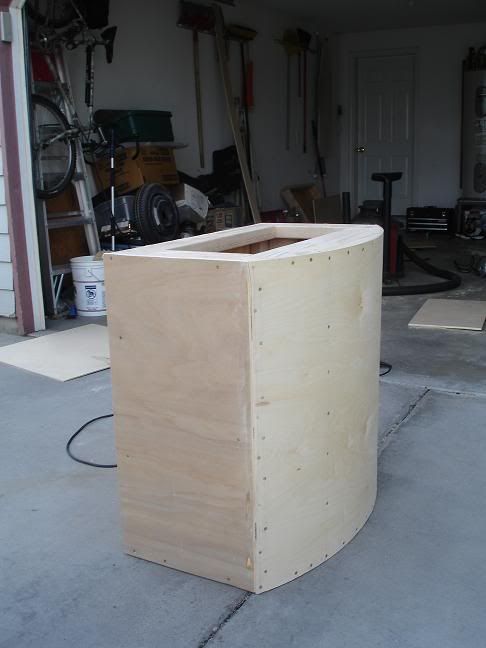
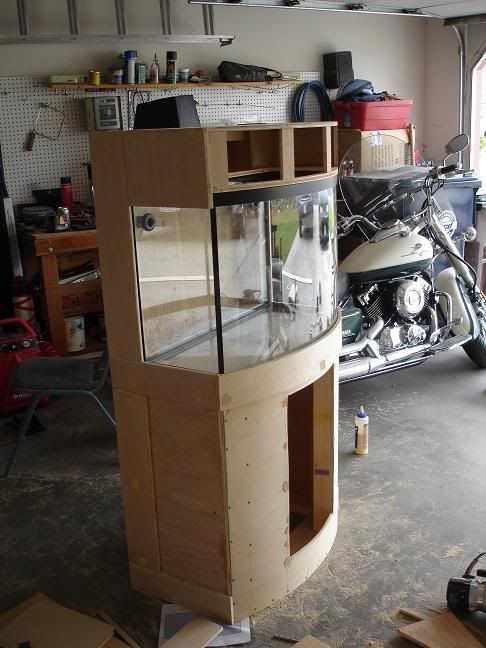
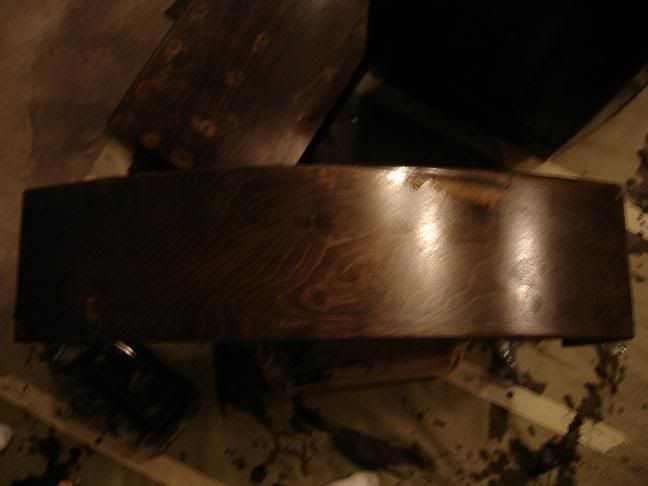
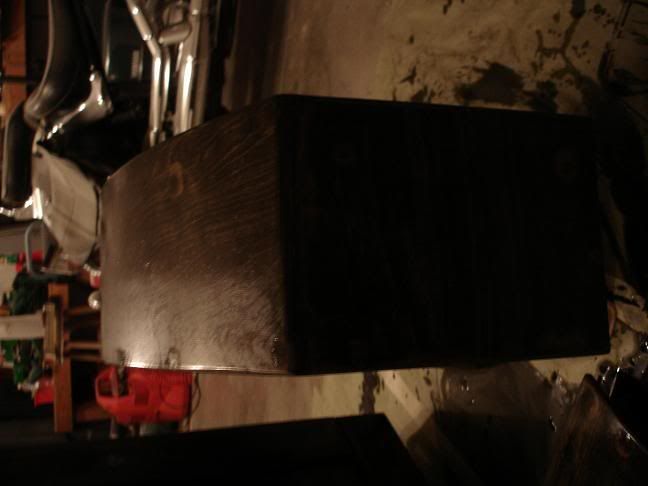
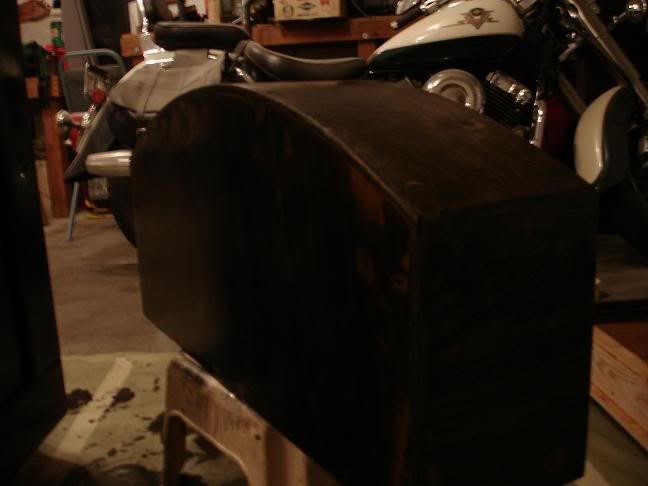
As for the putty showing on the stand, it shows up a lot more in the pictures then it does in person. I was not planning on the putty showing when I built the stand, I though the putty would absorb the stain more. Honestly though, like you said, it does give it kind of a rustic look which pretty good.
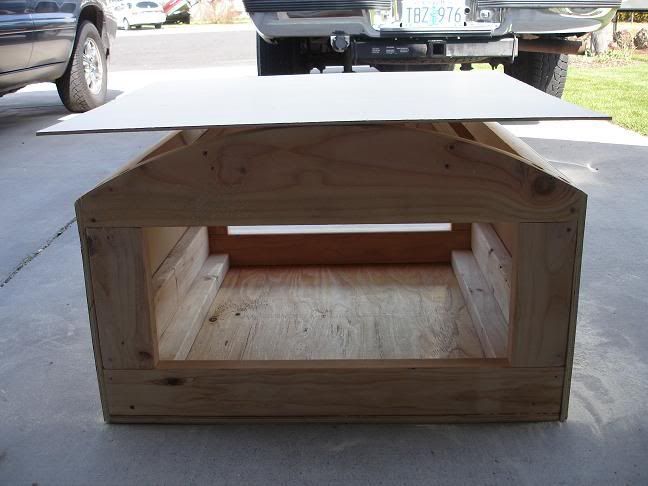
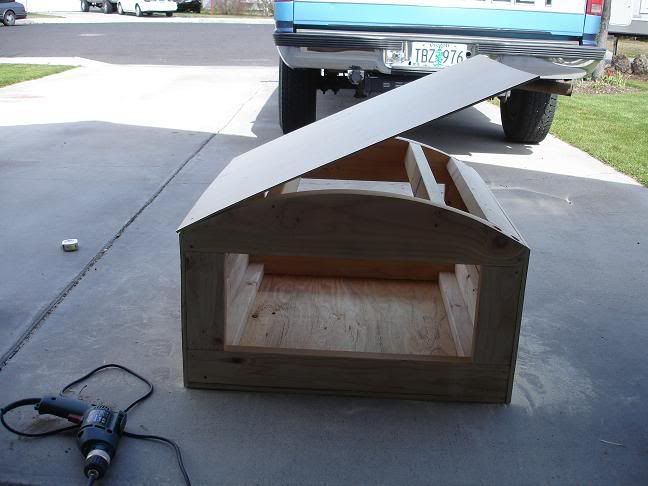
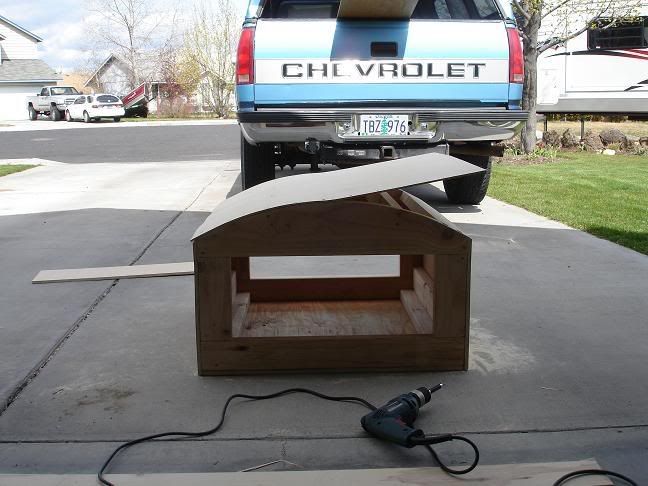
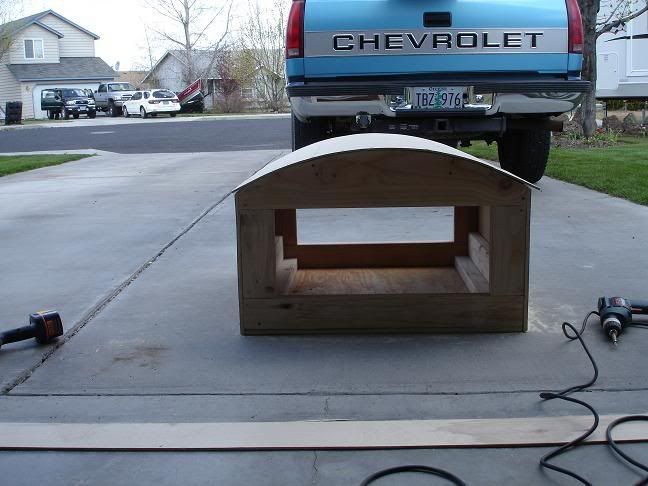
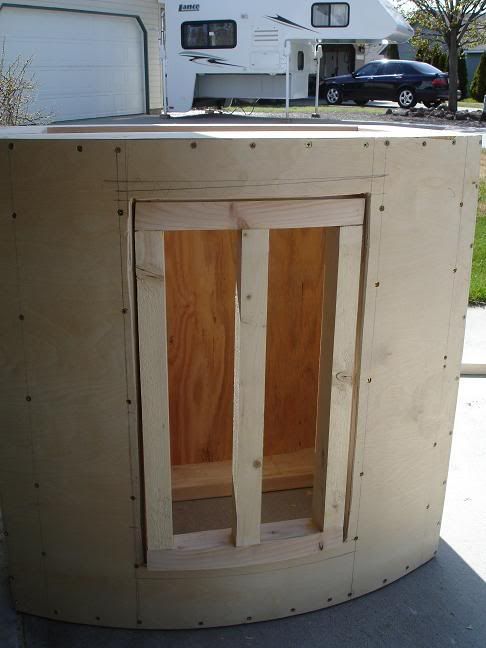
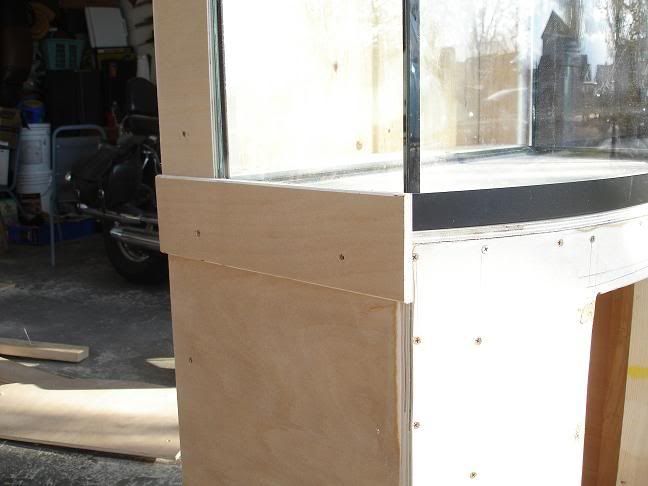
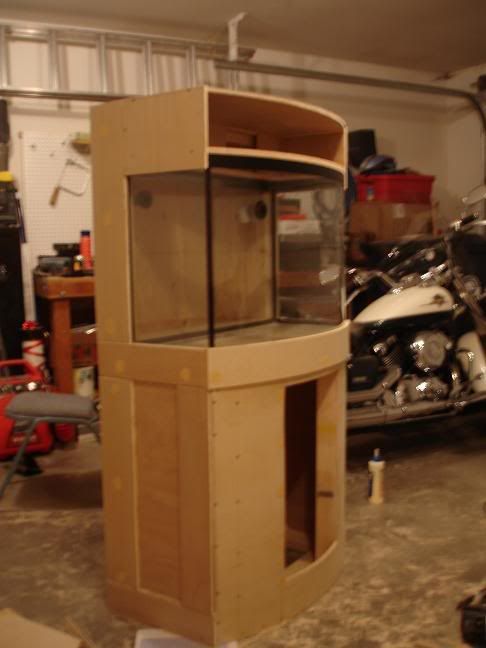
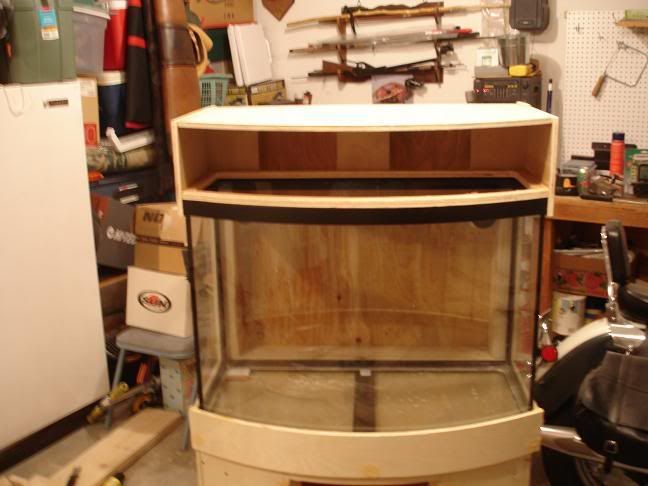
A bowfront stand for a 72g will be much easier to build I think! The radius is much less steep then the 36g so it will be a much more gradual bend. to achieve the bend on the front of my stand, I used 2 layers of 1/4" birch plywood glued/screwed together. The rest of the stand is 1/2" birch plywood screwed to the 2x4 frame. My stand is a tank, way overbuild for just 36g....lol!
I took some more pics last night with just the actinics on, let me up load them then I'll post them!
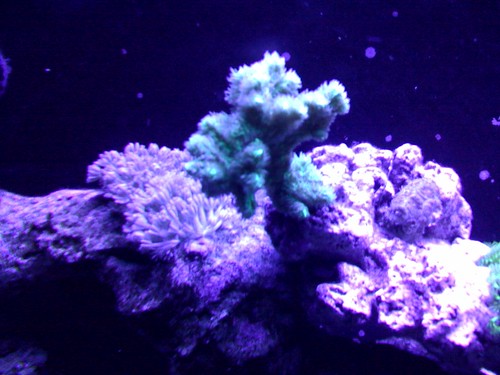
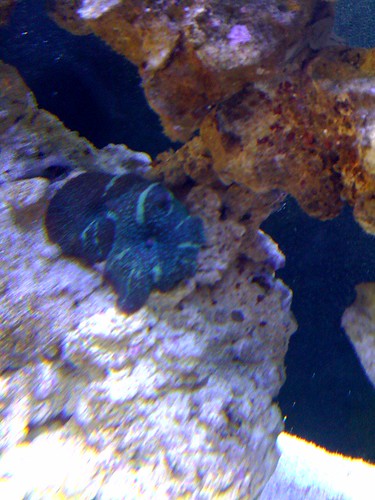
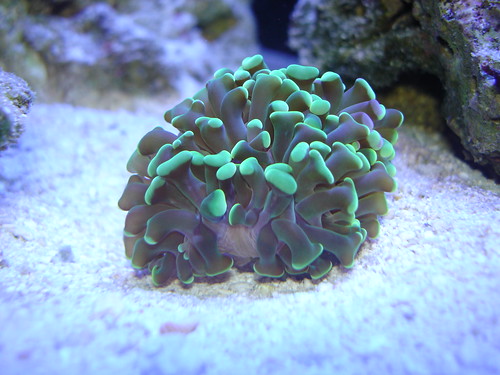
Oh, Downhill, heres a slightly better pic of the SPS I was asking about:
-
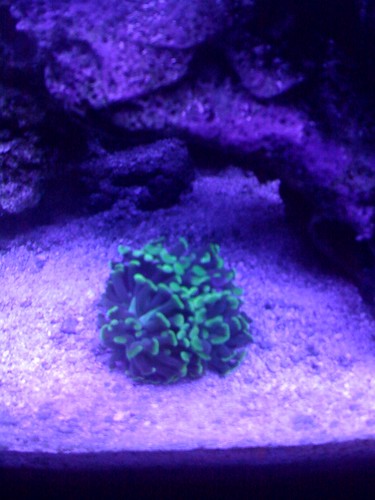
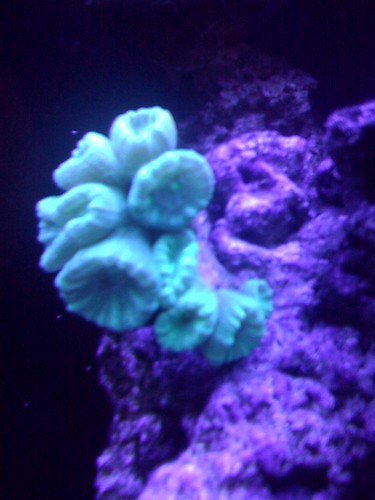
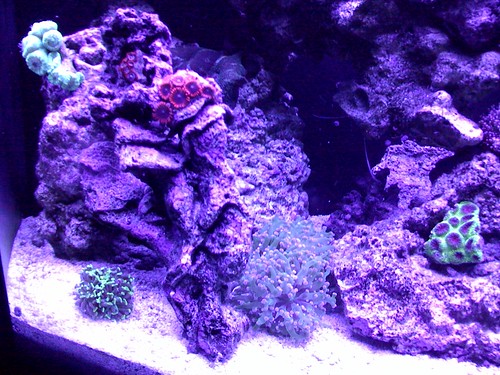
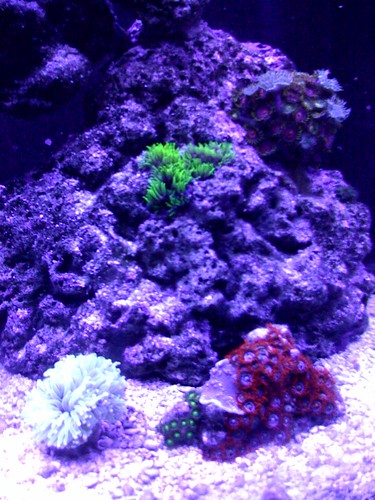
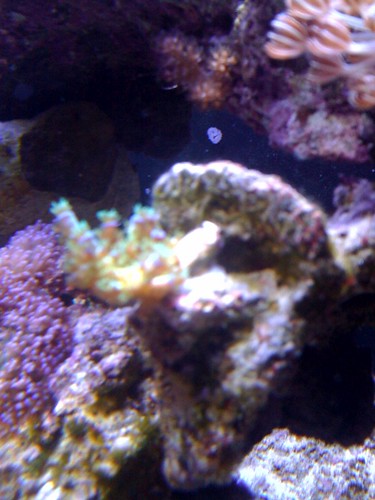
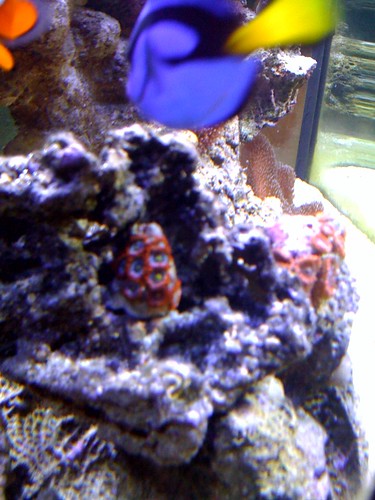
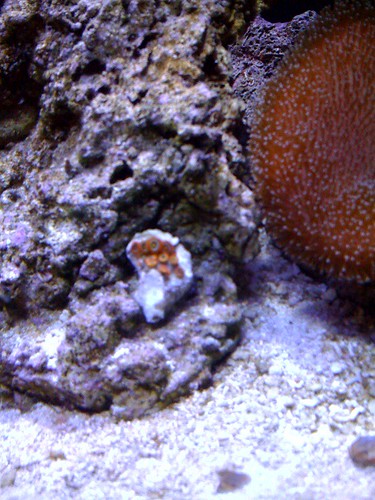
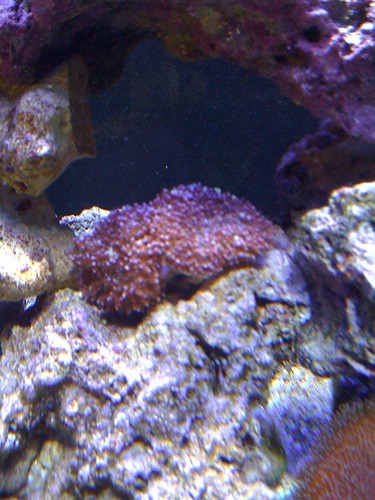
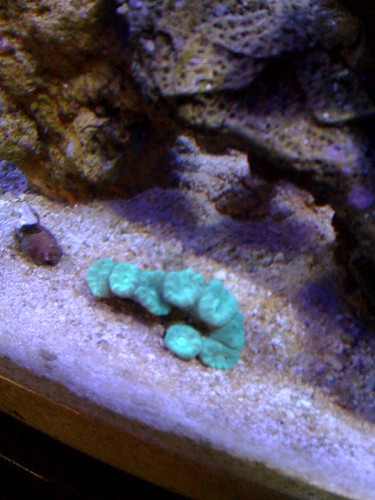
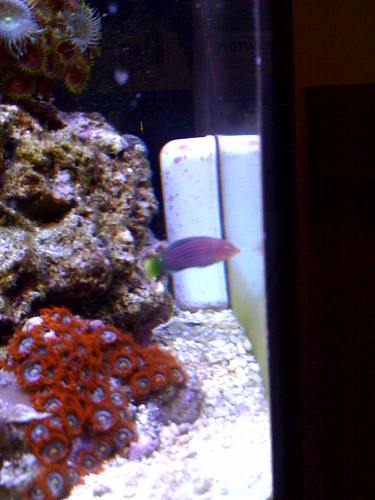
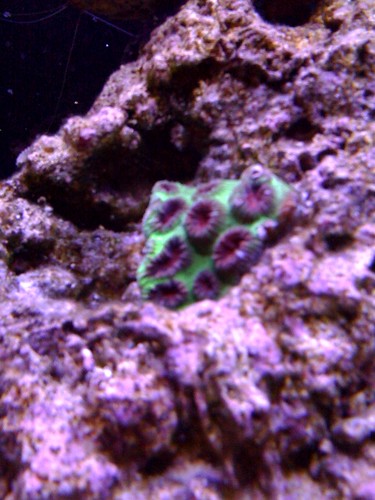
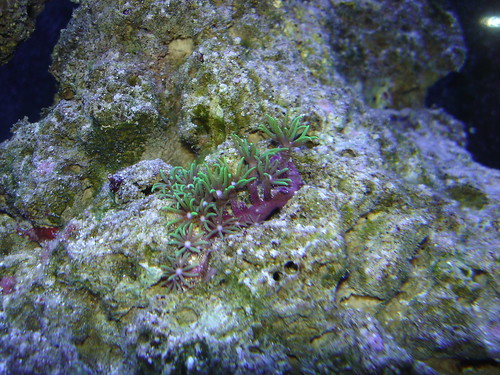
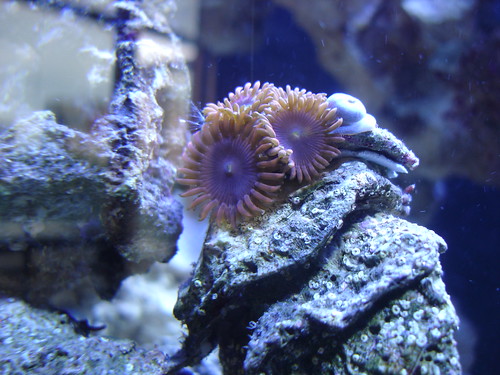
Newest frags (pics took with phone)
Purple Haze Montipor (could not get a good pic for anything, lots of light reflection)
Red/white acan of some sort I think(anyone know the name?)
Birds Nest
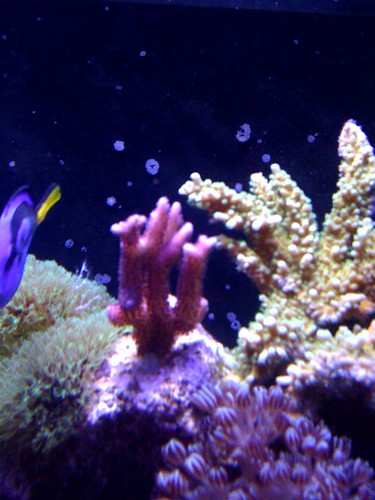
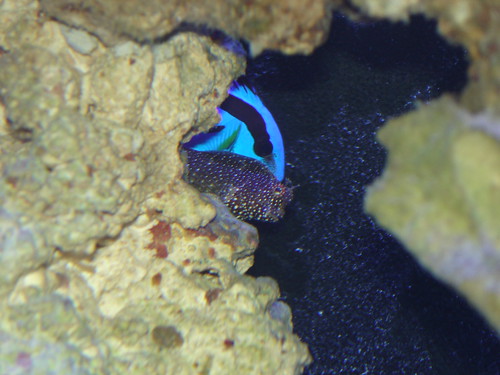
SPS of some sort (anyone know the name?) It has blue tips, with green polys that come out of the tips
-
Now that's the way to post Pic's!!!!!!!(clap) Looks super nice. Did you have any cycle issues? Over what time frame did you add the corals' date=' fish?[/quote']
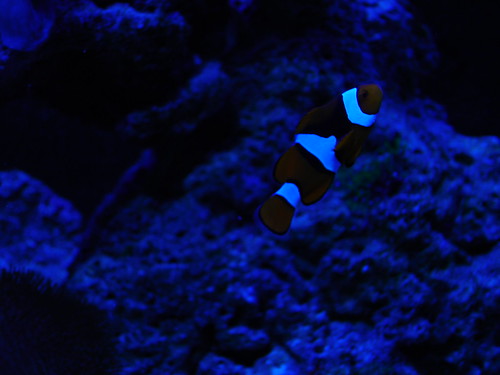
I added the Peppermint shrimp at 1 the 4 week mark, first corals at 6 weeks, then the first fish (clowns) at just under 8 weeks. I slowly added the clean up grew over the second month.
As for a cycle of any sort...I tested ammonia, NO2 & NO3 every single day with API test kits for the first month waiting for they cycle to "begin". I never once detected ANY of the 3 and to this day have never detected ammonia, NO2, or NO3 (testing once per week). (I did not use any "quick cycle" products either)
I started the tank with just under 60lbs of LR & 10lbs of LS (added to 25lbs of aragonite). All of the rock & sand came from the Seahorse from a system that Im sure was very well established. It went from their tanks to my tank in less then an hour so Im guessing the bacteria colony made the trip without any die off.
-
I really like the cube tanks! What are the dimensions of yours?
-
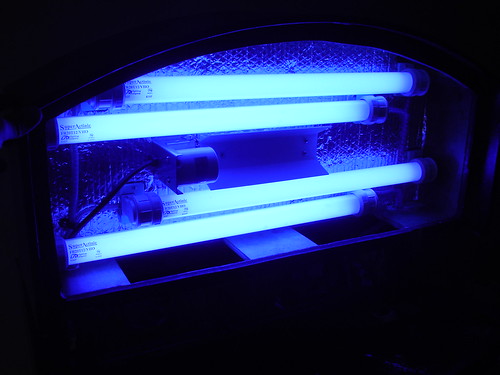
I bought this fixture when I first bought my tank but soon realized it was not going to fit in the custom canopy I was building so I had to go with a retro light setup.
It is BRAND NEW, I would have sent it back to MarineDepot, but I stupidly recycled the box a few days before I realized it wasn't going to work for me. DOH!
It comes with 2 24" 10,000k & 2 24" Actinic bulbs.
I paid $239, I will sell it for $160.
If anyone is interested, I will post pics of it. I can even set it on top of my tank and take pics so you can see what the light output looks like.
-
The rest of these pictures are the most current, but taken with my phone cause I was too lazy to get the real camera out....


-
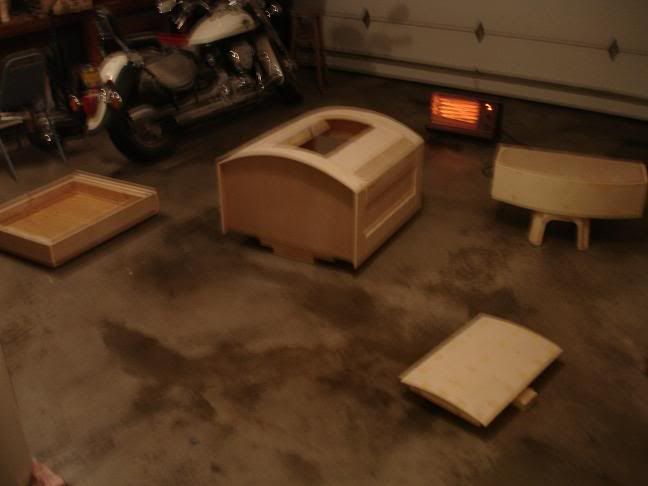
Various
 progression pics in no particular order
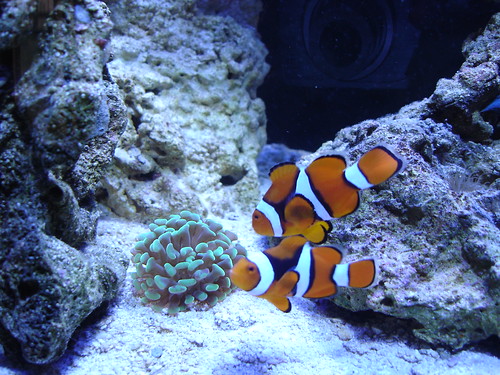


-
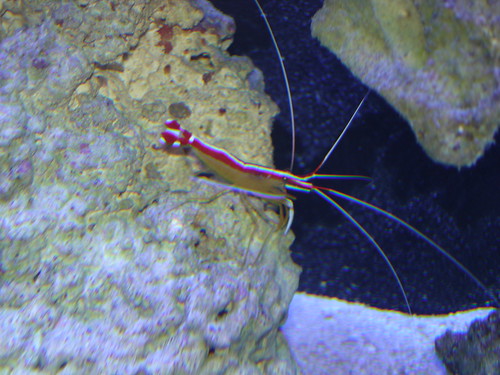
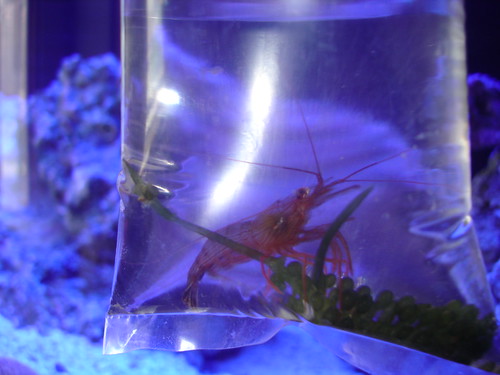
First Inhabitant, peppermint shrimp
First Corals
-
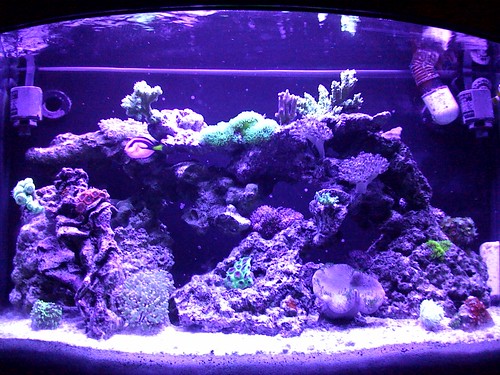
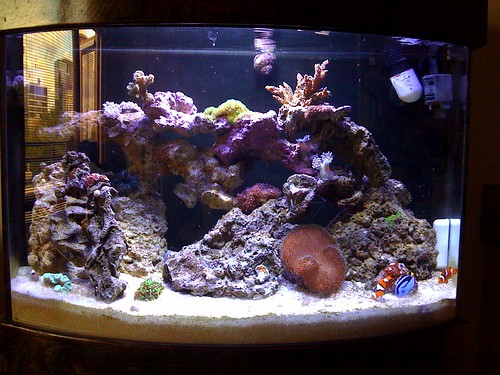
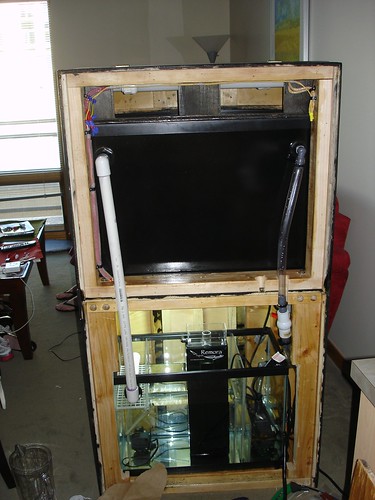
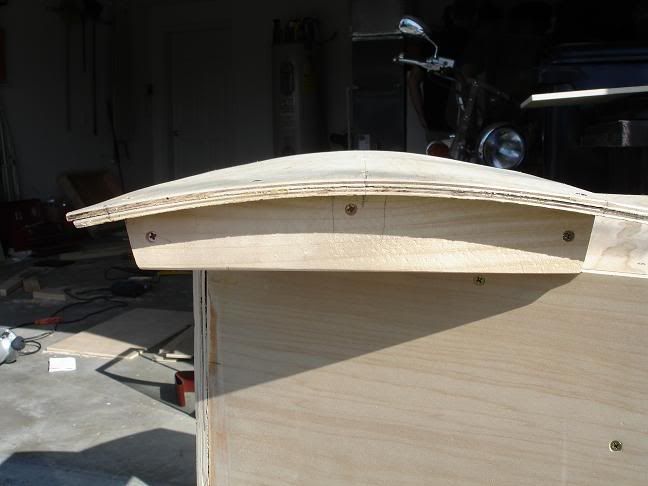
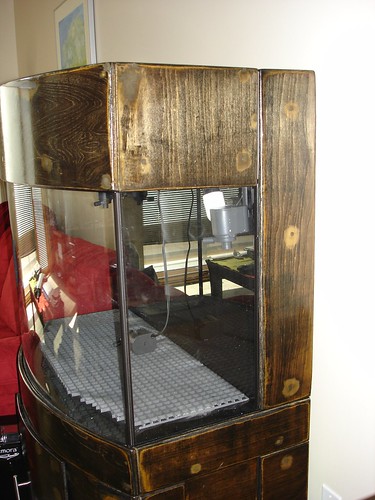
I really like the design and layout of your stand and canopy. The attachment of the canopy to the uprights coming off the stand is really nice and ties everything together well to make one clean package. In the ATO pics you can see sand and LR in the tank...any livestock yet? if not how 'bout a FTS just to see the aquascaping?
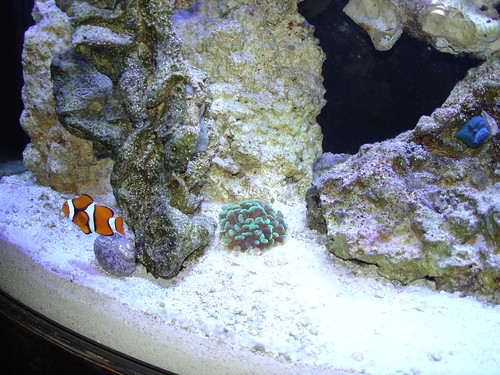
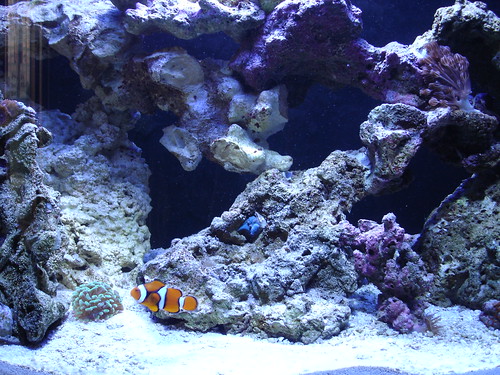
Well, I have quite a bit of live stock now...I'll post some pics. I am still trying to to get the hang of fish tank photography, so some pics may look a little strange. Some were also take with my iphone so may be a bit blurry.
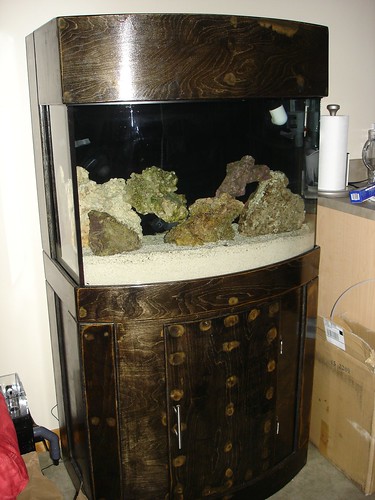
I'll post from the first day of start up with 60lb of live rock from the Seahorse.
Day One
-
Thats pretty much the build of my tank. I'll post pics of it up and running tomorrow!
-
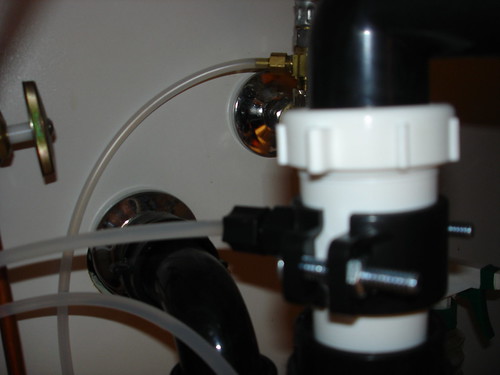
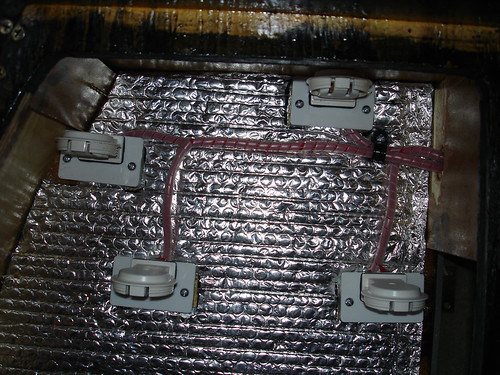
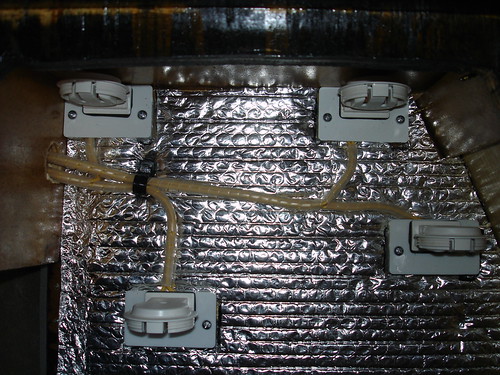
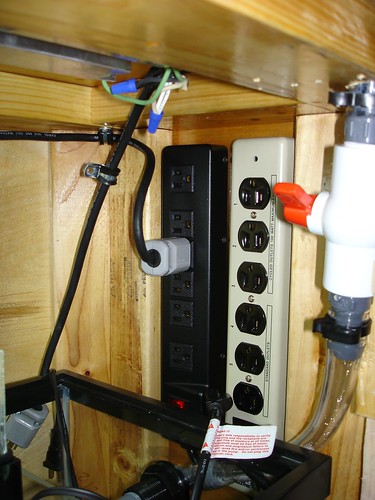
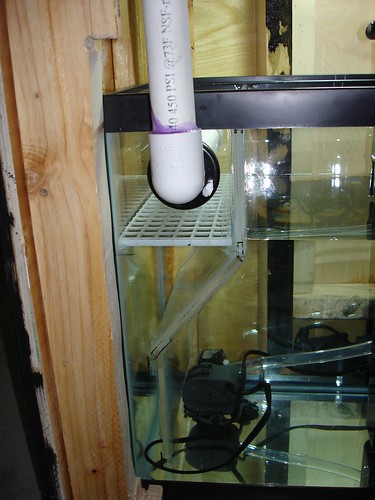
RO/DI & Auto Top Off
Update: I installed the auto top-off today!
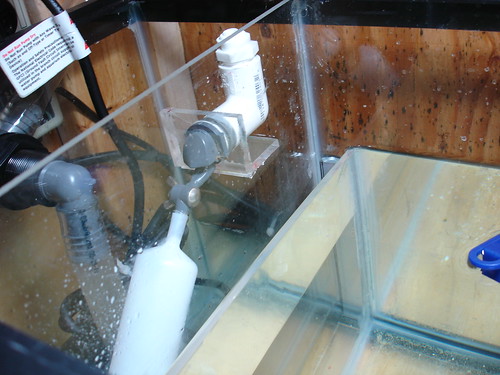
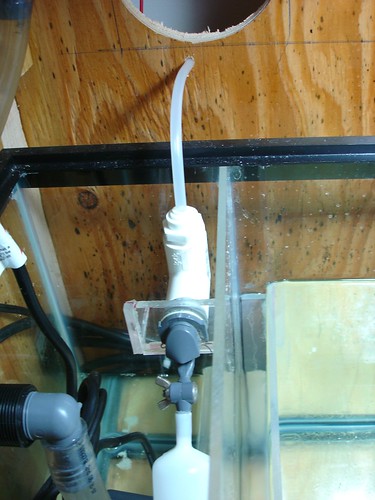
It is hooked directly to my RO/DI fillerts auto shut off.
My RO/DI unit is hard plumbed under setup under my kitchen sink. I didn't want to drill any holes in my kitchen cabinets, and my tank is only about 5' from the RO/DI unit so I did this:
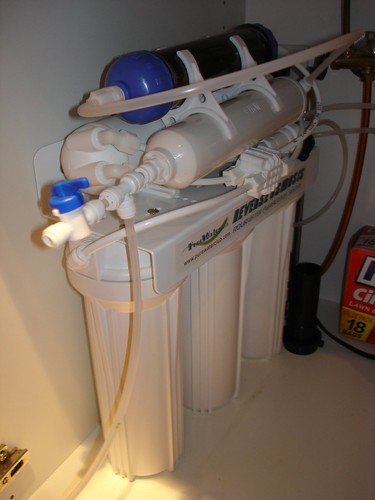
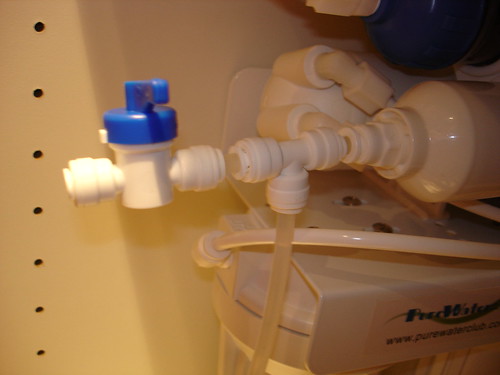
I used a "T" to go to the float valve in my sump, then put a stright valve in so I could still use the RO/DI unit to fill up my 30 gallon rubber made tub for mixing water.
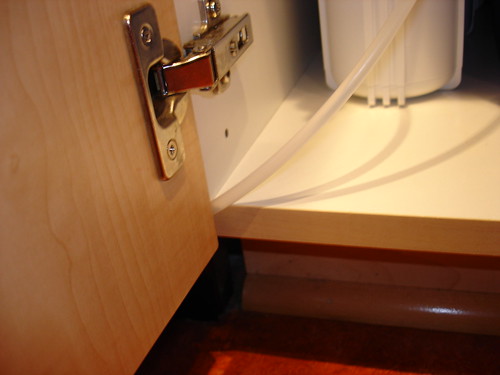
This pic shows where the 1/4" hose tucks between the cabinet and door.
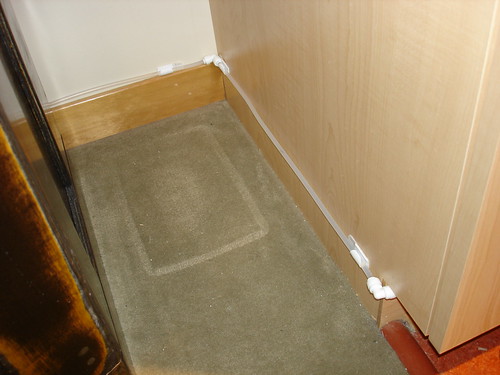
This pic shows where the hose goes from underneaths the cabinet to my tank stand on the left. I used "L's" to and little 3M adheisive wire holder things to hold the hose tight to the cabinet and wall.
This pic shows where I hooked the drain line from the RO/DI unit into the drain of the kitchen sink.

This is how I hooked the supply line for the RO/DI unit to the cold water supply for my kitchen sink.
-
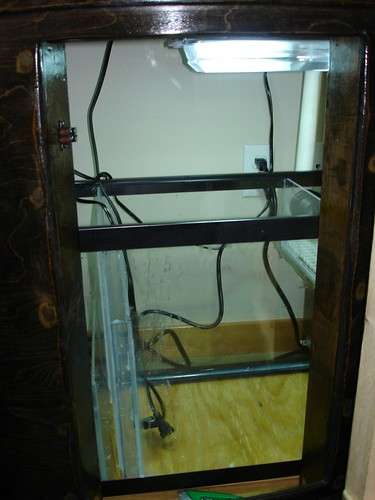
Lighting
When I took these pics I was still waiting for my MH ballast and light so the pics only show the mogul for the MH light...
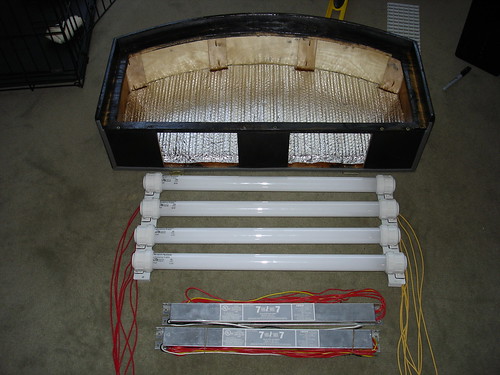
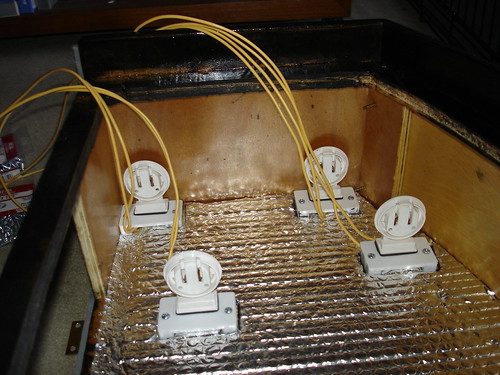
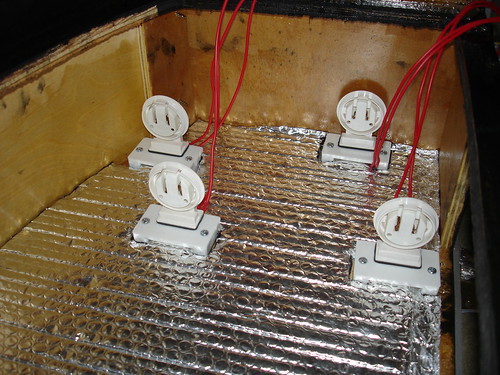

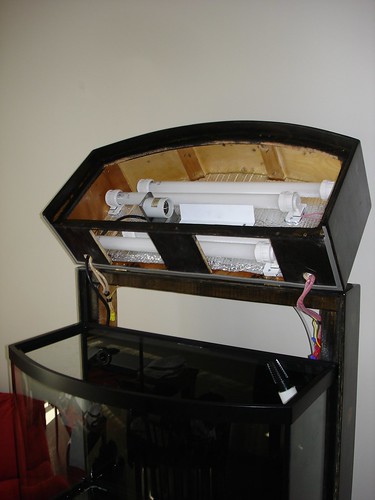
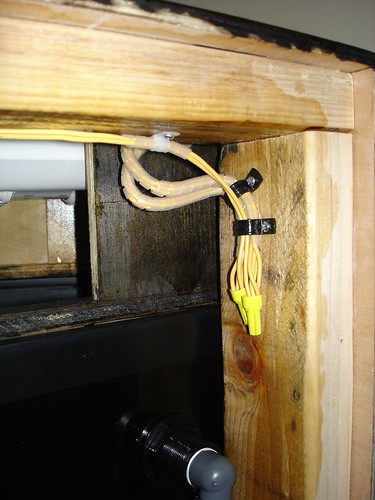
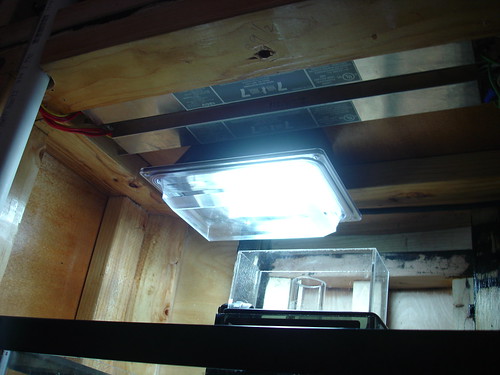
Not show are 2 timers. One for the Actinics (12p-10p), & one for the MH (2p-8p)
-
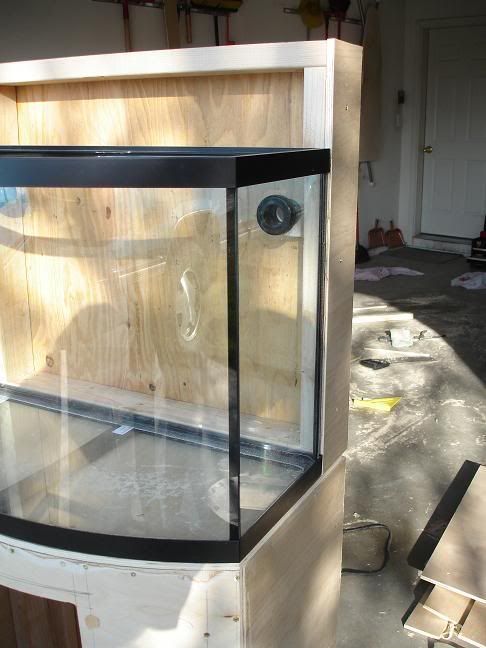
Sump & Plumbing
-
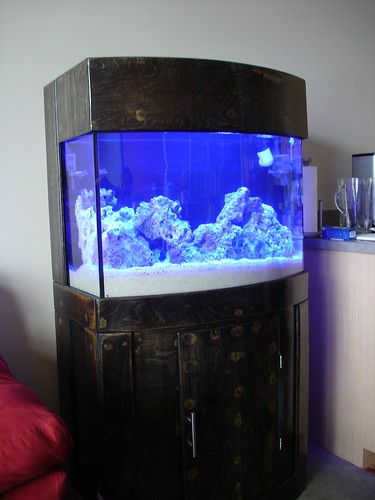
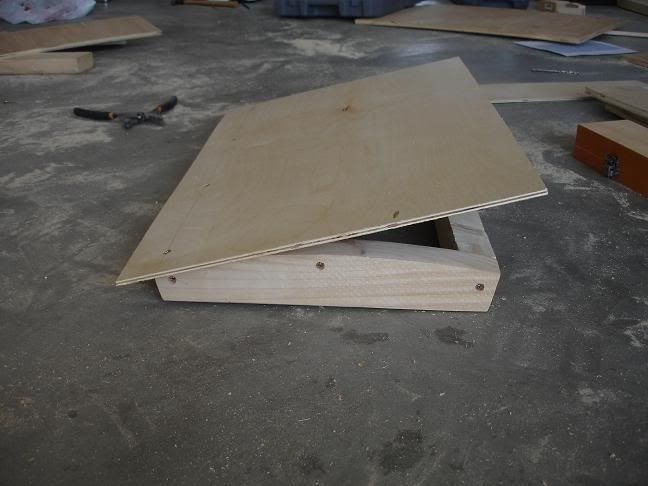
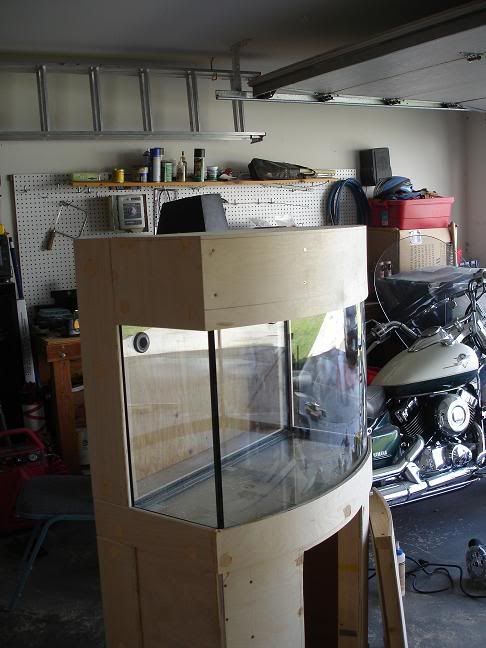
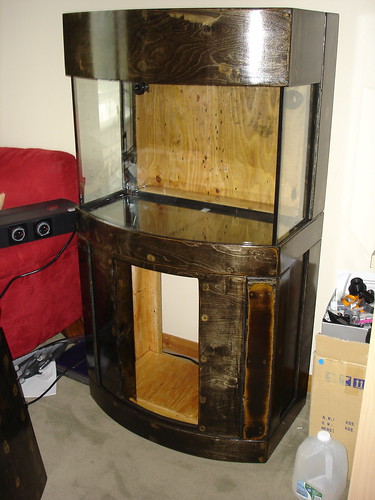
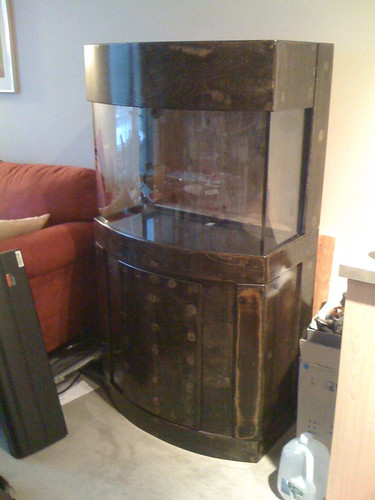
Stand & Canopy: :

-
Hello all!
Im new to this site, and fairly new to salt water/reef tanks! I started building my 36 gallon March and got it running on May 17!
Setup:
-36 Gallon All Glass Display (drilled 1" overflow, 3/4" return)
-20 Gallon All Glass Sump w/acrylic baffles
-Custom stand & Canopy
-4-75w 24" Actinic VHO's w/2 Workhorse 7 ballasts
-1-250w Metal Halide w/Icecap Ballast
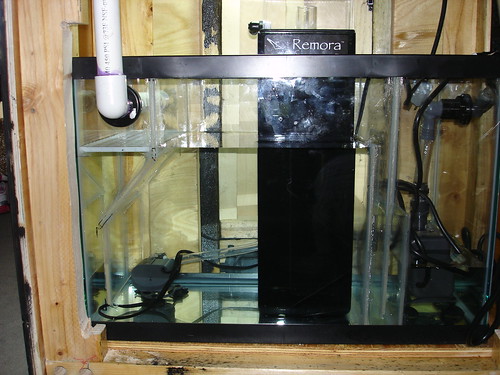
-AcuaC Remora Skimmer modified to run in-sump
-Rio 2500 Return pump
-2-modified MJ600's on wave timer
-Auto top off hooked directly to PureWaterClub RO/DI filter
If I were to do it again, I would probably go with a bigger tank but at the time I didn't realize how into this hobby I would get. Its very addicting! I already have very big plans for a future tank!!!
-
Is your skimmer in your sump? Every time I move something around or change my filter media it stirs of a lot of debris that settled in my sump....Im sure thats what happened in your tank, and is nothing to be worried about.
Brand New CurrentUSA 30" Sundial w/4 T5HO bulbs
in Classified Threads
Posted
The light fixture is now on ebay: http://cgi.ebay.com/ws/eBayISAPI.dll?ViewItem&item=260290957559&_trksid=p3907.m32&_trkparms=tab%3DSelling
If you want it, I'll still sell it for $160. Let me know, and I'll cancel the auction.
I need to sell it so I can buy my tank and regulator for my calcium reactor!!!