

Oregon Aqua
-
Posts
34 -
Joined
-
Last visited
-
Days Won
1
Content Type
Profiles
Forums
Events
Store
Posts posted by Oregon Aqua
-
-
I think you need a snowflake eel in there now.

Nice rics.
What is up in the top left side in the rocks?
I have a Green Star Polyp (GSP) and one or two Kenya Tree Coral frags so you can get a bit more in there if you want them. I can probably come up with a mushroom or two as well.
An eel would be cool!
When i picked up my piece for the goc i was given some GSP but i guess i didnt glue them good because in about a week they where all gone. I am always up for some more Corals.
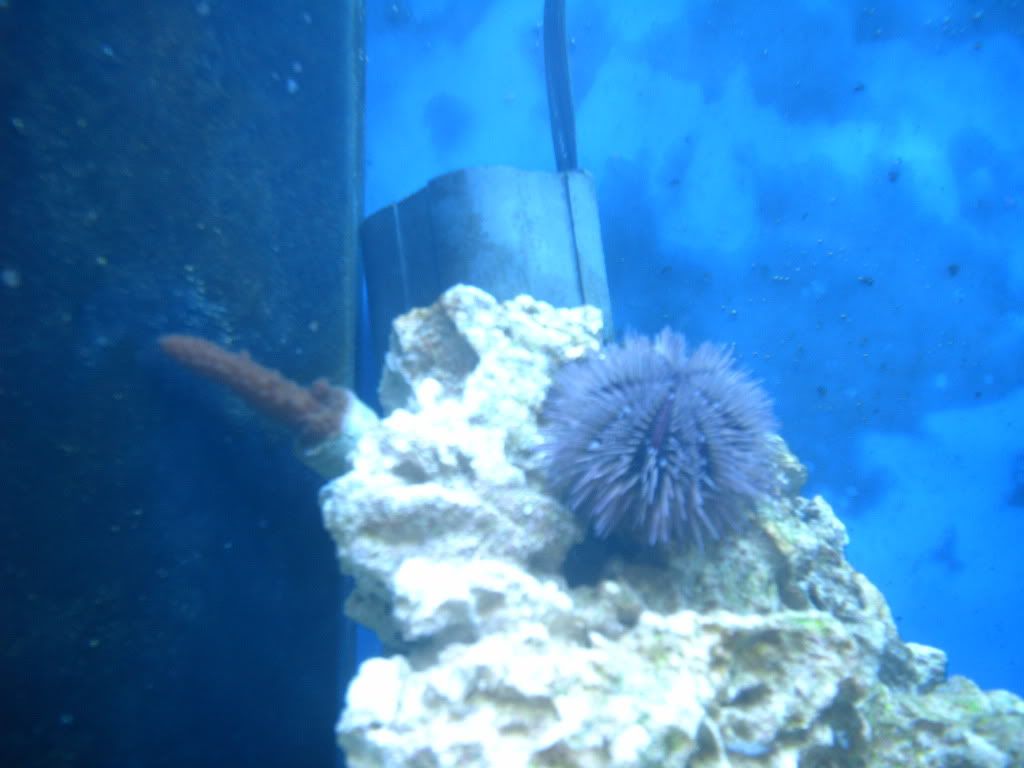
up in the left is a pink pin cushion urchin and a frag of blue acropora from the $5 rack. though its not really blue anymore its still growing.
-
Just a real fast update while my computer is working. sorry for bad pics friend borrowing m other camera
-
easiest way to tell if its rite is to hit the test button when it pops the other outlets on that circuit should go offline, if that works it should work fine.
Mind you im not an electrician i just have played with house wiring a bit.
-
 1
1
-
-
i was talking to him about my algae growth on the sand, and when a good time to get some snails would be. Thats when i was told to shut the MH off and cut my photoperiod down to 5 hours. I always consider the fact that algae has its purpose of taking up nutrients and such, but i dont want to have a battle on my hands down the road. IM not sure who he was i didnt ask. IM assuming it was the owner as it seemed he was working with his family and was talking about the new upgrades he made to the store. BTW he has a cool new setup for inverts, looks like it would be a nice setup for farming corals if i had the space to build my own later on.
-
The ricordea mushy is pretty hardy!! Should be ok!!
Clay
I hope so i have been reading on them and see they can do with less then perfect water, and i read they are good indicators on the water quality. fingers are def. crossed
went to saltwater fantaseas results are nitrate at 10ppm annd salt at 1.025 so yep NO3 test is bad funny part is their test looked the same as mine like i thought it looked between 5 and 0 but that's my wonderful eyes telling me the wrong color lol. Also proves my $25 refractometer is working perfect yeahhhhhh.(clap)
Also picked up a new ball valve for the Herbie overflow and wow what a difference that made, the more expensive gray ball valve that was on the sump inlet was really hard to control, i went and got the standard white with red handle and now i can change the level by 1/4inch at a time as a pose to the 6 inches, live and learn i guess. Tank is absolutely silent now.
OK i have talked to a couple people now and they all say the same thing...... i jumped the gun, need to learn patiance and get a couple damsels and overfeed them. Talked to the guy at LFS and he said they would lend me the fish trap when i was done with them....... any views on this advice? Also was told to turn of my MH for a month or 2 and just run the PC's?
-
Have you been tracking the nitrite and nitrates? See if the nitrite is at zero and also if you have some nitrates detectable. If so then your probably okay. Don't go too fast on the cleanup crew. For awhile it will look like there is no way they will ever catch up which usually results in too large of a cleanup crew once they do. A dozen nassarius and half a dozen astreas or trochus are probably all you will need once they catch up. Hermits are question mark. Many don't have any at all and just use snails. (The tend to aggravate the corals) I personally like seeing them so I have some but I have it limited to about half a dozen of them and I yank them out of the display and put them in the sump if I see them climbing on the corals.
I used the last of my test for nitrates day before yesterday and came up from what i can tell at 0............ Then i very annoying light came on in my head when i realized this is the last of my test........ this means the test was old and probably very inaccurate since i stopped testing my planted tanks ohhhhhhhhh about 2 years ago. Now im kinda freaked, think im gonna run to the LFS and see if they can test for me.
The crabs are fun to watch they only once checked out the corals then straight back to the top of the rocks for the hair algae. I do need to thank you for the setup its working out great and the hood is built perfect, like you designed it for my light setup. Your new tank is looking GREAT.
-
i put all live sand in the sump and seeded the tank with it, I then monitored the water and saw everything go up then down. The crabs where added because the algae was starting to get to me, its all over the sand in the corners and the rocks at the top some hair and some other stuff, my planted tank experience is to take care of algae before it gets a real hold. When i saw the ammonia go up then back down i got excited and jumped the gun. I hope that if the tank goes and does a big cycle it will not kill the mushrooms, but the bigger rock was more of a LR purchase with bonuses and the other was an impulse buy i should have talked myself out of but the money was hot and really burning a hole in my pocket. i guess worse comes to worse, everything will die and i will really kick off a cycle, but that would make me sad. the one mushroom with the colors has takin a liking to its spot from what i can tell, its mouths where opened and i fed it some food, very cool to watch.
I promise to not make anymore changes for awhile, patience is not my virtue unfortunately
when can i add more clean up crew? Or what should i add? was the hermits a bad idea?
-
Well, it LOOKS like the tank cycled, Mind you im partially color blind and the test are a bit hard for me to read, also im using a seachem ammonia alert as i find they are very easy to read. The nitrates nitrites where 0 and ammonia in the safe zone, so i threw in 3 blue legged hermits, and a turbo snail Ammonia came up a little to almost alert color and back down to safe in my book thats a cycled tank. The crabs are doing good not going after the algae on the sand as i had hoped, you can see thier trails where they walked though.
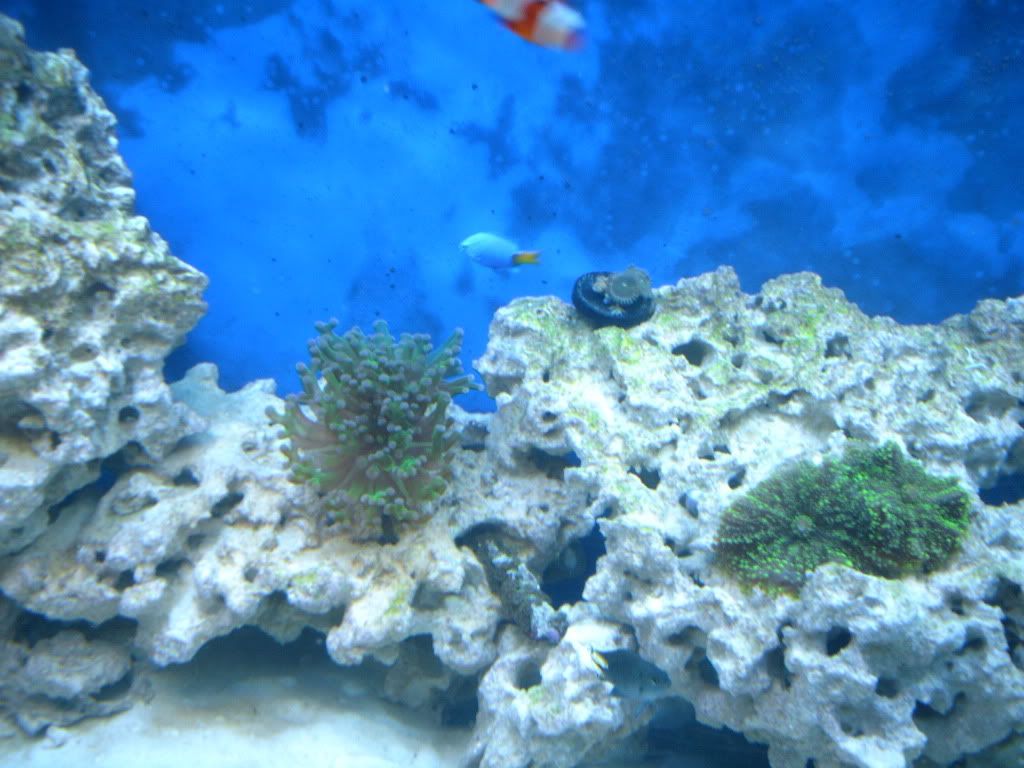
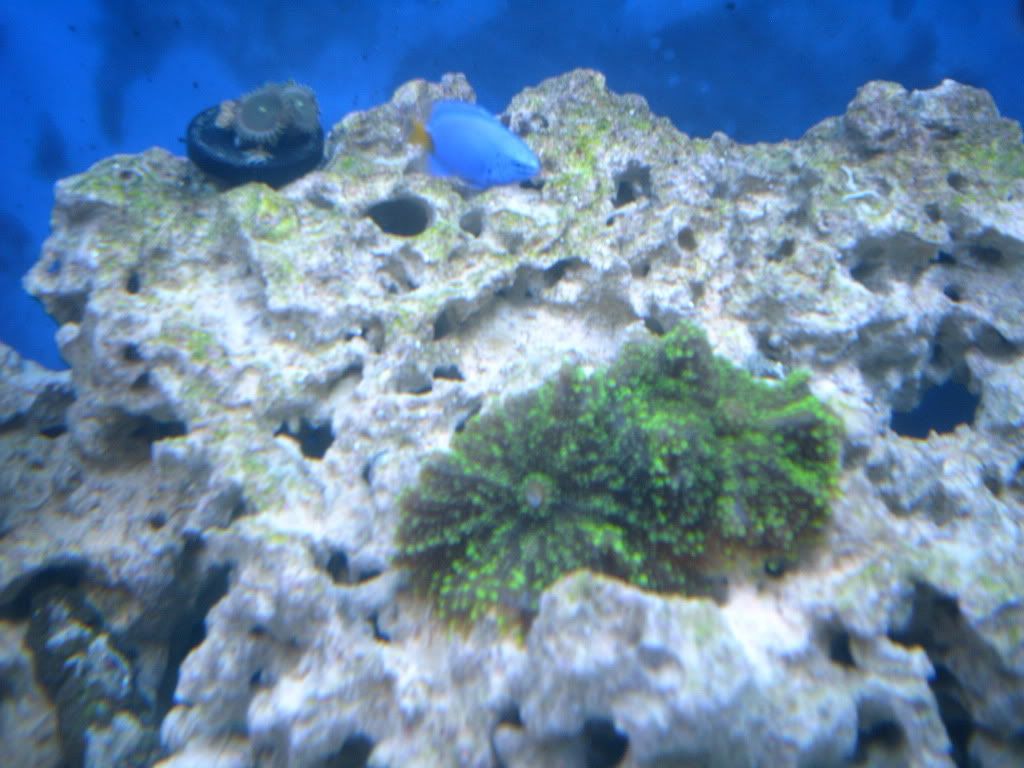
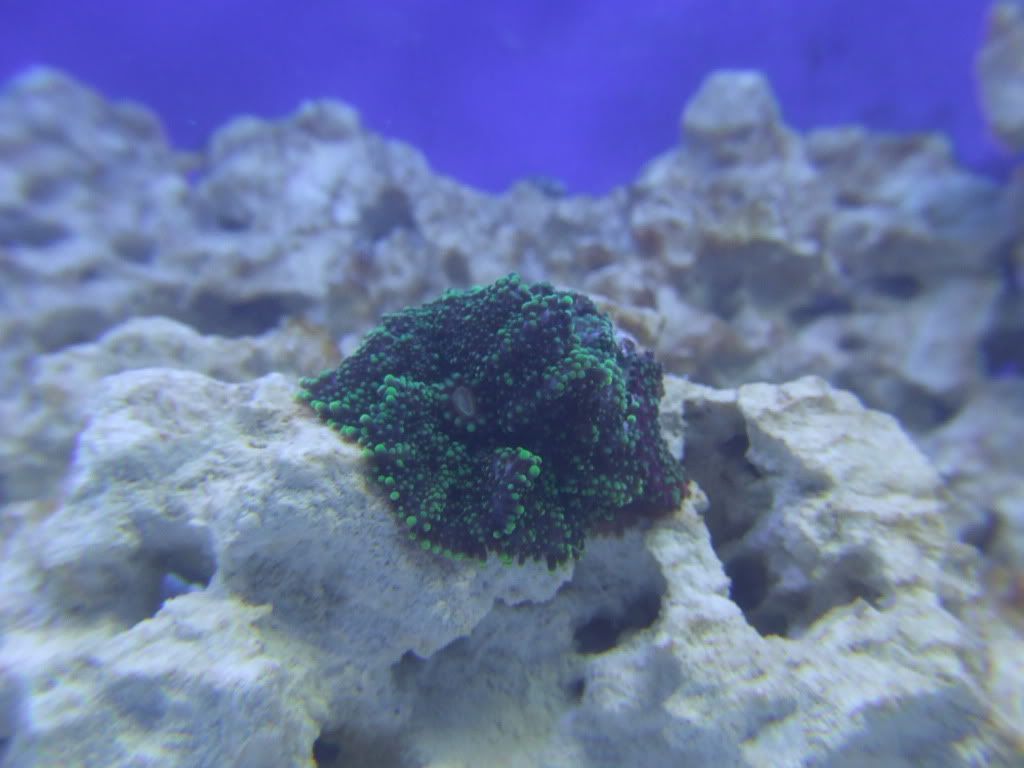
The snail just sits with lights on but off its all over the tank. So i went out again and got a piece of rock with one mushroom coral on it, At home in the tank i realized this rock is absolutely covered in other life including 2 different typed of feather dusters, so far 3 confirmed what i think are brittle star fish some type of very small coral like zoa's maybe but they have not really opened, and to my horror a anemone. I ran straight to the computer and i dont think it looks like a aiptasia its only 1/2 inch tall and maybe 1/4 wide pink or brown (colorblind lol) and my hermit has been eying it but not made an effort to get it, so hope im lucky.
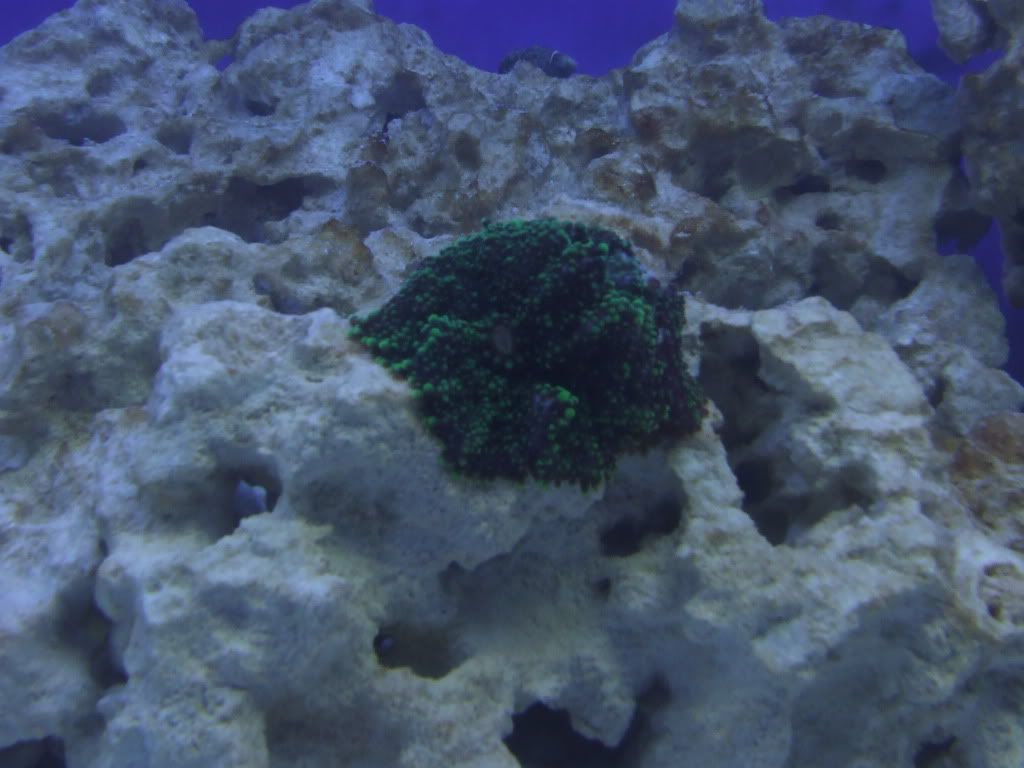
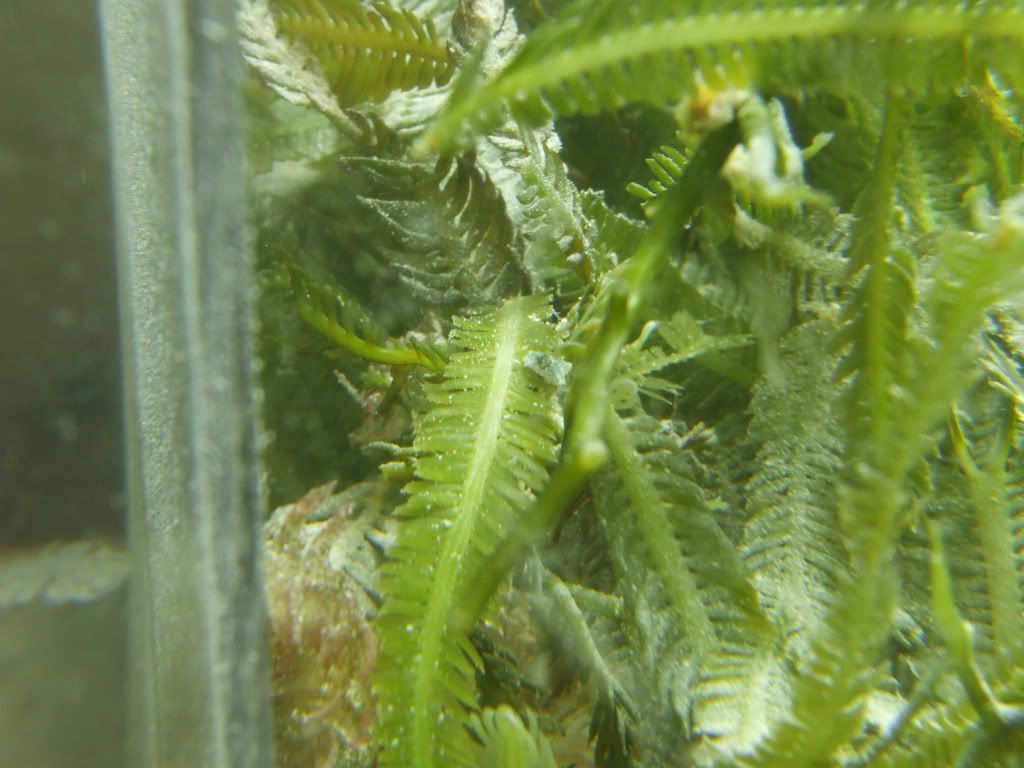
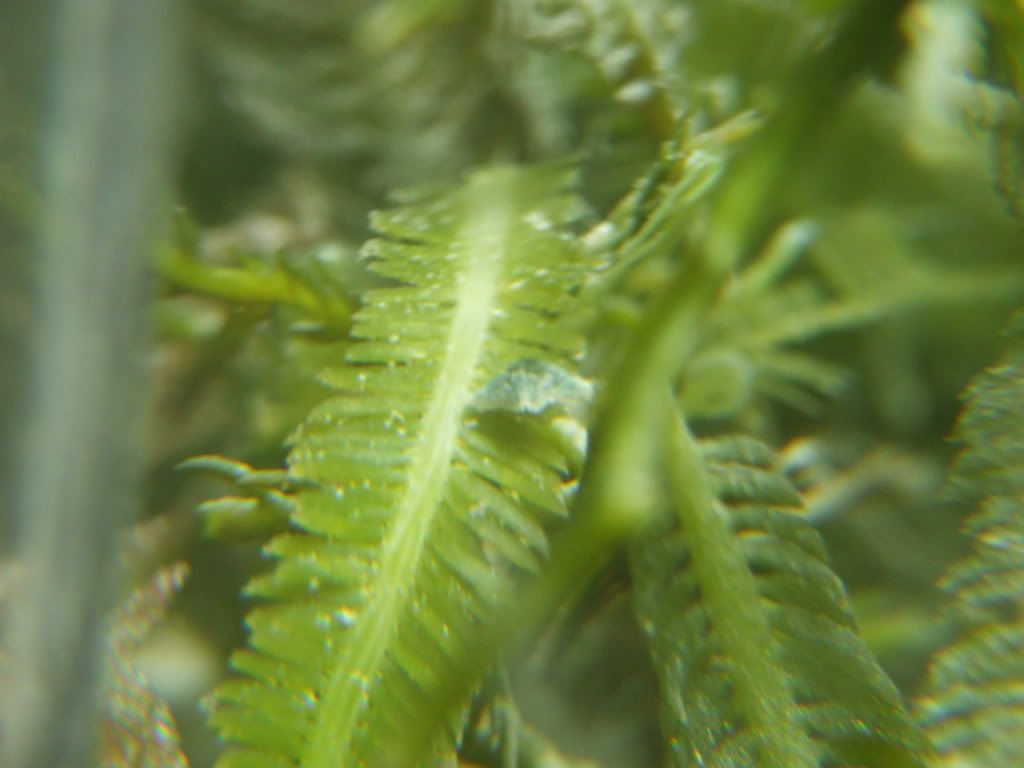
For another 10 bucks i picked up another rock covered in what i was told is a mushroom coral but have not been able to ID help appreciated. I had to take pics very fast as batt is dead in camera so sorry.
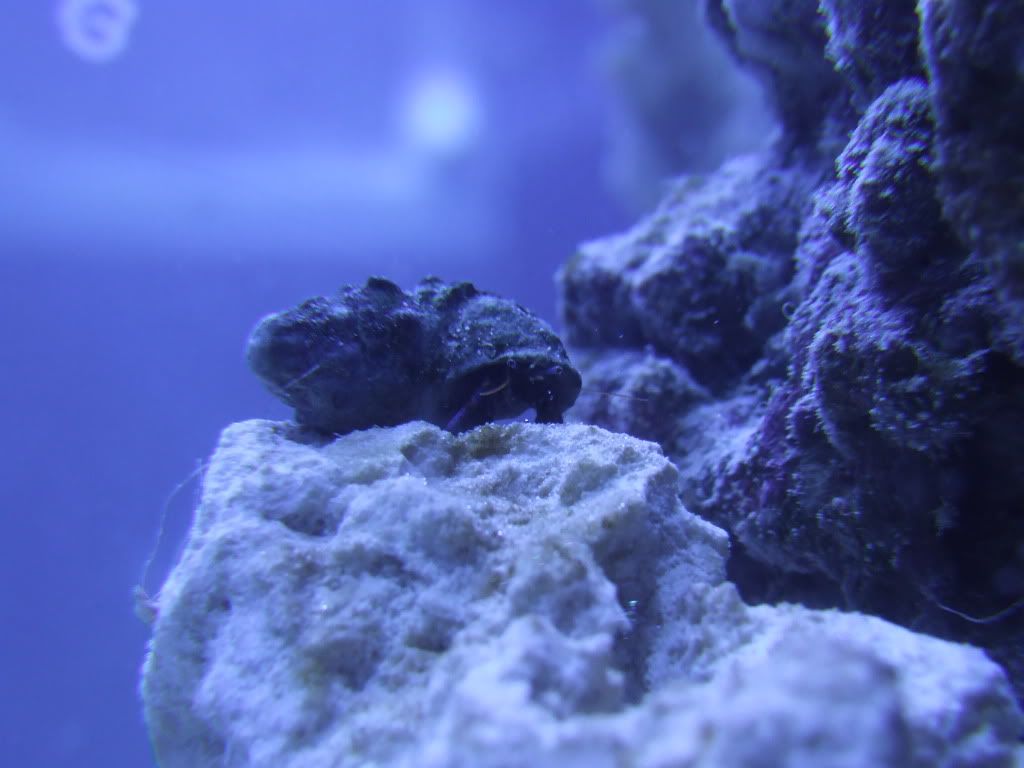
A crab checkin me out
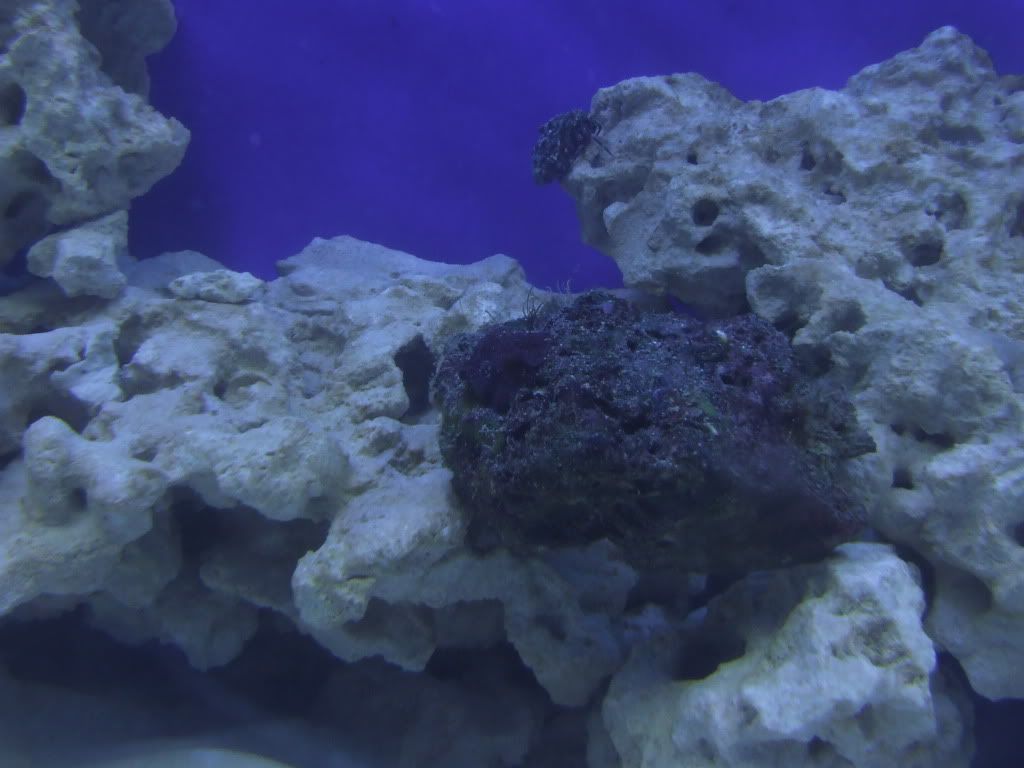
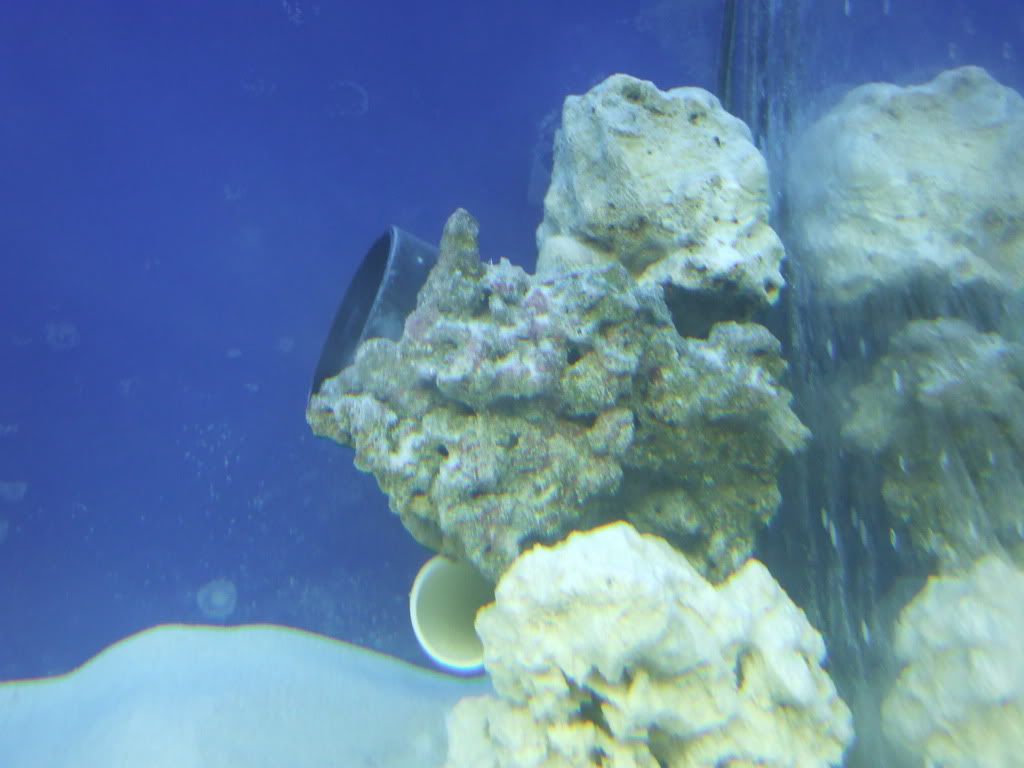
The best pic i can get of the "rock of life"if you look up right of the middle of the mushroom you can make out the what i think is a anemone then next to that is the star with its legs hanging out of a crevice in the rock, i CAN NOT FIGURE OUT HOW TO MACRO SORRY
and the best pics i can get of the mystery mushroom coral if it helps any i accidentally touched one when i put it in and my finger was covered in a clear slime.
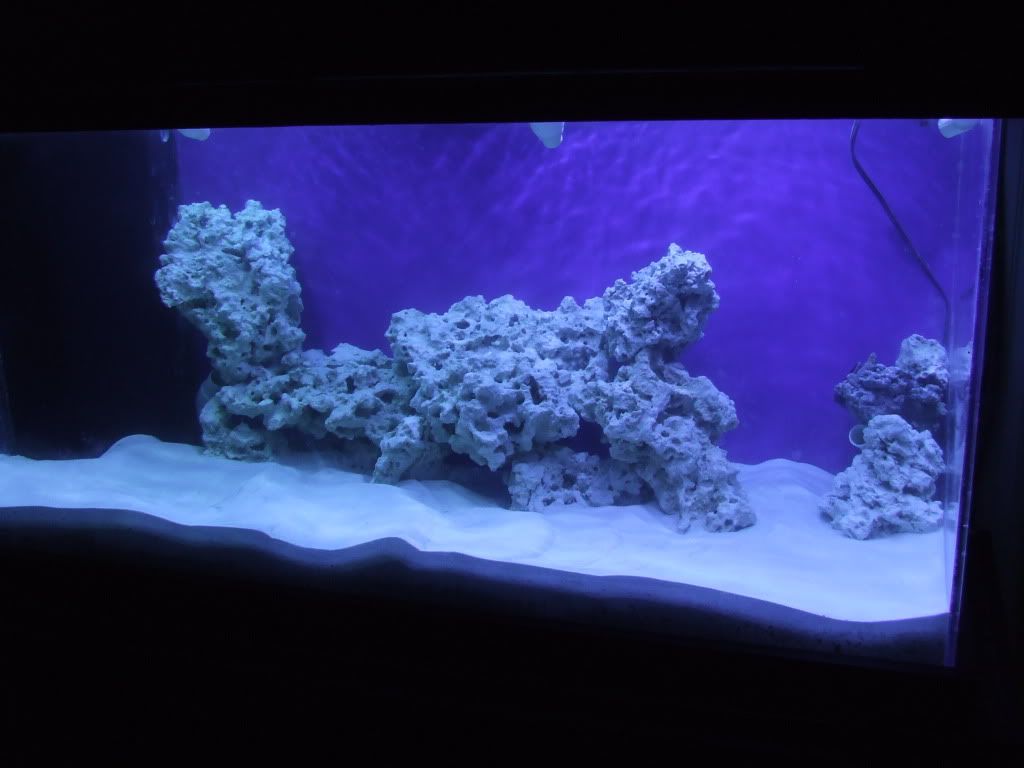
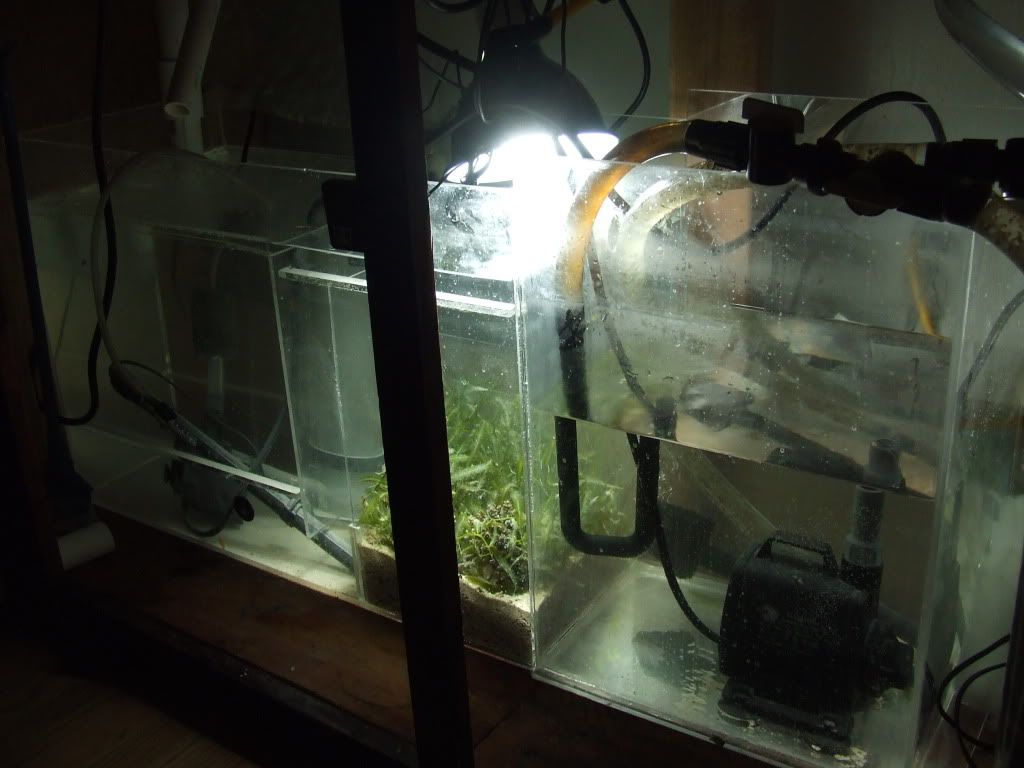
and brighter white light turned on
-
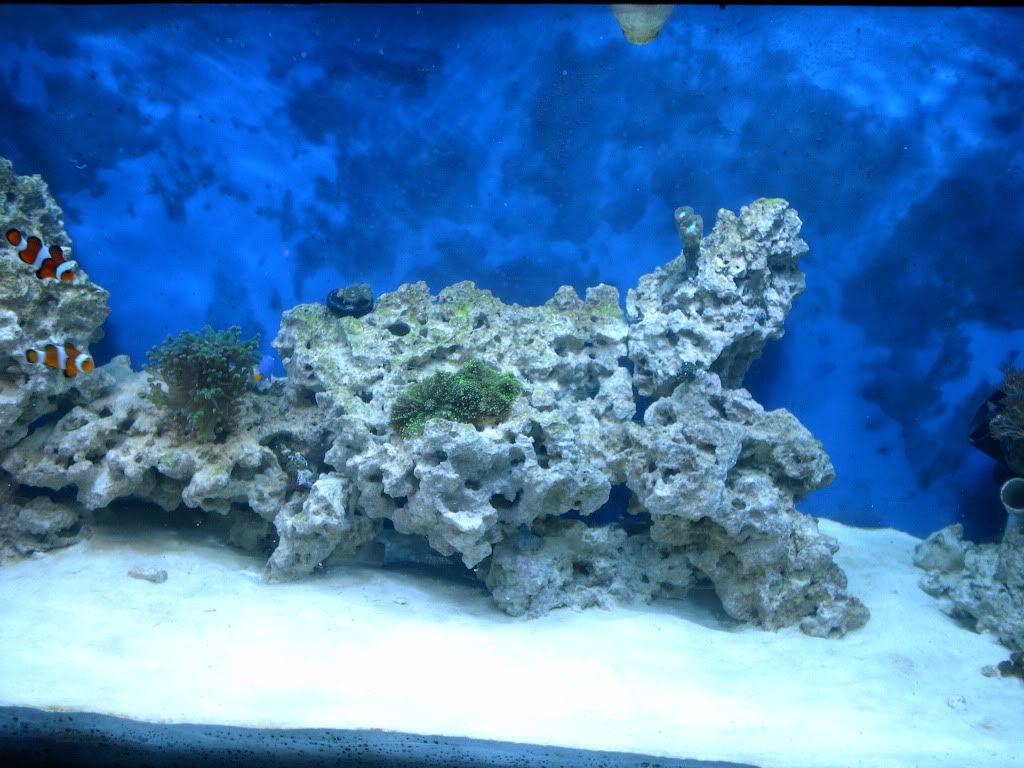
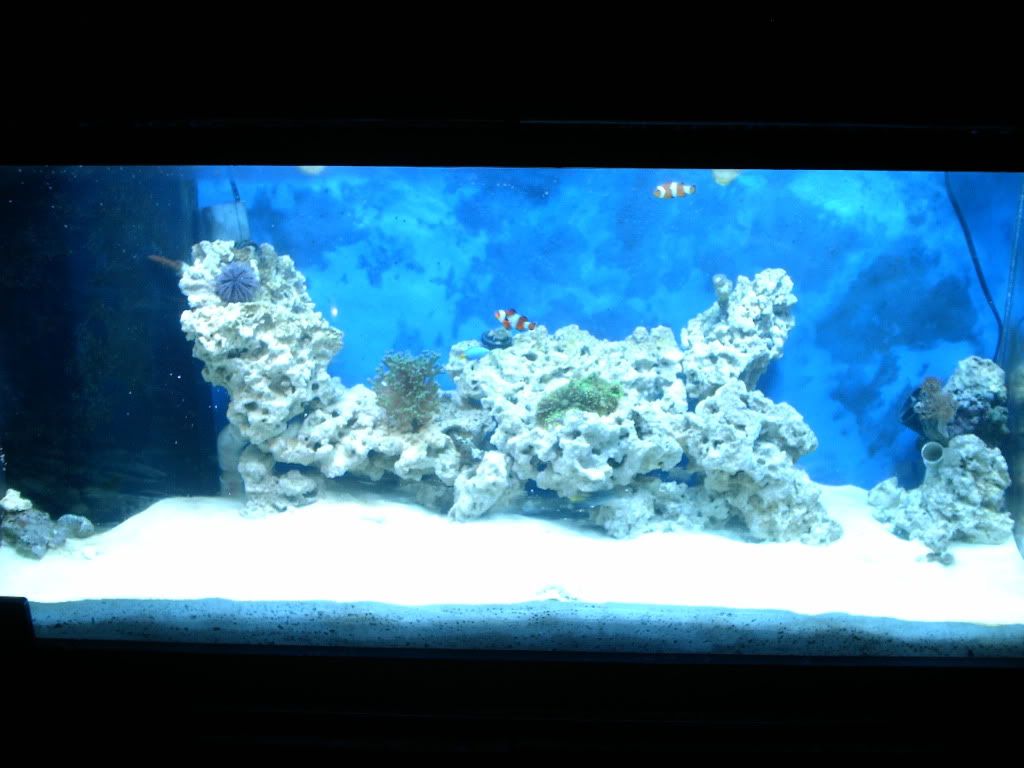
pic of tank cleared up here. first pic is with the 2 65watt 12k bulbs that i hate because it makes the tank washout in white color, i want to replace them but have no idea what color to go for? something that will make the color pop more or that the corals will like more?? Taking ideas here=0) 2nd is only MH and 460nm actinic light. would changing the 12k's to 420nm make it look weird i wonder?
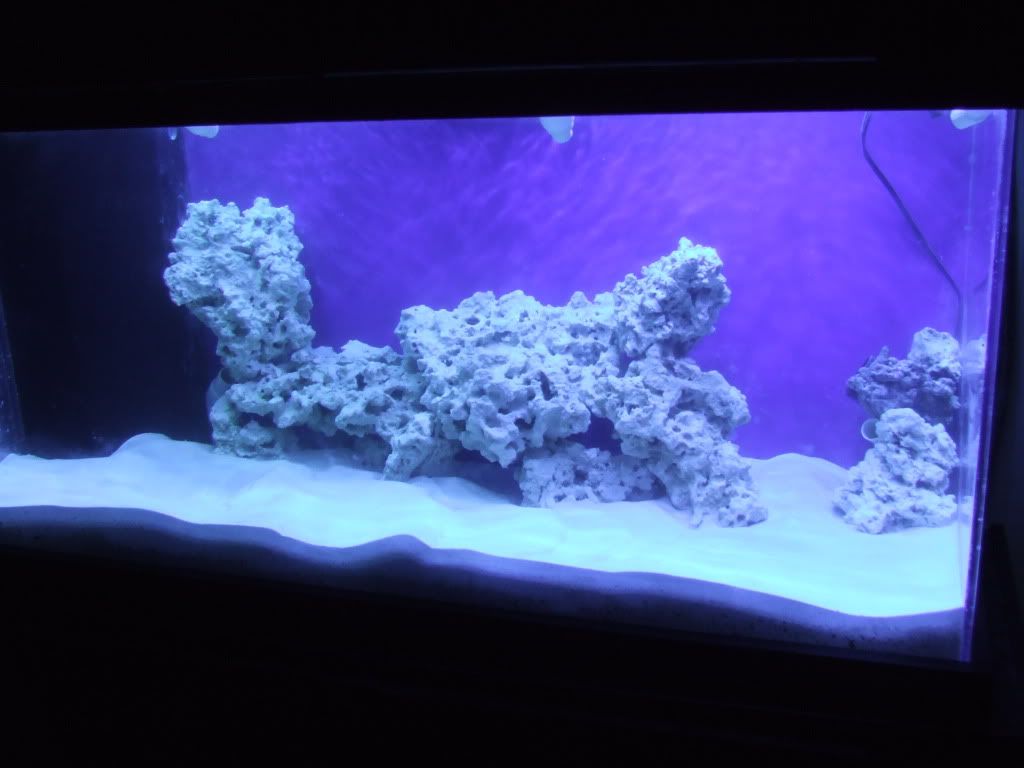
pic is of the only peices of LR i could afford LOL.
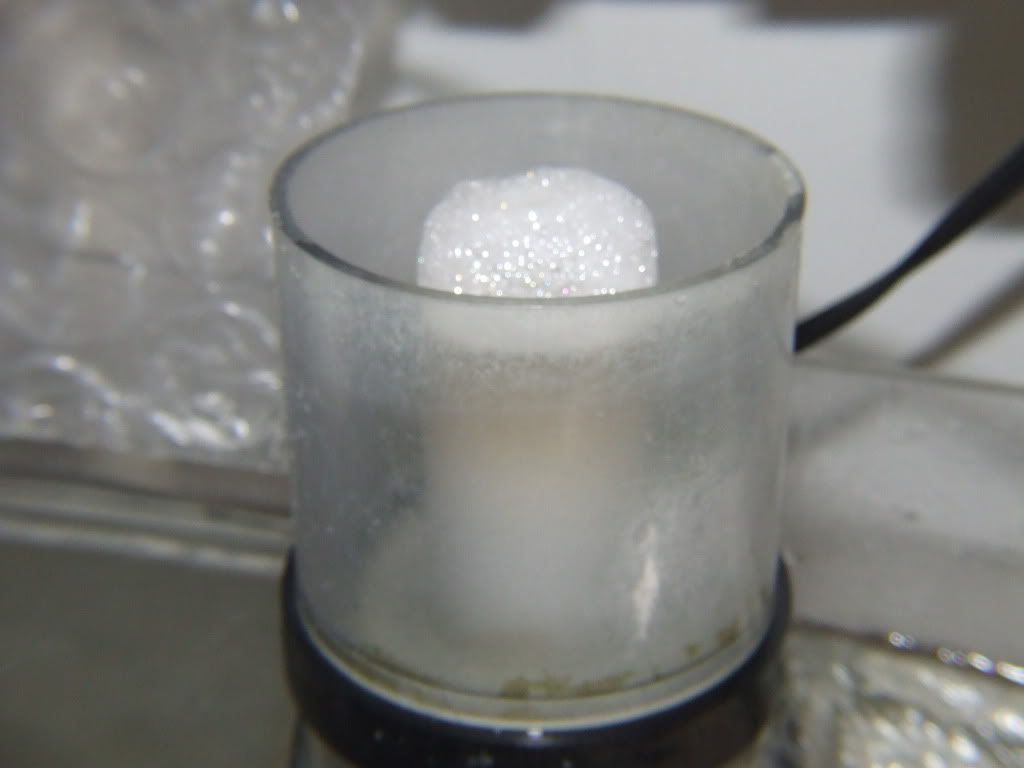
is my skimmer making nasty stuff i have no idea how its supposed to do but i get a cup of dirty stuff once a day out of it.
-
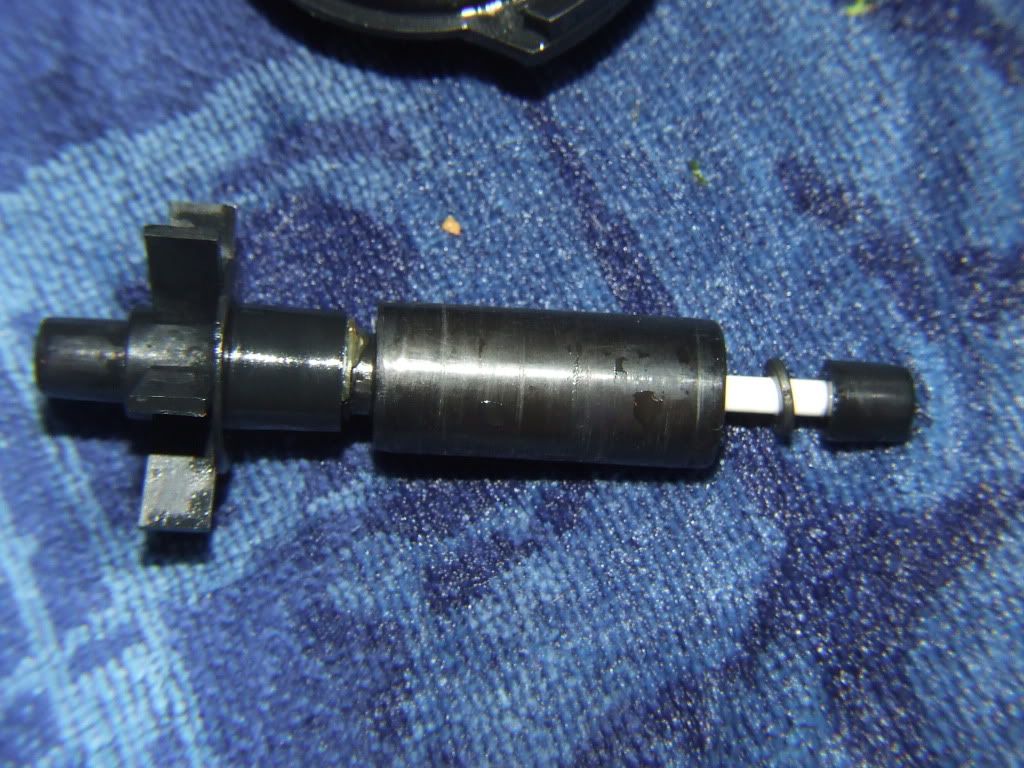
Did you take the inlet off and pull the impeller out to see if there is anything that could be binding it up? See of the shaft is split open as well. If it is then I know Patrick at Saltwater Fanta-Seas can set you up with another impeller. Some of the other LFS may be able to as well. (When I had one go bad he actually called the supplier and had them bring it to the store while I was there' date=' took about 10 minutes)[/quote']
Thanks Rick I tried almost everything i could think of, I took it apart so many time i was swimming in SW on the floor.
What bugged me so much is if i took the inlet off and run the pump i got crazy water flow just not in the correct direction......... so i tried a couple of things and finally came up with an idea.
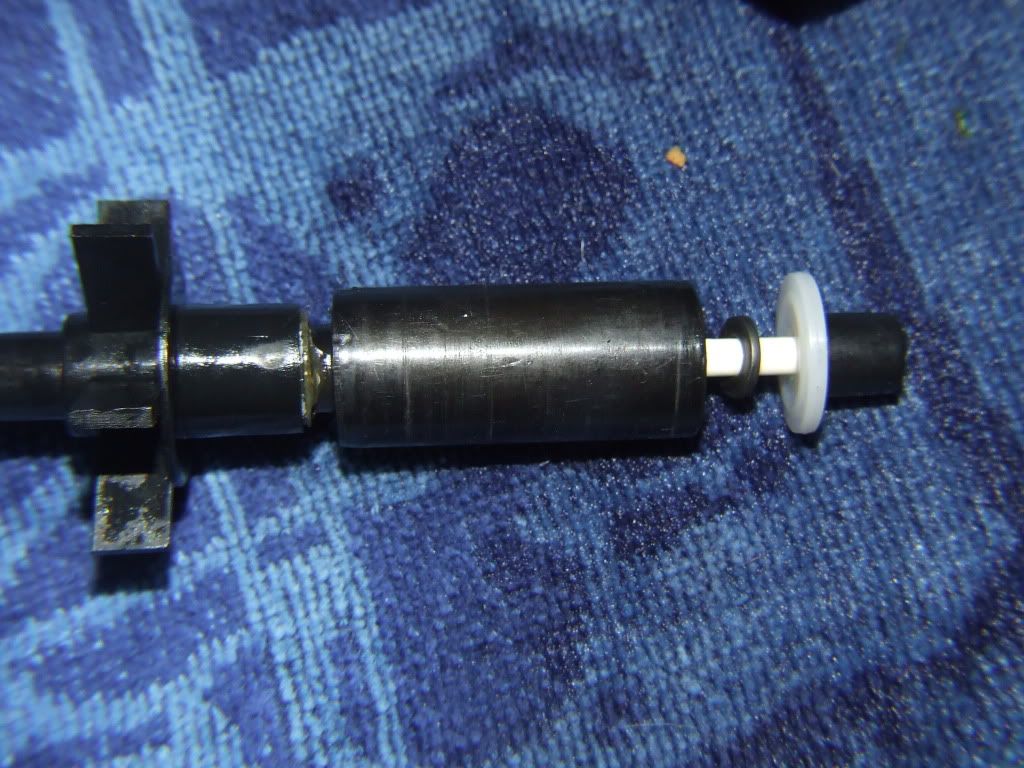
I took a Co2 seal from a regulator and installed it between the little spacer and the impeller magnet. Simple and easy. figure getting the impeller a little more room to move would help a little.
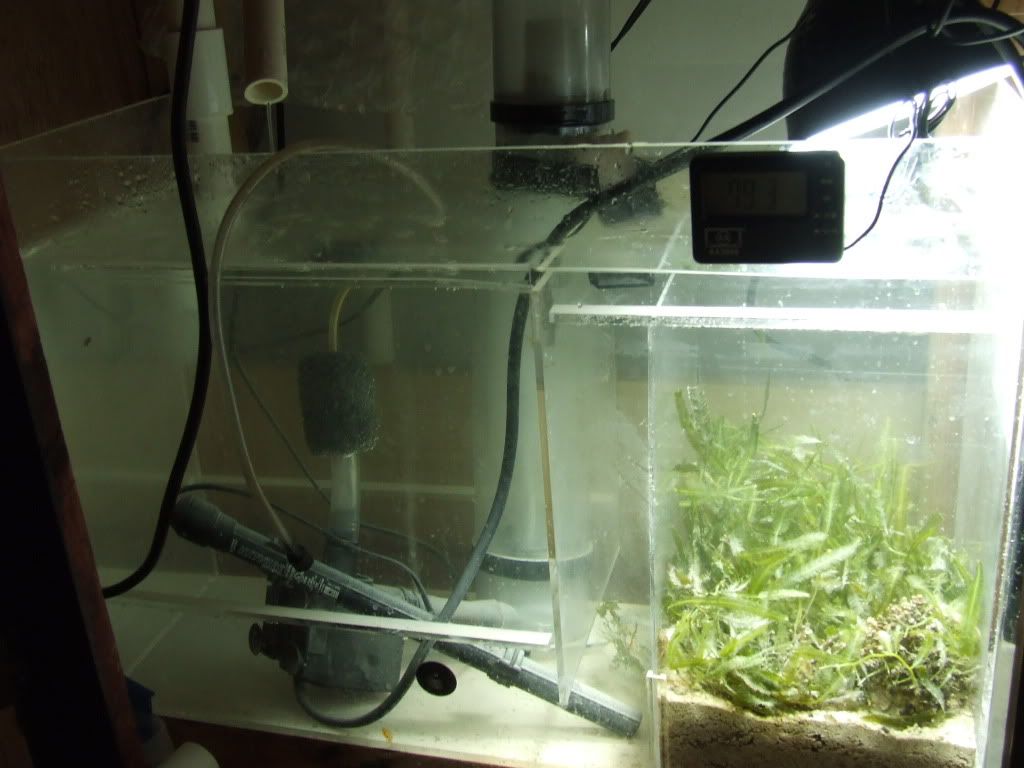
It is actually pumping more water now then before it broke, the sump is having a little trouble keeping up so i might need to put another hole in the baffle to let water through i figure the seal should last a bit tell i can either get another more suitable spacer or a new impeller parts.
BEFORE
AFTER
THE SUMP WITH PUMP RUNNING
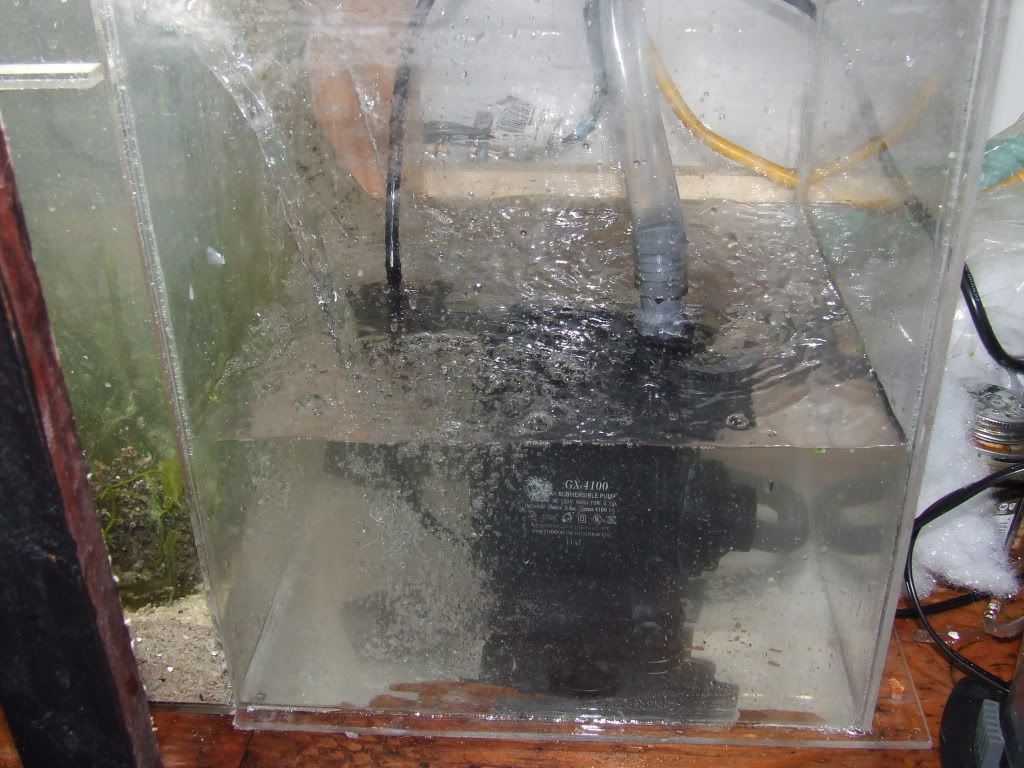
On the downside the pump flow kicked up dust again and my tank looks like .......
-
Man i was bummed yesterday when my sump pump died, but after your post............
tank is looking good!
-
Well came home today and found my return gx4100 pump from the sump was not working. It had very little suction at the inlet, so i checked the lines and cleaned the pump. I found nothing and it still isn't working. when i was playing with it i unscrewed the inlet on accident and it popped open and water went everywhere but when i put it back together almost nothing....... So temporarily i have 2 magnum 350 canister filters with no media acting as my return. hate to have to get a new pump but im out of ideas as to whats wrong with the 4100.
I went to seahorse supply and i have to say i really like that store. The gave me free live sand and some macro for my fuge, and they have a huge selection of corals cant wait to get some=0)
Pics.
My first hitchhiker i have been sitting infront of the sump staring at it for hours as its the only visible life i have in the tank. Seen a couple of what look like bugs with antlers and some very small shrimp looking things and then i saw this guy. he walks side to side very slow so i grabbed the camera and took the best pic i could i think he looks like a crab but my camera is not that good and he is so small i couldn't really make it out.
And pics of my sump. its not finished im going to add another chamber so i can make the fuge bigger. first pic is what it looked like before i added and second is whole sump with the dead pump and hoses from my magnums
-
I'm in.......
-
Too late now but with new aragonite rinsing it washes away the calcium which is a good thing for the tank. I just put it in and let it settle on it's own. (Usually takes a week or so to clear the first time) It looks like it's coming along nicely though. Too bad about the 55 gallon tank. I busted the first one myself by having too much pressure on the sides with a baffle I tried to put in. It doesn't sound like you had the mess to clean up I did though. (Mine poured a few gallons of water on the floor before I got it pumped out of the tank)
Oh'well least i will know for next time. it looked great tell i knocked the pump down.
I finished my mods of the seaclone skimmer finally got to where its making very fine bubbles.
i cut the old pump bracket off it then i heated a hose until i could get it on the skimmer snug. Then i installed a gx-1000 pump with a needle wheel. Still need to replace the air valve. it was a newer skimmer so some of the other mods have been done already. Getting a little bit of skim already and i just started it. Putting alot of micro bubbles back in the sump though. pretty sure that will clear from what i hear.
Sump is almost full again and i will get to try the pump again in about an hour or 2 and see how cloudy it gets.
will have pics of it all when sump clears
-
well where to start?.......
First off my attempts to get the tank up and running by last sunday failed, since i started work again on Monday my tank progress slowed =0(
i spent 4 days testing then building my sump out of the old 55 gallon tank. It was really nice, i tried glass panels from glass i had left over and found i just couldn't cut them to a good size. They always seemed a hair to big. So i went with thick acrylic. i glued them all in with silicon waited about 30 hours and tested. Only had 2 leaks so drained fixed leaks and retested and it worked great except one of the baffles popped out a small one i couldn't glue both sides on. So i re glued and tested again. This time it looked and worked good. i filled all the baffles that where separated so i could make sure no more would fail and i had no leaks. I was going to test this over night.
well i was sitting on the couch watching tv when i herd it. I was not fully aware of what the noise was but in the back of my head i knew. The theory im working on is when i tried to use the glass panels i must have put a tiny scratch in the tank. A crack had formed i went to the tank and watched it slowly climb from the bottom of the back panel up the side and across. It really made me sick not to mention sad. I sat around for a day wondering what i could do for a sump. Im out of money and all i have for a backup is the little 20 gallon acrylic sump.
I took the 55 out to recycling and started to pull the baffles out of it when i had the idea. I cleaned the silicon off the acrylic and ran to the small sump stared for about 1 min and whiped out the weld on and presto i glued together a new chamber on it. I then used a plastic hole saw and connected the chambers together. After i pick up one more peice of acrylic i will be able to add a fourth chamber and it will almost be the exact same size as the 55 gallon.
I was pretty happy at this point and got the Ro/di filter installed and running. Pulled out my big buckets and started to clean the sand and the rock i had. hooked everything together and started to fill the tank lol took almost 24 hours to fill and right when it was done i knocked the pump i had off the wall into the sand. it went instant white and Friday and Saturday no mater what i did it never cleared. Guess i didn't rinse enough. so i drained the tank and refilled.
and now my pics.
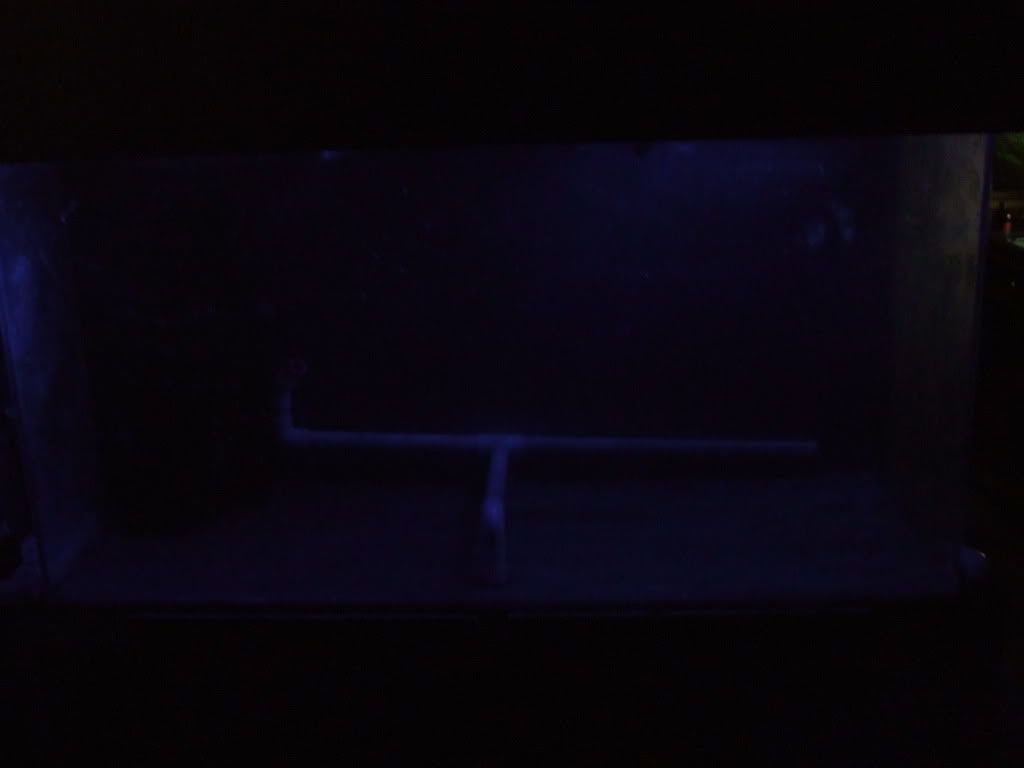
first is my moon lights before i filled the tank with sand. I only have one cheap small set of moon lights but i find if i aim them up at the reflectors on the right side of the tank they restrike and fill the whole tank AND i dont get the pinpoint blue dots but a nice full light effect.
And the full tank with all the lights on
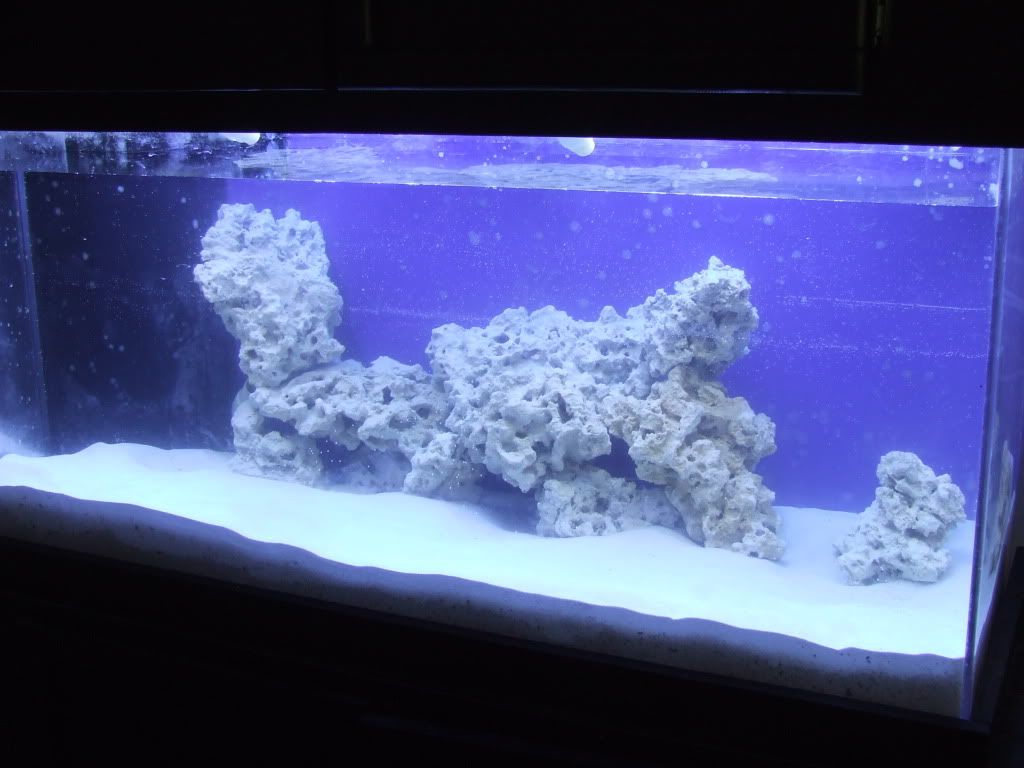
I need more rock but for what i have at the moment im reasonably pleased with my layout. Have no idea if it will work but what the heck lol
Once the sump is finished i will add the pics of that as well
-
One word of advice, your tank is looking great, but make SURE before you add sand to leak test that CL bulkhead in the bottom of the tank.
Really nice looking set up. That rock from Dennis will go nicely in there.
I put some water in it yesterday and its been sitting. I would hate to get it setup and find i have a leak.
-
Your artistic talent is unparalleled..
I know if mix up my A.D.D. and the fact that im partially colorblind you can tell why the Louvre in Paris keeps calling me for my art work LOL. (laugh)
-
OK so here is my preliminary design for the sump. Never done this before and i find i am making it more complicated then it needs to be. the extra bubble traps are not for bubbles but in my theory to keep noise down, No spill overs I think would mean less noise. IN an apartment with plaster walls and hardwood floors all noise seems to be louder than you would think. I need ideas here on wether this will work or not.
from left to right
First chamber- water inlet, Skimmer and small power head (i hear low flow is better for the fuge to have more contact time) to feed fuge and LR/DSB
Bubble trap
second chamber- return pump
second not really a bubble trap but to keep water level in return chamber and sand in DSB
3rd DSB and LR
another fake bubble trap for sand and to keep macros in fuge separate
and fourth chamber- for fuge and inlet from small pump
NOTES: i was thinking of eggcrate between fuge and DSb part instead of bubble trap and just have a peice of plexi at the bottom for the sand level?
Or i can make the fuge/DSB all one section and just let them mix not sure if thats ok?
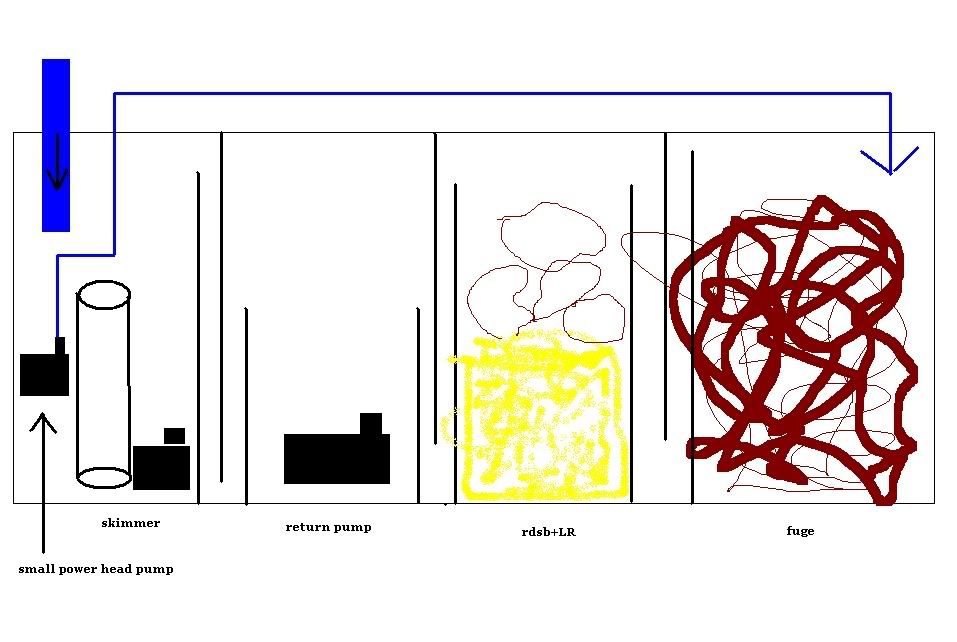
My other idea is inlet and skimmer then bubble trap, big fuge and DSB combined, followed by return area. This idea leaves me a very large area in case i get a very large skimmer later and need the room.
Ideas thoughts? HELP lol
-
I love the way you progressive your tank... keep it update' date=' I am following it :-)[/quote']
Thanks i have never kept a tank journal basically from the start so im having fun here.
-
I have a couple hundred lbs of rock that is ready to be sold. Let me know when you are ready.
dsoz
Absolutely as soon as im ready i will PM you. hope to add sand tomorrow after the sump is done probably start on my rock work wed and see what i need to get the tank aquascaped the way i like.
-
OK so last 2 days i finished breaking down the 55 gallon FW tank and got it out of the house. I finished the Plumbing for the Closed loop system so its ready pretty much when i get a pump. Like Rick said i did run the pipe from the front to the back with 2 outlets so it can be hidden behind the rocks.
Then i finished the light install mostly, Its 2x 150watt MH 20K then 2x 65watt acintic and 2x 65watt 12k PC's. Hope this can get me at least some nice LPS corals.
then i got the 55 cleaned and under the stand.
Next job is the baffles for the sump and getting the RO unit going. I am still trying to finalize my sump design, its so big to me i have trouble deciding how much space i want each compartment to have.
So pictures with my captions
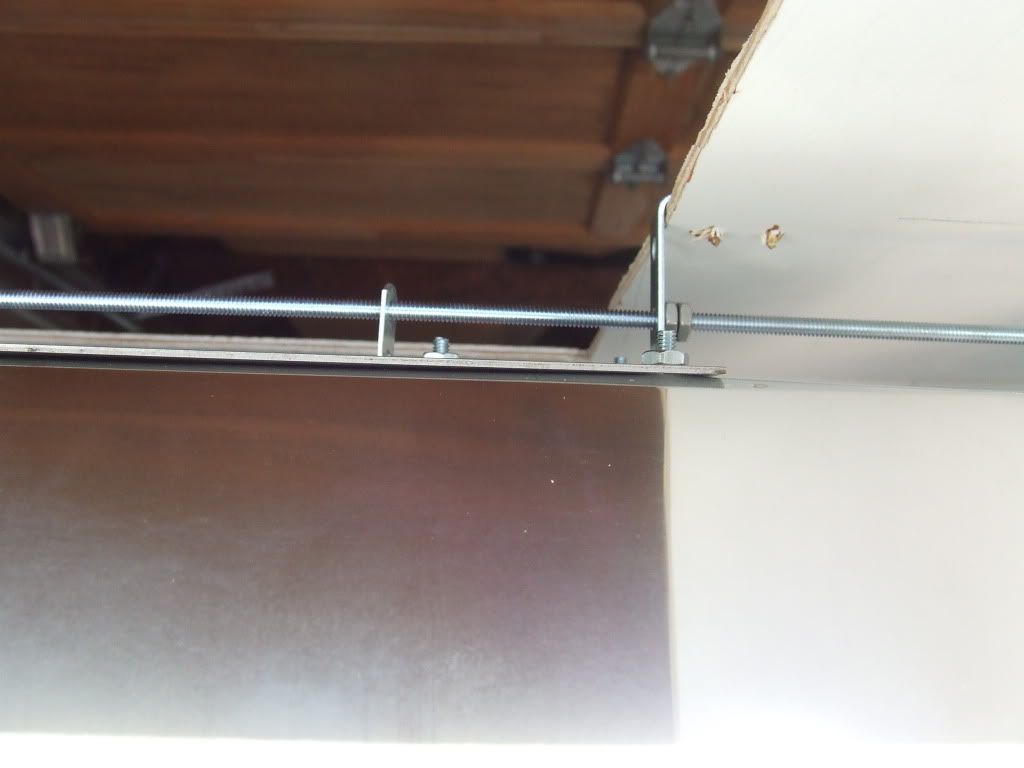
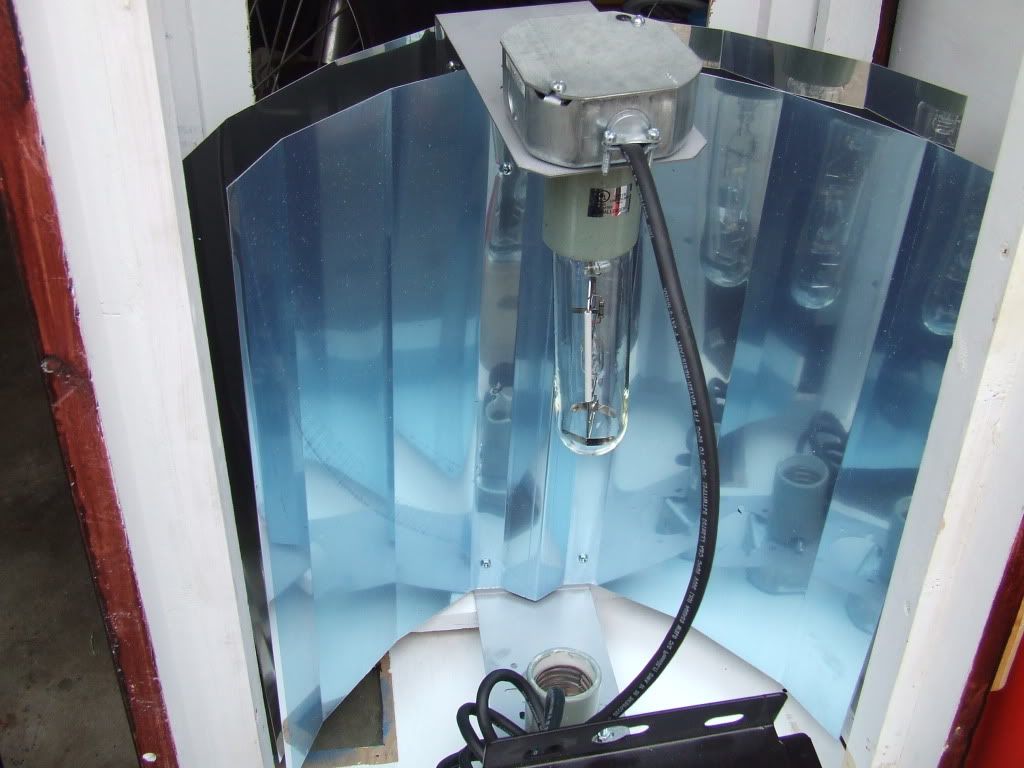
so here is the hood with the reflectors for the MH, If you look you can kinda see the hangers at the top.
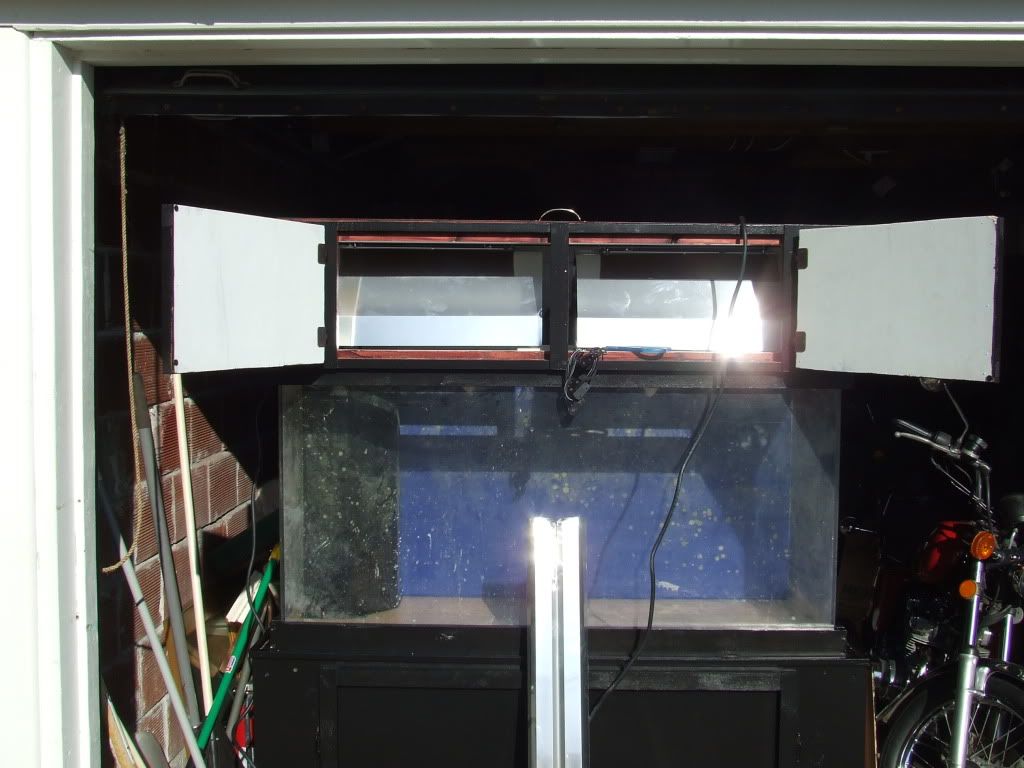
Here is a close up of the hangers i made with the reflector installed. I used threaded bar and l brackets so its pretty easy to remove the lights AND i can move both lights left to right about 4 inches each so i can get the lights over where i want them. PIC shaky to much caffeine lol
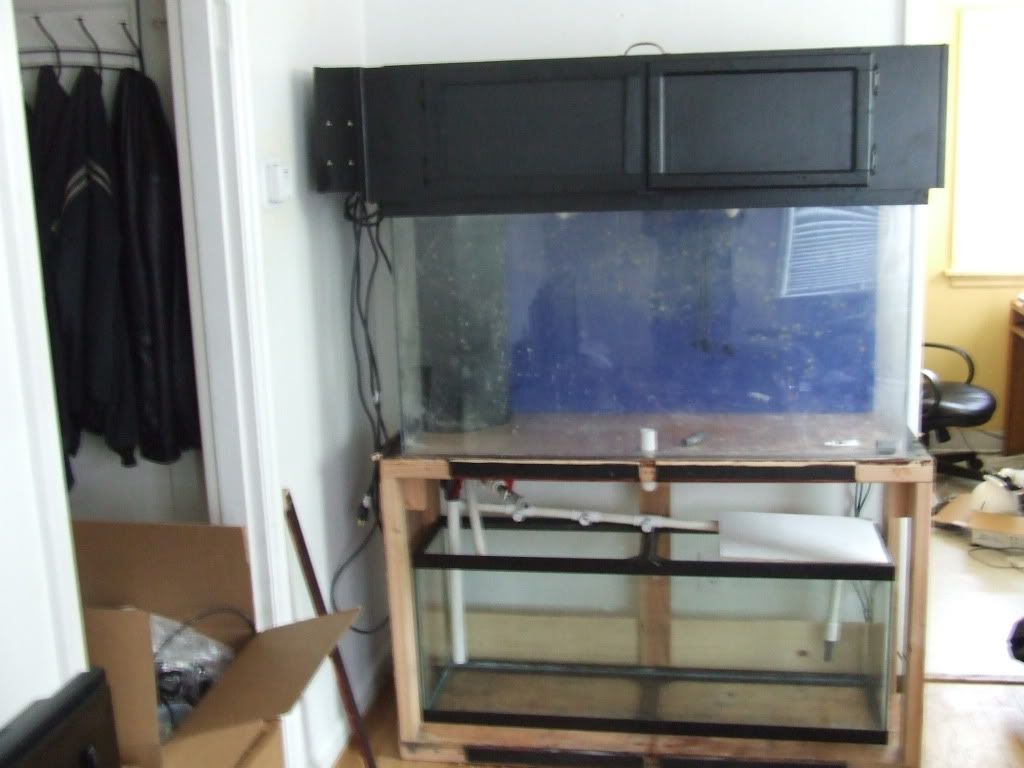
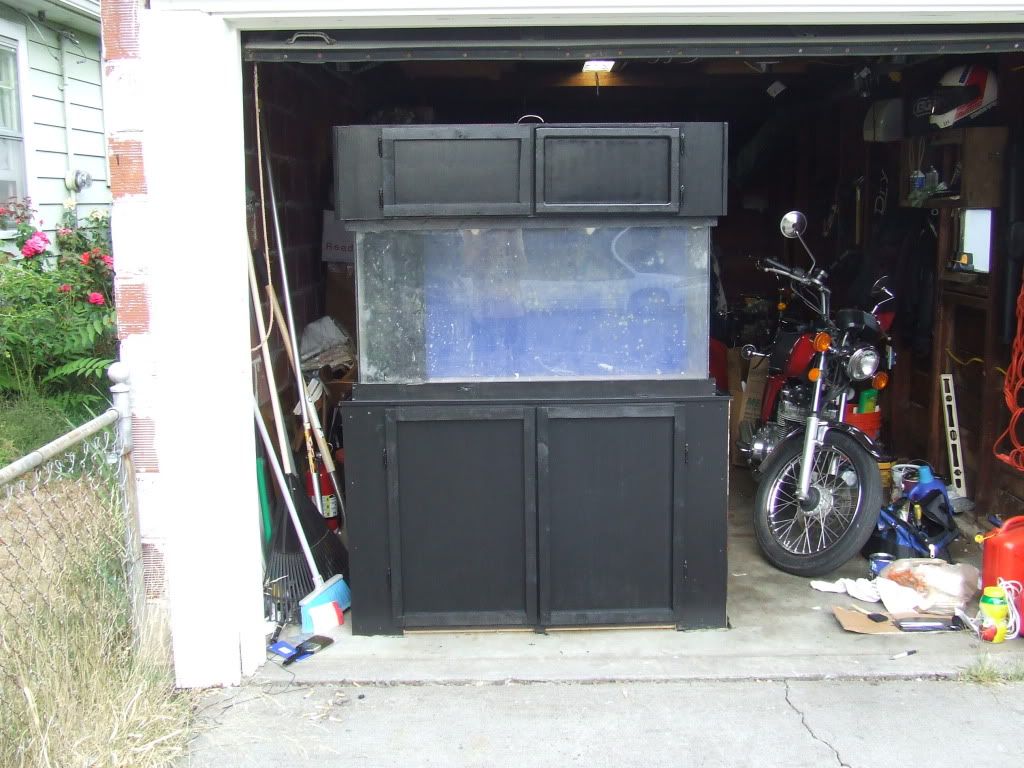
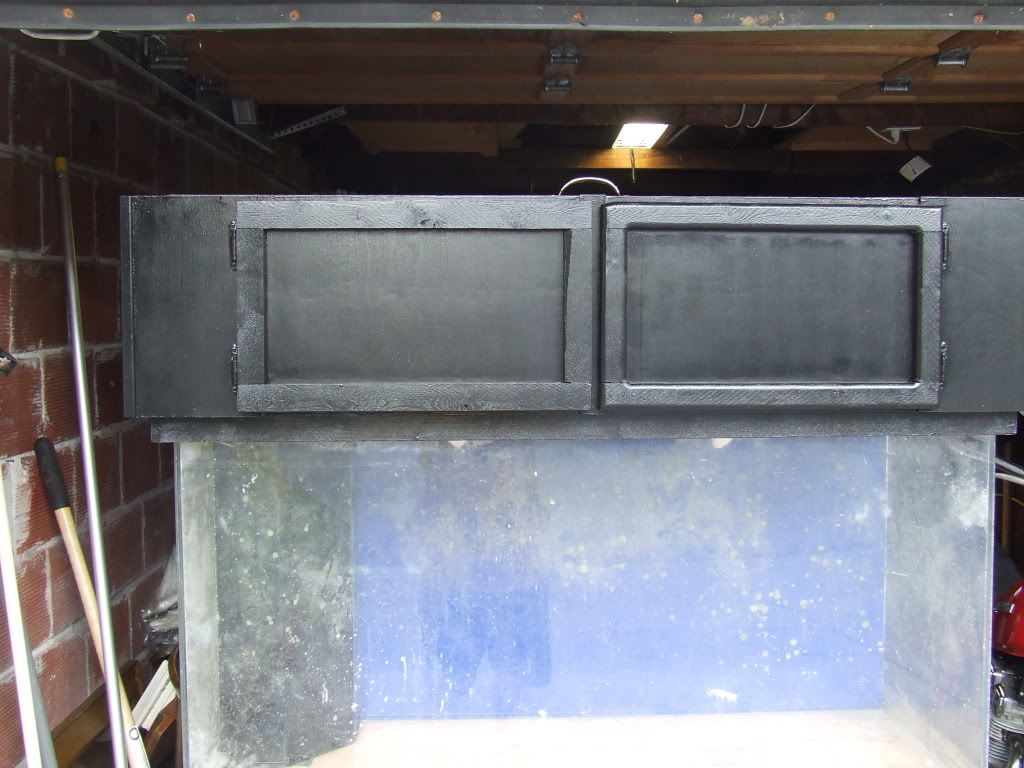
Here is the tank inside my appt with the 55 underneath and the hood closed up.
Here is my favorite part. The hood open and the MH lifted out of my way
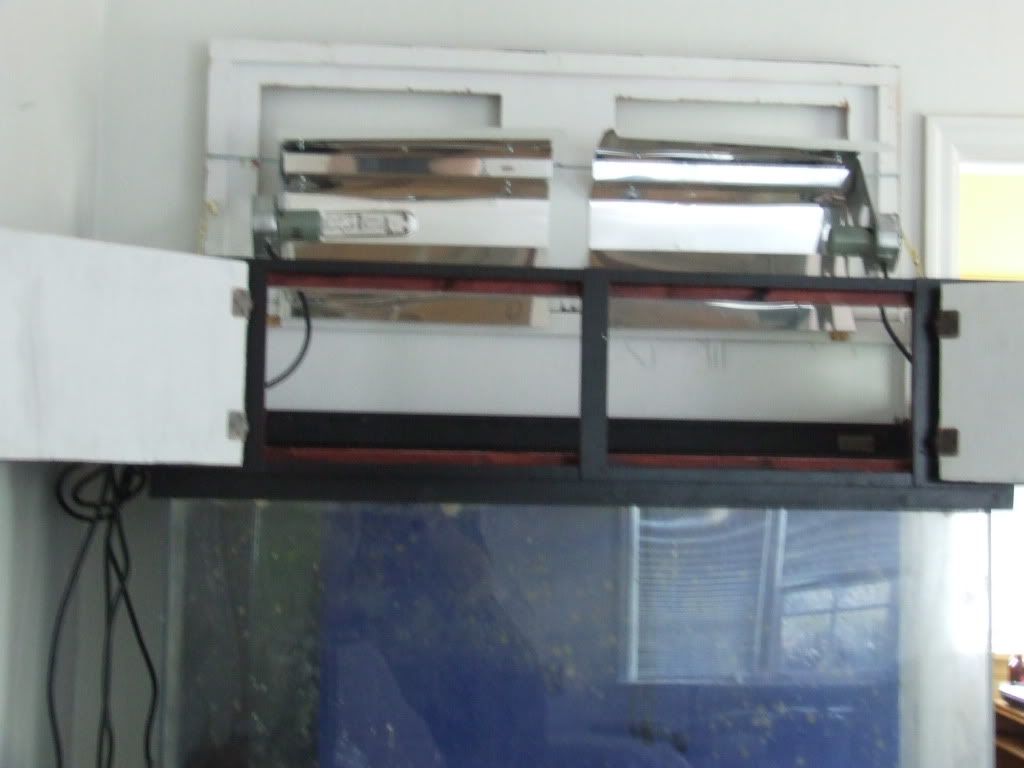
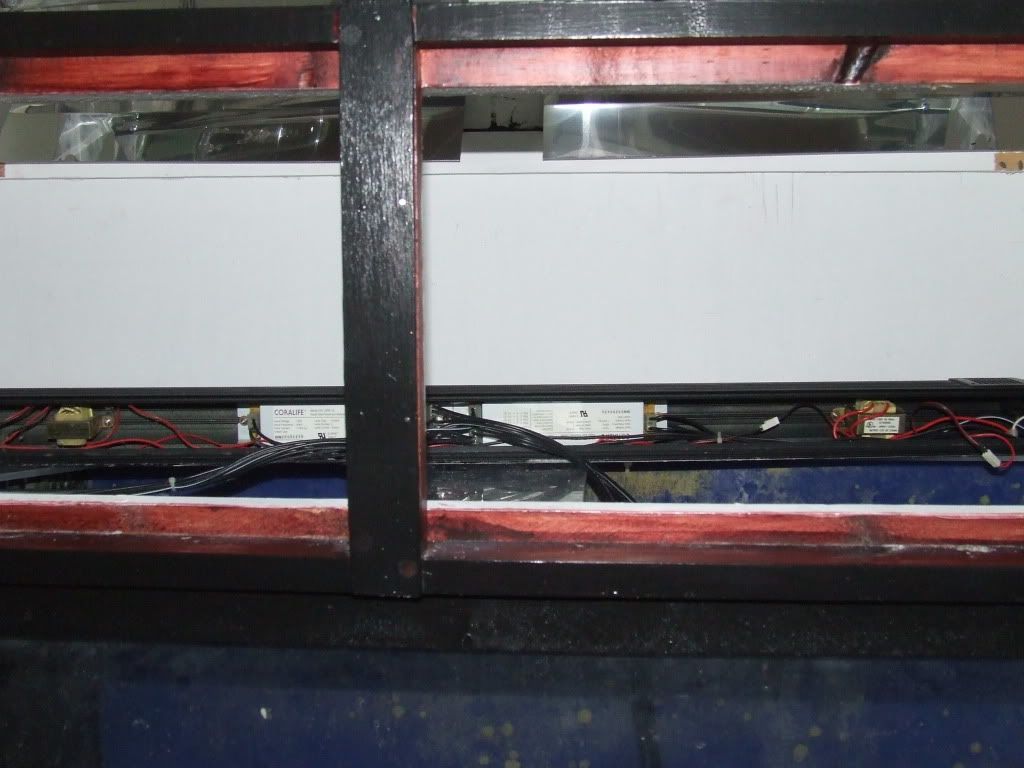
Here you can see the ballast and fans i scavenged from a coralife fixture
And so this doesn't happen to me again. rusty crud
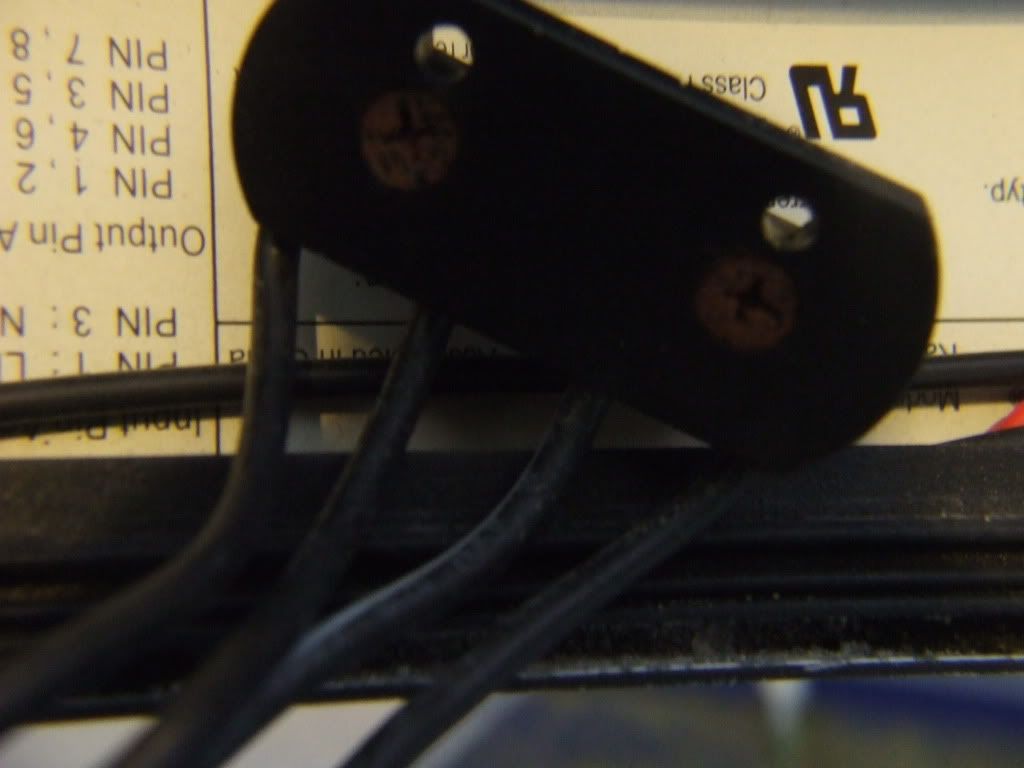
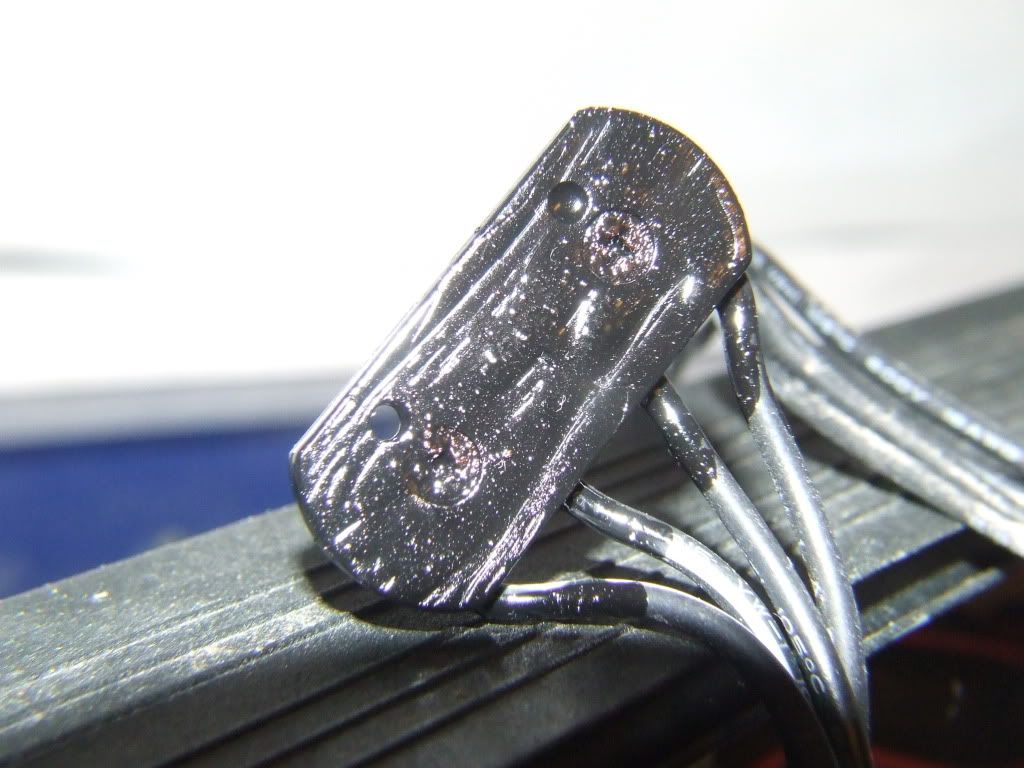
I used this
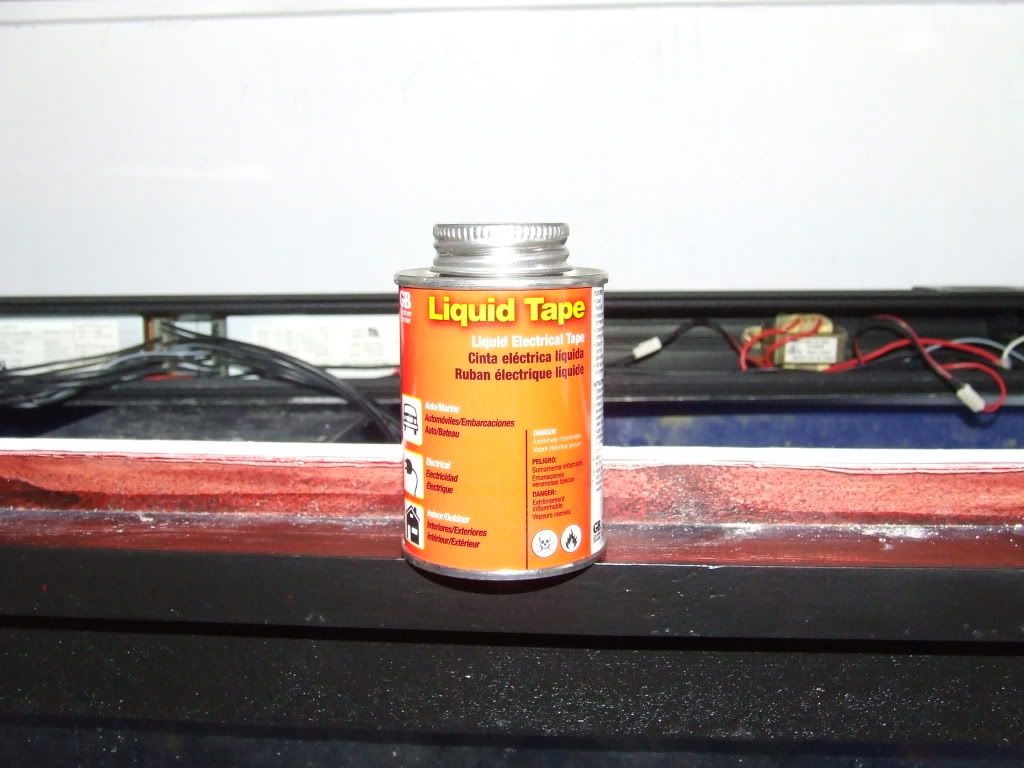
to seal all the connections up and any bare metal.
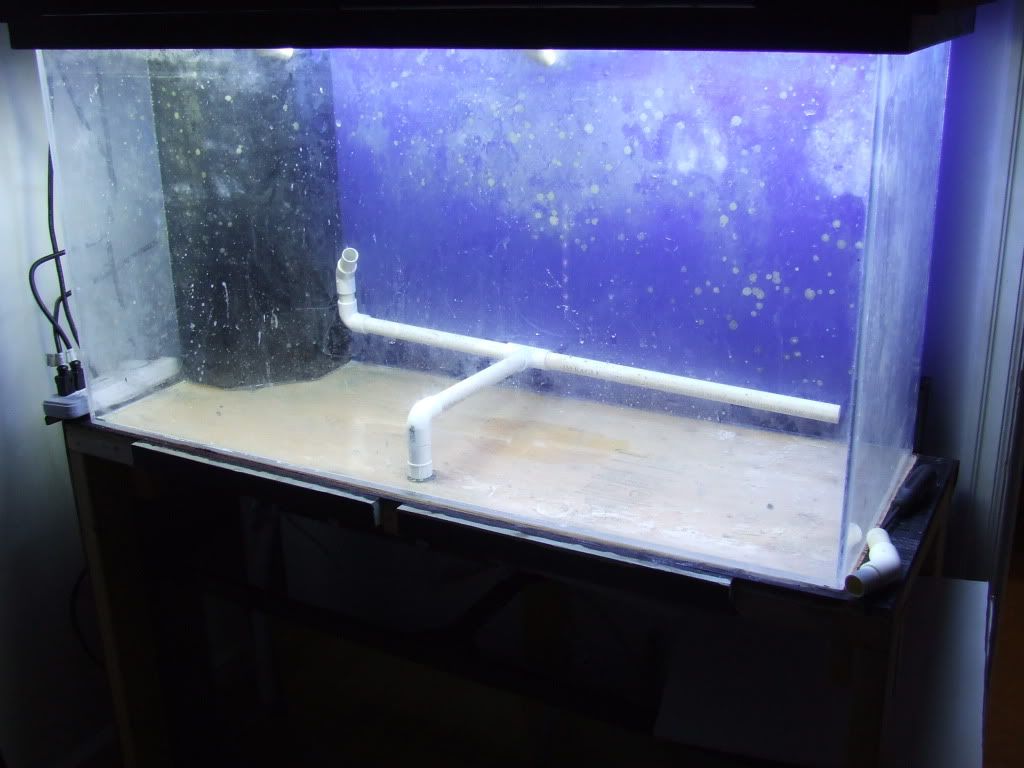
and finally the CL plumbing and all the lights on. IM making little stands to hold the plumbing up tho i think the sand will be fine
-
Dang looking good so far...
Thanks CA2OR I hope to have all the tank setup and kinda running by Sunday. I need to make one more order for sand and rocks tell i start aquascaping. That brings up a question for me. I plan on a DSB or RDSB in my sump with some live rock. I do not have all the sand or rock for my tank yet so could i start the cycle with just the sump and then in 2-3 weeks add the rest of the sand and base rock ( cleaned and Pre cycled) to my DT or would this just restart the cycle and i should just wait? The sump is going to be the 55g tank instead of my 20 gallon sump i got from the LFS, so i think its going to be alot of sand at least in one compartment.
I was from Fresh water fish tank too and converted into saltwater. I have no idea how the saltwater tank is like so my fist mistake was that I bought a used nano tank at the price of brand new tank :-( Any how I learned as I go and I learned that this forum exist :-) I was glad I found this website and I have knew a lot of really nice members here.Your setup really nice, seem like you know a lot about saltwater fish tank already....YOU ARE NO NEWBIE :-)
Thanks i think im still a newb considering i have yet to even mix 1 gallon of Saltwater lol. I spent a couple weeks reading on the web and listening to podcast from TR. My biggest problem is going to be all the differences going from FW to SW. Luckily their is about a billion different ways to keep FW and only about a million for SW lol. Seams their are more set rules for SW at least IMO. That has made it a little easier, but still.... stuff like flow in my planted tank i wanted even flow but not to much so the plants could get some good micro and macro ferts plus the Co2 but to much flow was bad as it would off gas the Co2 and hurt some of the plants so i would say 4 - 5 tank turn overs per hour for me and almost all through a canister filter. In SW reef tanks i read i need between 15-20 times turn over and not through a canister filter but just for the sake of flow to the corals and alternating the flow. That is like opposite of what im used to.
Then their is light. In planted tanks its getting more and more the norm to go high light (HIgh tech) but still i was getting great to excellent growth with PC lights at 3-4 watts per gallon, MH lighting was a cool idea for me but only really for the shimmer effect and i could do that with LED's. To much light would cause algae and the plants could use up the ferts to fast and stunt. In SW reef tanks im reading peoples post and looking around and it seams if i could cram a miniature sun under my hood i should because their is no such thing as to much light, IM seeing people with 9-10 watts a gallon on a 29 gallon tank. That just scares me lol. (scary)
IM having a blast learning all the new stuff tho. And its really nice to have a local forum that's busy and active.
-
CAUTION: lots of boring/ rambling to follow read at your own risk!!!! I really suggest you just look at the pics and captions and just skip the writing.........really i do.
Well after many years in FW planted tanks, i have decided to finally take the plunge into a SW reef tank. So after learning as much as i could (Almost entirely through the pod cast on the talking reef and here) to become comfortable with something i have never tried before i have begun.
So i went to saltwater fantaseas to look around and ask some questions, also to see how much corals are, i ended up walking out of their with a 20 gallon sump, a skimmer (i think its a seaclone 150, don't worry i have ideas to fix it) a gx-4100 pump, a visitherm stealth (my favorite kind of submersible heater) and a over flow all used for a $100 bucks. All this was with the intention of putting on my 55g DT after i got rid of the FW plants and fish.
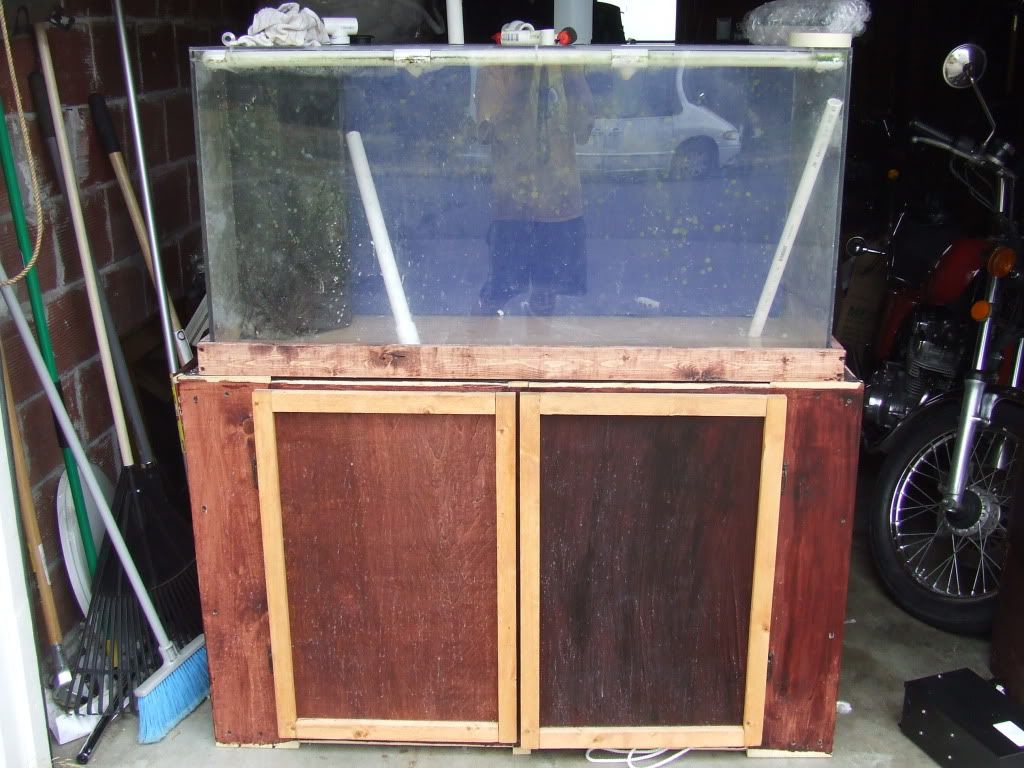
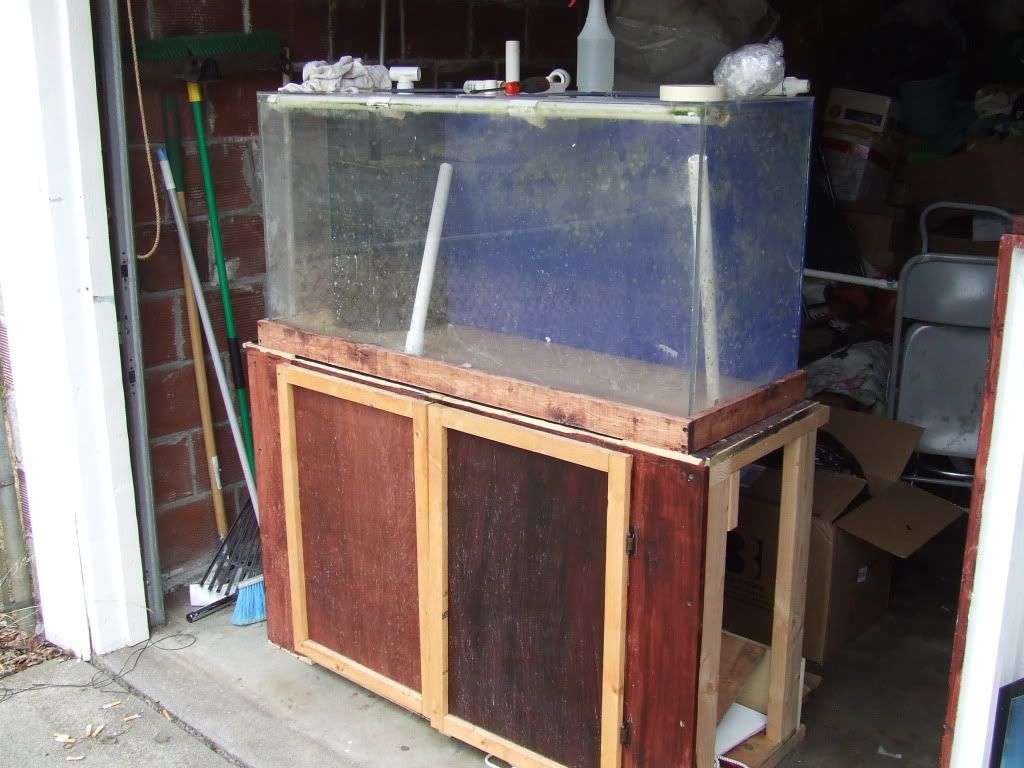
Then i started to think about how much i hate my 55g tank because it has the volume but no real space to set it up with a nice display. So i decided to put up my Nintendo Wii for trade to see if i could find something with more depth to set up. after some super crazy offers (like a 235 gallon 8 foot long tank that i couldn't even fit in my front door but ohhhhhhh man did i want to) Rick came to my rescue with a 85 gallon, with a custom stand designed to fit a 55g tank underneath. A perfect match for me.
The tank and stand
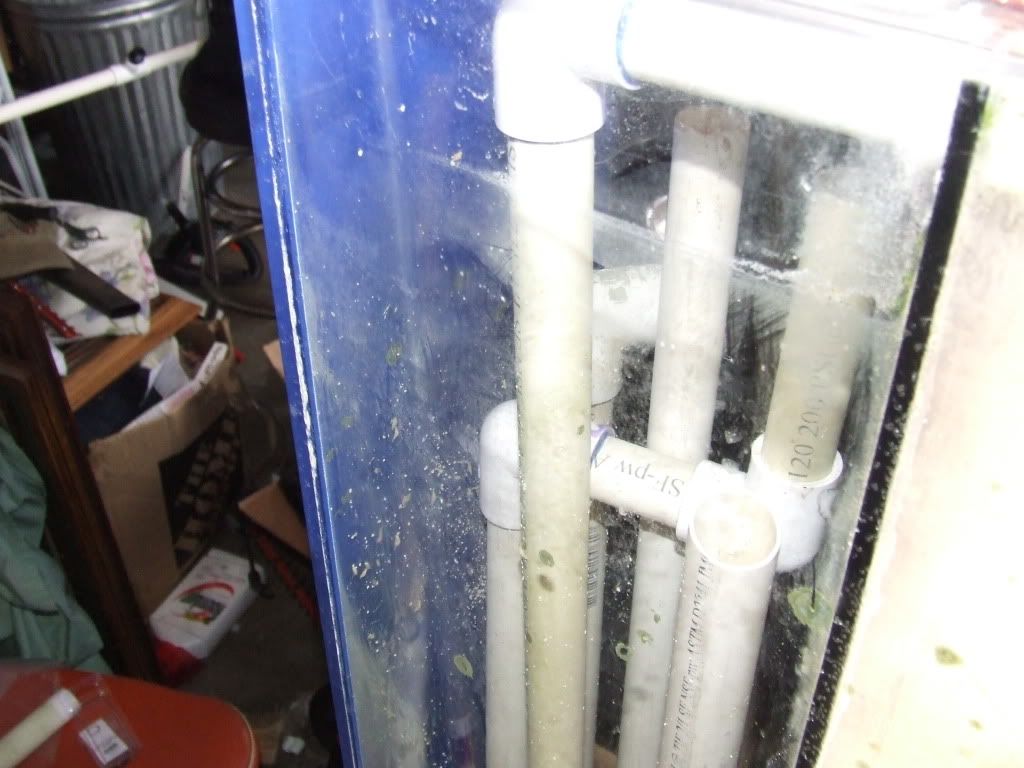
THE PLUMBING
After i got it home i stared at the tank for awhile deciding how i was gonna go. Rick had it drilled for a Closed loop (CL) system and some of his other plumbing was still installed. I decided i will run a closed loop eventually so i left that part their and caped it off in front. The back inlet and returns i removed the pipes to the sump as when i do finally install the closed loop system in back it will be below the rocks cause i don't like to see any equipment in the tank.
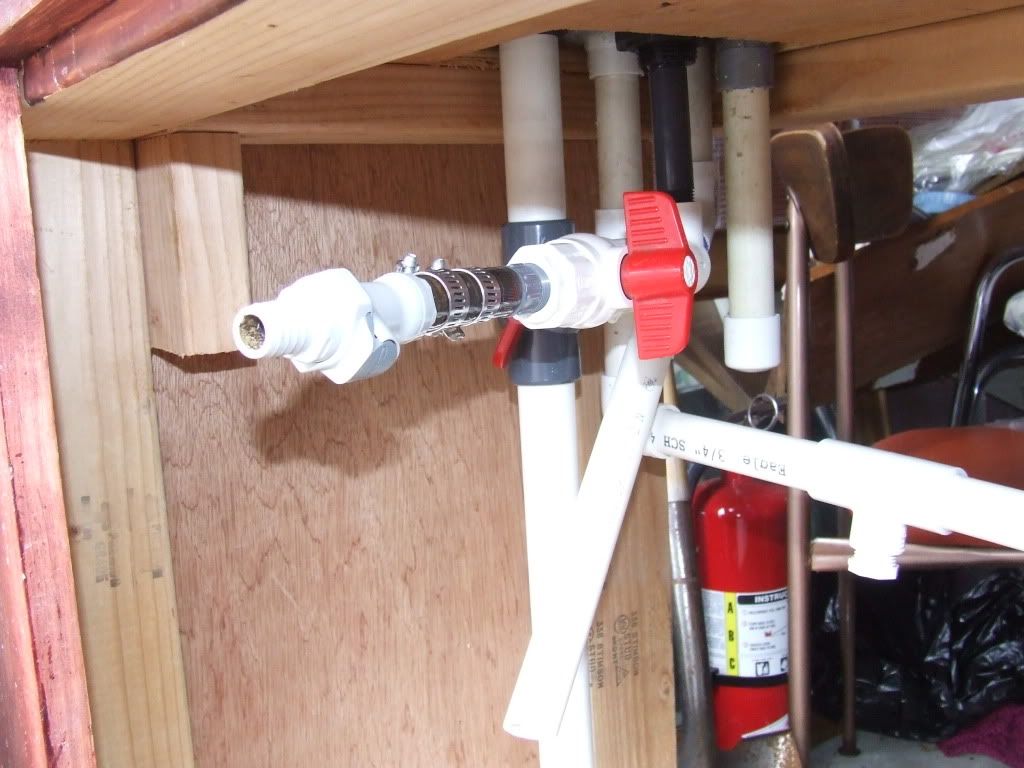
The Sump had 5 holes drilled in it. 1 went up front to 4 returns i left this alone and will plumb it for my sump return, if need be i got multiple caps in case my pump isn't strong enough to make good flow.then their was the rear intake and outflow for the CL system i removed these as i mentioned above and capped 1 under the tank the other i added a quick release so i can drain the tank easier for WC's . Then thier was 2 holes 1 for the sump flow and the other i made the emergency overflow for the Herbie.
The holes in the sump where the pipes for the CL used to go i was going to fill in with black acrylic circles, but then just before i did it i thought with the Herbie overflow i was going to do, and since the overflow was on the left side of the tank, and i cant see that side because it was against the wall it would be cool if i used clear acrylic, to make like sight holes and cut the pipes to the levels of the 2 holes. That way i could kinda see where the water levels where and adjust accordingly.
After i figured out the rest it went pretty easy found some new bulkheads at ace hardware for cheap and plumbed in for my PH sensor (and some spots for other sensors later on) i was done with plumbing for now.
My now crazy looking sump
And under the sump.
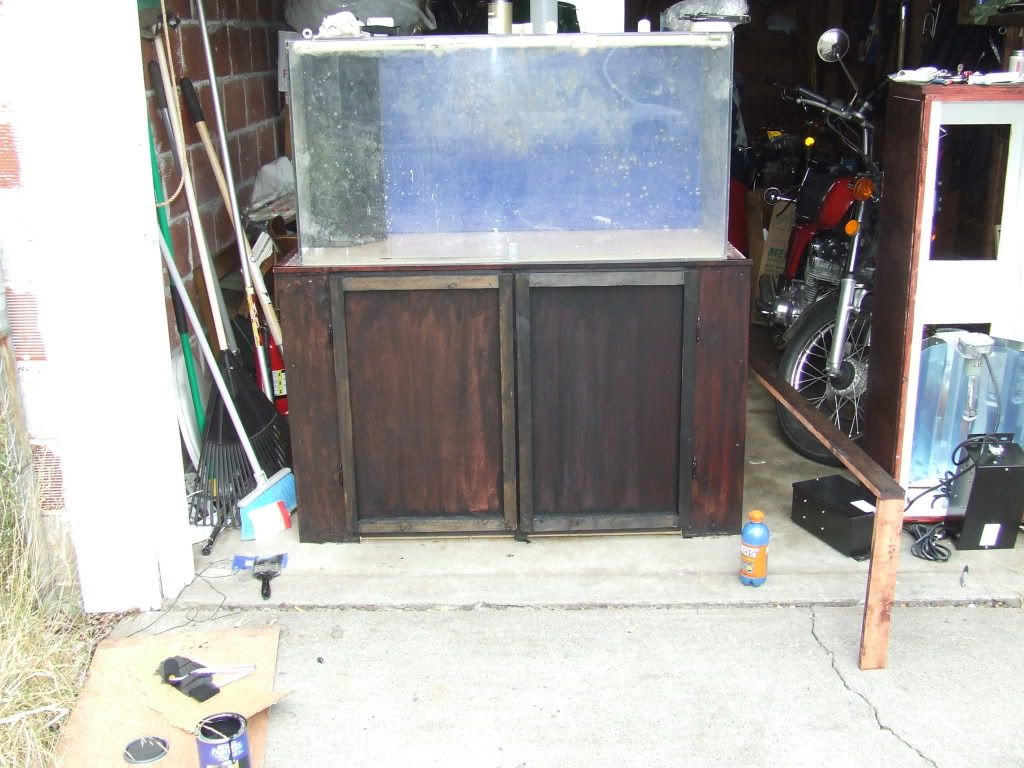
THE STAND:
Rick had warned me that he had tried to stain the stand with a one part sealer. If you haven't used this stuff before don't, It really takes a professional to put it on and have it look good, and a pro wouldn't touch it. But luckily all my furniture in my apartment is semi gloss black so guess what i decided to do with the stand......... yep pink with blue polka dots........JK Just seeing if you where crazy enough to pay attention to this mess. I spent about an hour doing trim work then i started a couple of coats. Went pretty fast and i think it came out pretty good. Mind you i absolutely hate painted wood but i can not stain anything and have it look good for the life of me.
First coat of paint.
second
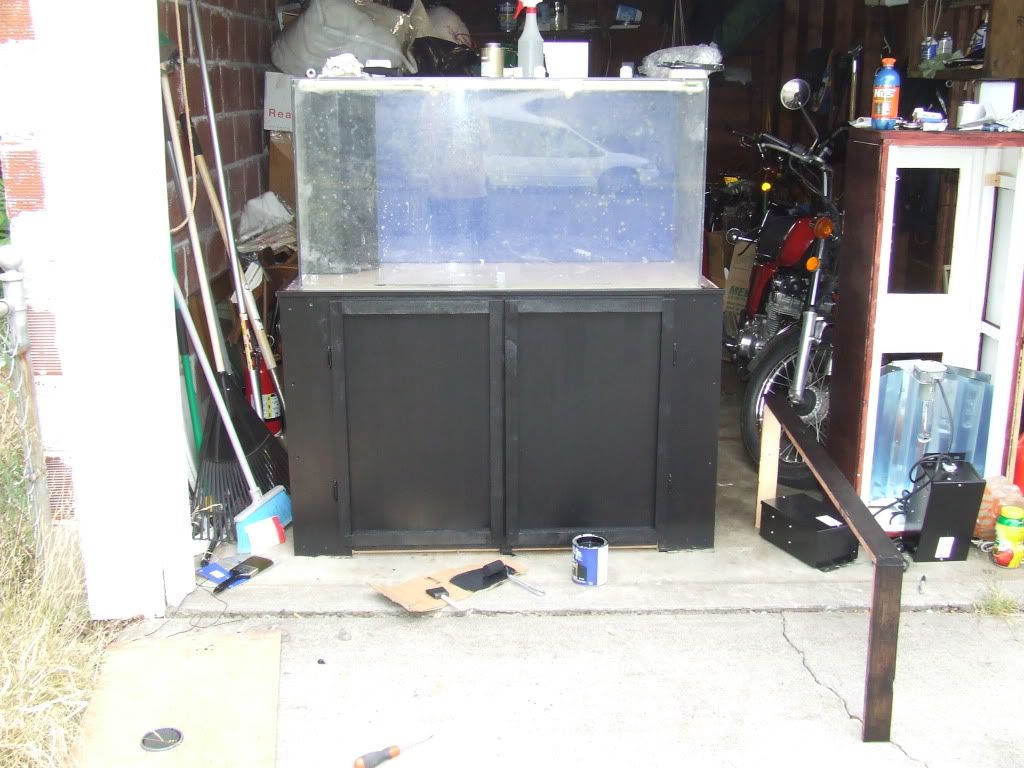
third and forth now starting hood
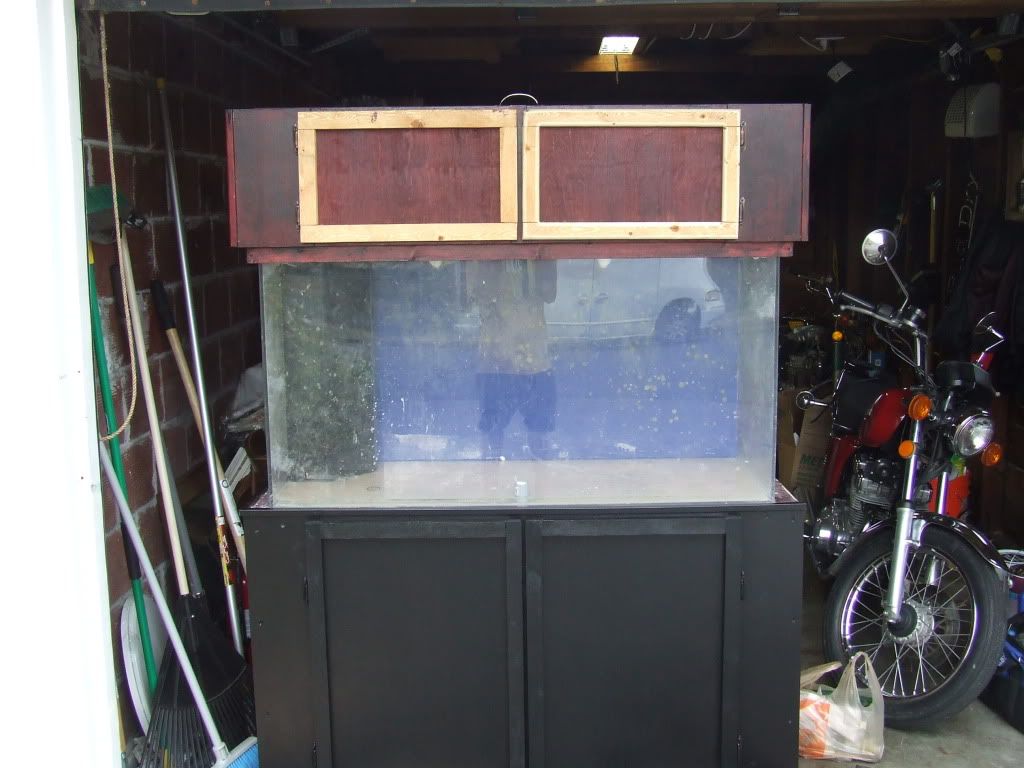
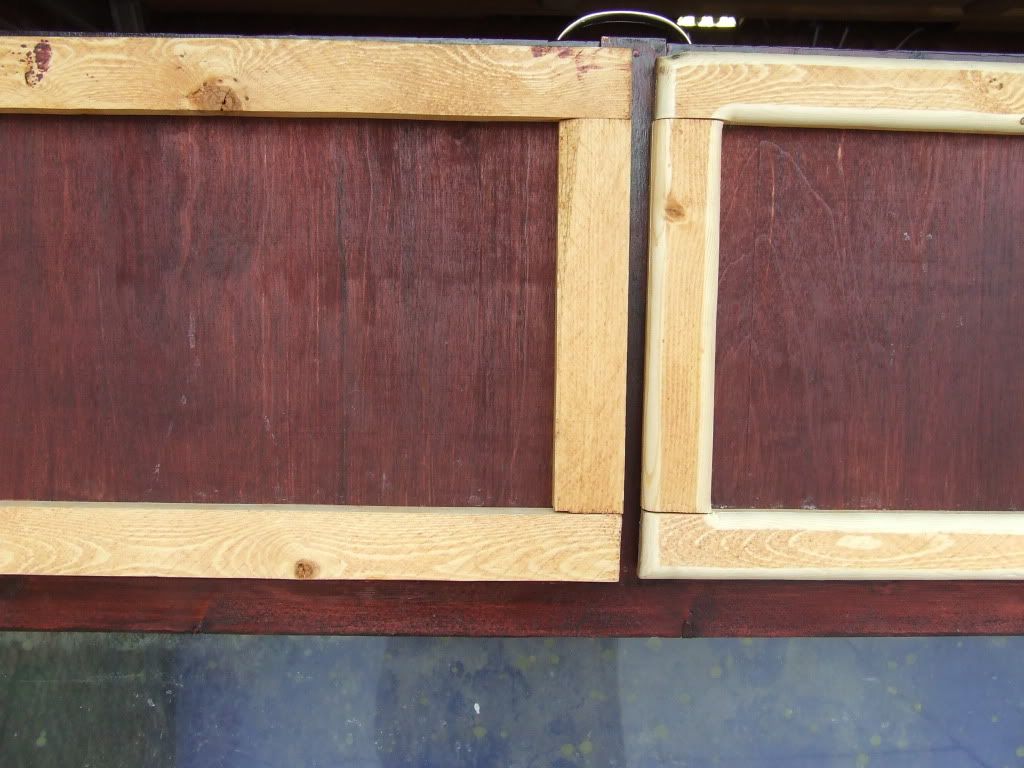
close up of hood before paint
The hood painted
Tomorrow i try to figure out how to install these monster size MH's and my PC light fixture into one hood. (rock2)
-
www.gpas.org but not nearly as busy as here from what i can tell so far. also can try http://www.plantedtank.net/forums/oregon/

Photo Updates
in Grow Outs, Group Buys, and Competitions
Posted
I have 4 open now =0)
My good camera is still down and i cant get this one to do a good pic but i will keep trying